


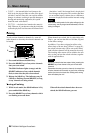
5 – Recorder operations–Setting the playback position
50 TASCAM 788 Digital PortaStudio
Setting the playback position
The 788 provides you with a number of ways to set
the position from which playback starts when you
press the
PLAY key. Some of these are described in
the section (“Location operations” on page 60).
The ways of setting the playback point which involve
the transport keys are described here.
Return to zero (RTZ)
This allows you to return instantly to the “zero
point”, (expressed as the absolute time).
To return to zero (from stop, play or record):
1 Press and hold down STOP.
2 Press
REW. Playback/recording stops and the
playback position returns to the zero point.
Last Recording Position (LRP)
This is an extremely useful feature that allows you to
return instantly to the point where recording last
started. You can use this in any of the following situ-
ations (these are examples, you may think of others
for yourself):
• after you interrupt a bad take halfway through the
recording and want to return instantly to the same
position to retake
• after a successful take, and you want to return to
the point where recording started to check the take
• when you are recording a number of different
tracks in turn, all to start from the same point
• after a take, you may want to set the point where
the take started as a reference location mark
To return to the position where recording last started
(from stop, play or record):
1 Press and hold down the
STOP key
2 Press
F FWD. Playback/recording stops, and
the playback position returns to the point
where recording last started.
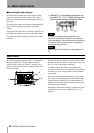
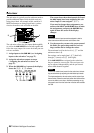
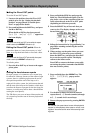
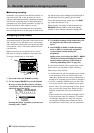
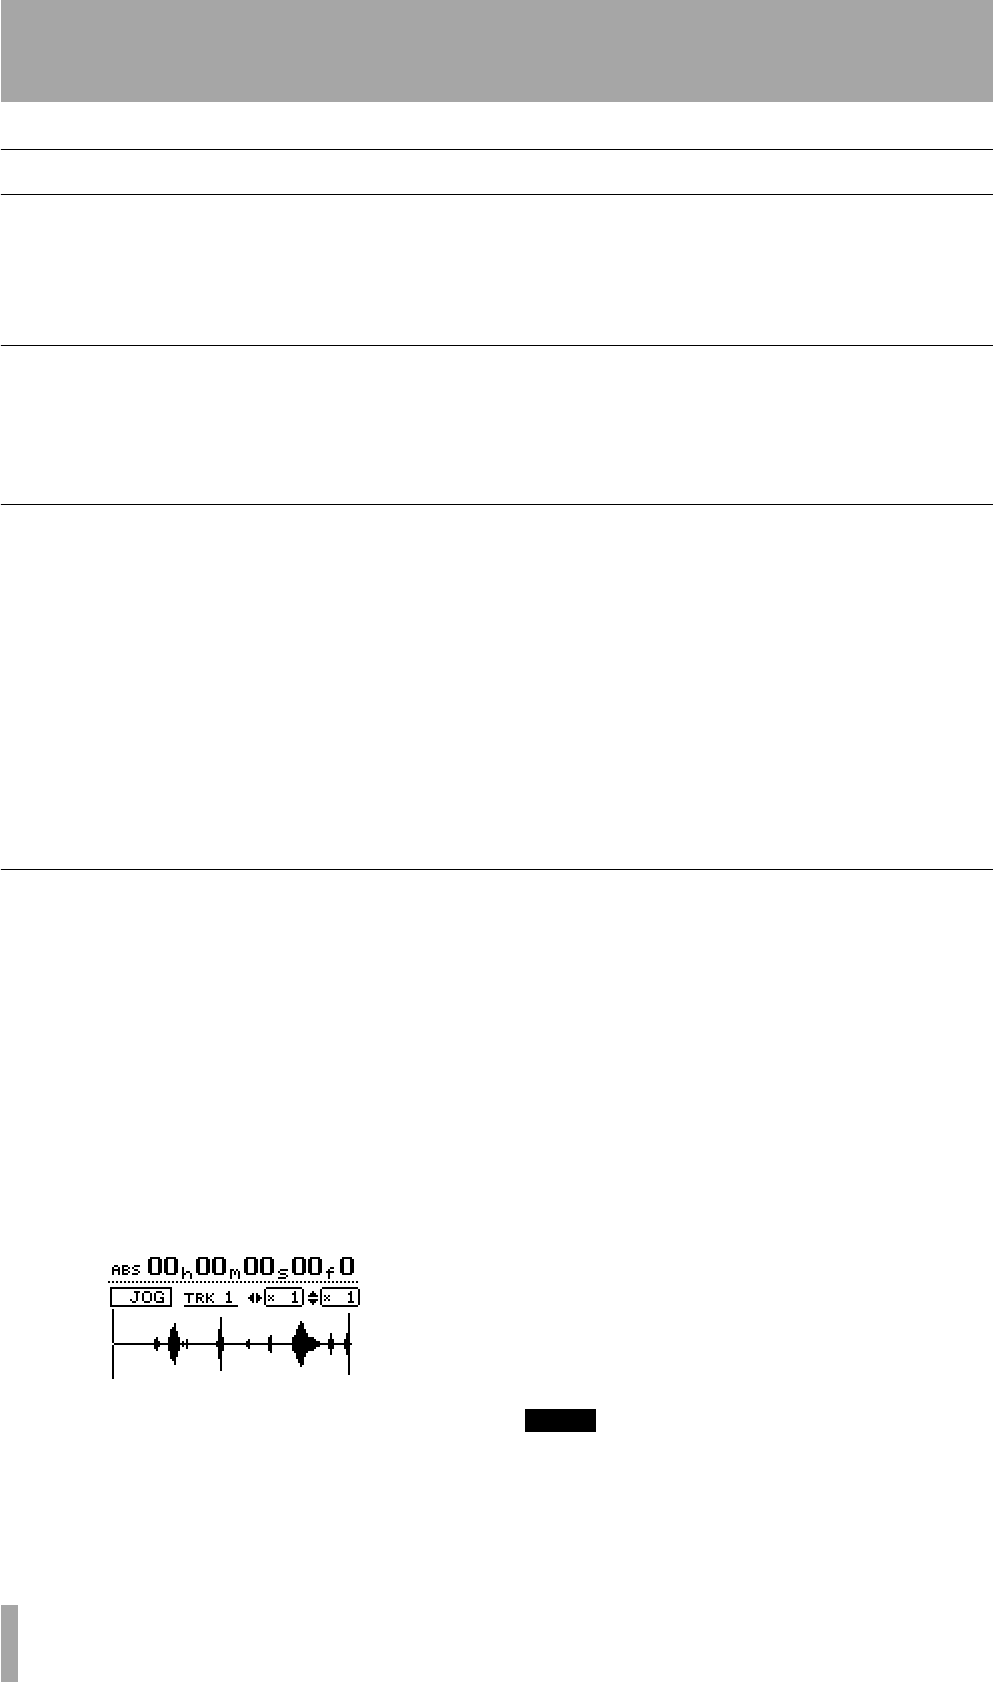
Jog positioning
To position the playback point precisely, you can
“jog” the playback position, using the dial. As you
move backwards and forwards through the recording,
you can hear the recorded sound at slow speed, either
backward or forward, depending on the direction you
are turning the dial.
1 Position the playback point to the rough posi-
tion where you want the final point to be.
2 Press and hold the
STOP key and press the
PLAY key. The display shows a view of the
waveform of the currently selected track at the
current playback position.
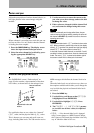
3 Press the
SELECT key of the track that you
want to view (pressing the
7/8 key changes
between viewing track 7 and track 8). The dis-
play changes to the waveform of that track.
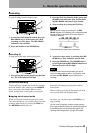
4 Use the Ó and Á keys to zoom out and in
respectively horizontally. This is, pressing the
Á key will increase the amount of space on the
screen taken by a certain amount of time, and
pressing the Ó key will make the same amount
of time take less space on the screen. The three
zoom levels available are:
x 1, x 2 (allow-
ing approximately single-frame accuracy in
adjustment), and
x 32 (allowing approxi-
mately an accuracy of about 10 sub-frames).
The resolution is shown below the time display.
5 Use the § and ¶ keys to adjust the vertical
scale (the way that the volume of the sound is
shown). The zoom levels here are
x 1, x 2,
x 4, x 8, x 16 and x 32. Pressing the
§ key increases the vertical scaling of the dis-
play, and pressing the ¶ key decreases the
scale.
TIP
If you can’t see any waveforms when you first enter this
display, press the
§
key to zoom the volume so that you
can see the quiet passages.