


5 – Recorder operations–Auto punch operations
56 TASCAM 788 Digital PortaStudio
rehearsal mode allows you to simulate the punch
recording, both to practise the actual take, and also to
check punch points before recording actually begins.
You can also use the repeat function together with the
punch operations, allowing you to make repeated
rehearsals of a punch section, as well as repeated
takes of the same section (multi-takes) or when
you’re recording, repeated recordings can be used as
multi-takes. When you have recorded a section many
times in this way, you can then choose the best possi-
ble take to insert into the track.
Setting the punch points
The 788 provides three different punch settings.
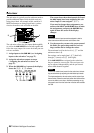
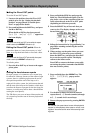
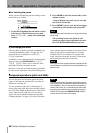
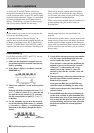
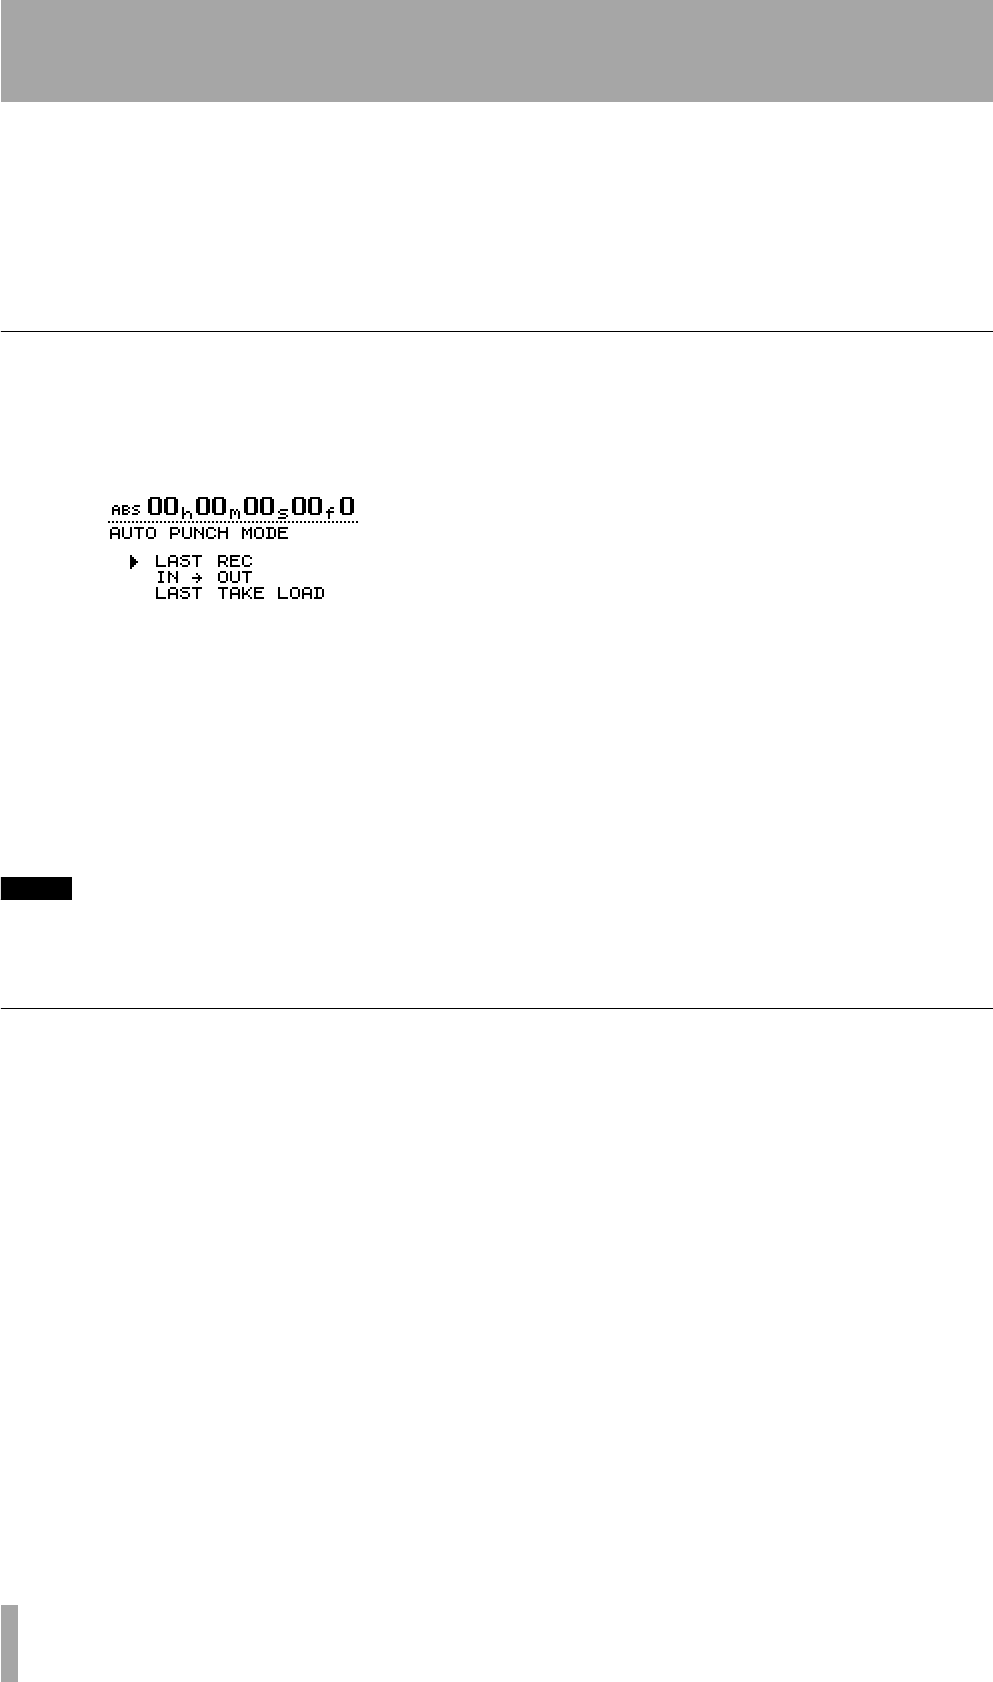
1 With at least one track armed (the
REC READY
indicator flashing), and playback stopped,
press the
AUTO PUNCH key:
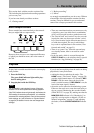
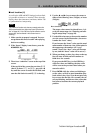
2 Select one of the three options, explained
below, using the § and ¶ keys to move the tri-
angular cursor, and the
ENTER key to confirm
the selection (
EXIT exits this screen without
making any settings).
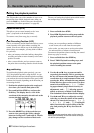
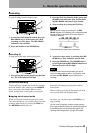
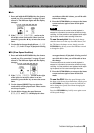
3 When the selection has been made, the
AUTO
PUNCH
indicator lights, and the home display
shows
AUTO.
NOTE
It is not strictly necessary to have a track armed when you
first press the
AUTO PUNCH
key, but this is probably the
most logical way to work.
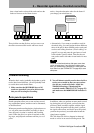
LAST REC This sets the punch-in point to be the
last point at which recording started (the same as the
LRP described in “Last Recording Position (LRP)”
on page 50. The punch-out point is set to be the point
at which recording stopped (either when recording
dropped into play mode, or when the transport was
stopped). Note that this last recording does not have
to be a punch recording.
IN -> OUT This uses the IN and OUT points (see
“Setting the IN and OUT points” on page 52) as the
punch-in and the punch-out points. The first of these
points will be used as the punch-in point, and the sec-
ond as the punch-out point, even if the OUT point is
before the IN point.
LAST TAKE LOAD The cursor can only be
moved to this option if a punch recording has taken
place, and no recording, no track editing or undo/
redo operations or virtual track assignments have
been done since then. It allows you to select the takes
from this punch session, in the same way as
described later in this section (“If you change your
mind” on page 58).
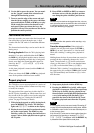
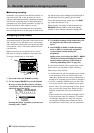
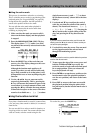
Checking the punch points
When the punch points have been set, you can press
the
PLAY key. The home display shows CHECK,
and the playback starts at the pre-roll point. It contin-
ues to the post-roll point.
If the punch positions are not what you want, you can
press the
AUTO PUNCH key to turn off the punch
mode, and reset the punch points as described above.
You can also adjust the pre-roll and post-roll time
using the menu system (“Recorder settings” on
page 33), but you must exit the auto punch mode first
by pressing the
AUTO PUNCH key so that the indica-
tor goes out.
If you the punch points and pre and post-roll times
are what you want, you should proceed to the
rehearsal stage, as described below.