Part III Sequencer
68
QQTG0701
Sequencer
Ⅲ
ⅢⅢ
Ⅲ
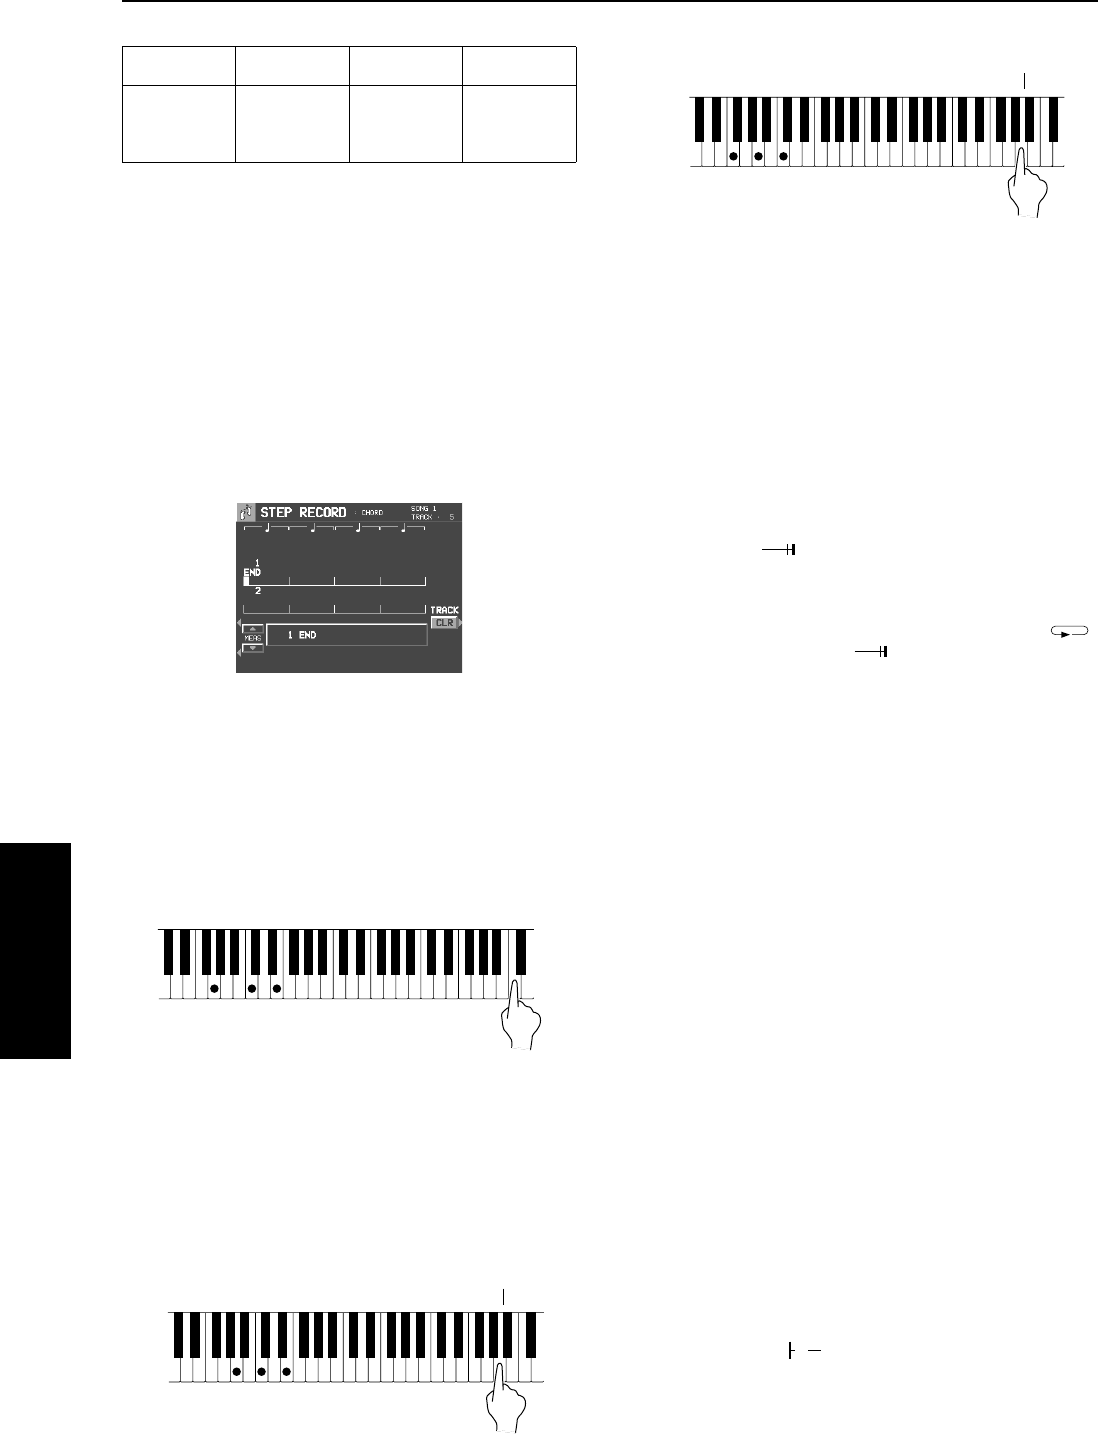
Example of storing a chord progression
1.
On the SEQ MENU display, use the SONG
SELECT
∧
and
∨
buttons to select the song
number. Then select RECORD & EDIT.
2.
On the RECORD & EDIT display, select STEP
RECORD.
• The display changes to the PART SELECT display.
3.
Using the balance buttons below the display,
select the track to which the CHORD (CHD/
APC) part has been assigned.
• The display changes to the STEP RECORD: CHORD
input display similar to the following.
• STEP REC: CHORD can also be enabled by pressing on
the EASY RECORD button continuously a few seconds.
This will display the CHORD screen.
4.
Store the chords.
<Measure 1, measure 2>
While playing a C chord with your left hand,
press the
w
key two time with your right hand.
• A “beep” tone indicates that the chord has been success-
fully stored.
• The dot on the display where the chord is stored changes
to a
∗
mark and the cursor automatically moves forward, in
accordance with the specified note value, to the next unre-
corded position. The chord name is shown on the display.
<Measure 3>
(1) While playing an Am chord, press the
h
key
one time.
(2) While playing an F chord, press the
h
key one
time.
<Measure 4>
(1) While playing a D7 chord, press the
h
key one
time.
(2) While playing a G7 chord, press the
h
key one
time.
• You can press the INTRO & ENDING button or a FILL IN
button on the panel to store the desired pattern at the cur-
sor position. (An INTRO or COUNT INTRO can be stored
only at the beginning.)
• Store a rest by pressing a note value key without specify-
ing a chord.
5.
At the end of the chord progression, press the
End key ( ).
• The Keyboard exits the recording mode.
• During playback, playback of the recorded chord progres-
sion stops at this point. For automatic repeat playback of
the chord progression, press the Repeat key ( )
instead of the End key
().
• When you play back the track for the CHORD part, the
chords of the automatic accompaniment change in accor-
dance with the stored chord progression.
• To specify chords by the <one finger> mode, select the
BASIC mode before entering the STEP RECORD mode.
• If the ON BASS button is on, chords such as “C on G”
can also be specified (except in the <one finger> mode).
• The CHORD FINDER feature, which shows you how to
finger a specified chord, is available. (Refer to page 47.)
Ⅲ
ⅢⅢ
Ⅲ
Correct the recorded chord progression
1.
Follow the procedure to select the STEP
RECORD: CHORD display.
2.
Use the MEAS buttons to go to the measure
you wish to modify. Use the
ᮤ
and
ᮣ
Correc-
tion keys to move the cursor to the point (
∗
)
you wish to edit.
• The lengths of rests are indicated by the respective rest
value × its multiplier.
Example:
Œ
.................1-beat rest (quarter rest)
‰
................1/2-beat rest (eighth rest)
Œ
× 1 +
‰
....1-1/2-beat rest
(dotted quarter rest)
Œ
× 10........10-beat rest
• To go to the end of the chord progression, while pressing
the Reset key ( ), press the
ᮤ
key.
3.
Correct the chord data.
Measure 1 2 3 4
C
w
C
w
Am
h
F
h
D7
h
G7
h
w
h
h
08_Part III.fm 68 ページ 2003年5月16日 金曜日 午後5時41分


