


Part III Sequencer
78
QQTG0701
Sequencer
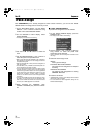
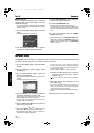
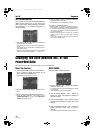
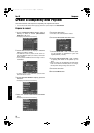
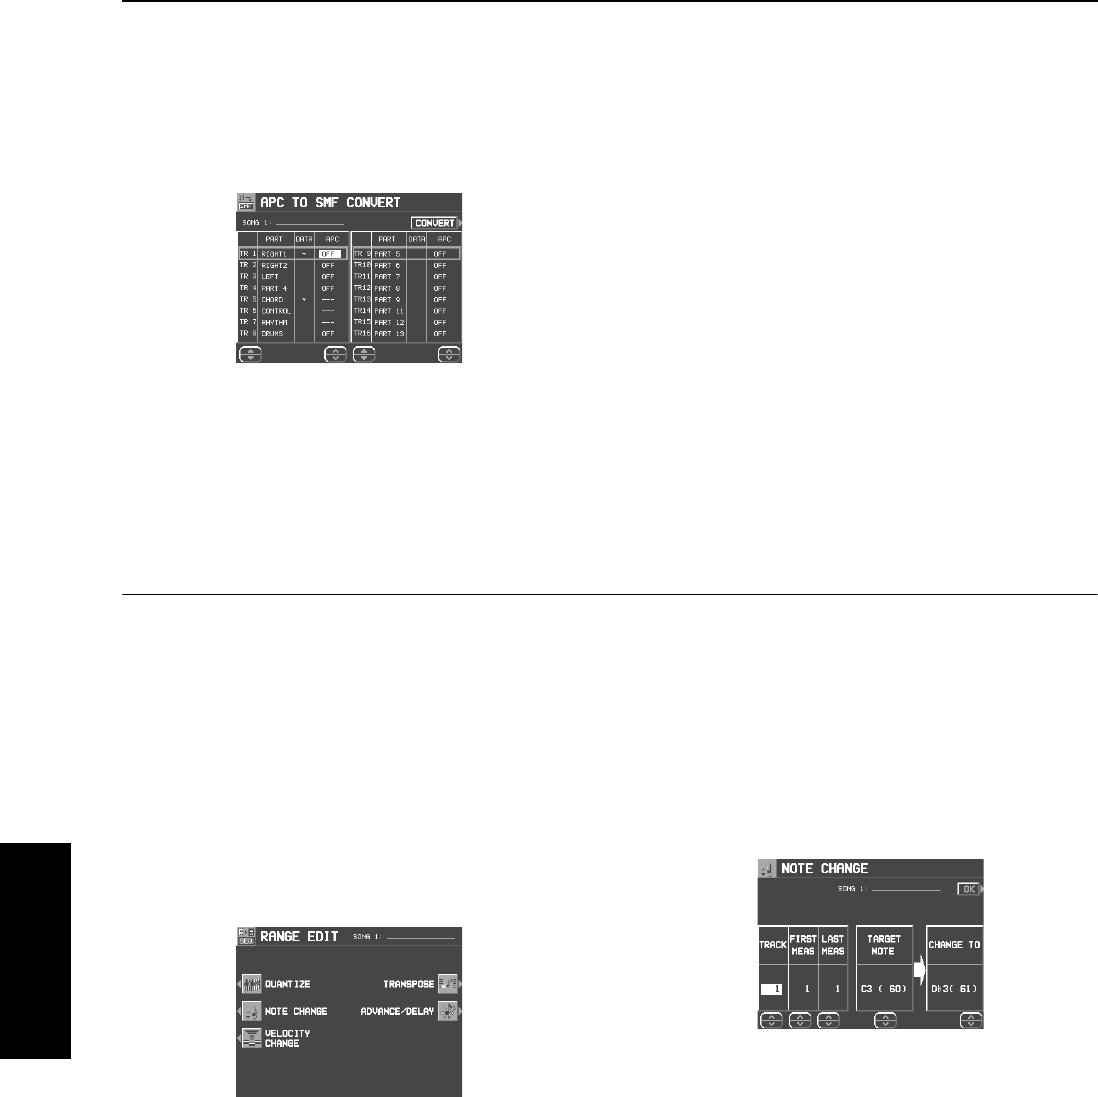
APC TO SMF CONVERT
This function converts data to Standard MIDI File
(SMF) format, allowing you to play back song
data created using this instrument’s automatic
accompaniment on an external sequencer or
sound generator.
1.
Use the TR ▲ and ▼ buttons to select the
track you wish to convert.
• In the PART column, the part name currently assigned is
shown.
• In the DATA column, a check mark (√) indicates a track in
which data is stored.
• Tracks in which RHYTHM, CONTROL, APC and CHORD
parts are stored cannot be selected (− − − is shown).
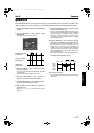
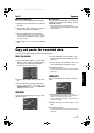
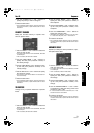
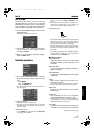
2.
Use the APC
∧
and
∨
buttons to select the
parts you wish to convert.
• Parts that are set to OFF will not be converted.
3.
Press the CONVERT button.
• Note that after the conversion, the APC/CHORD part
data is cleared; if necessary, save this data beforehand.
• A confirmation display appears. Press EXECUTE to con-
tinue with the conversion, or press the CANCEL button is
you wish to discontinue.
• After the EXECUTE button is pressed, the conversion
begins. Conversion takes the same length of time as
playback.
• If you wish to discontinue the conversion process mid-
way, press the ABORT button.
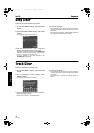
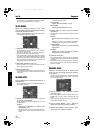
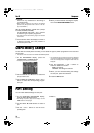
Changing the note position etc. of the
recorded data
You can change the note pitch and position etc. of recorded data.
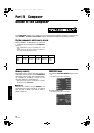
Select the function
1.
On the SEQ MENU display, use the SONG
∧
and
∨
buttons to select the number of the
song. Then select RANGE EDIT.
• The display looks similar to the following.
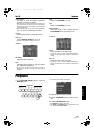
2.
On the RANGE EDIT display, select a func-
tion.
3.
Perform the editing procedures. (See below.)
• During the editing procedure, if the indicator for the
TEMPO/PROGRAM is lit, you can use the TEMPO/PRO-
GRAM for the editing function.
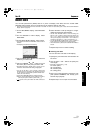
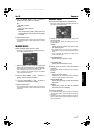
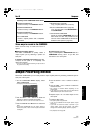
NOTE CHANGE
Change of pitch of specified notes.
1.
Use the TRACK
∧
and
∨
buttons to select the
track you wish to edit.
• You cannot select the track for the CONTROL, RHYTHM
or CHORD part.
• If ALL is selected, all tracks will be edited.
2.
Use the FIRST MEAS
∧
and
∨
buttons to
specify the start point (measure number) of
the note change.
3.
Use the LAST MEAS
∧
and
∨
buttons to spec-
ify the end point (measure number) of the note
change.
4.
Use the TARGET NOTE
∧
and
∨
buttons to
specify the pitch of the note you wish to
change.
• The number next to the note name is its note number.
08_Part III.fm 78 ページ 2003年5月16日 金曜日 午後5時41分