


Part IV Composer
88
QQTG0701
Composer
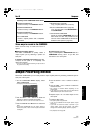
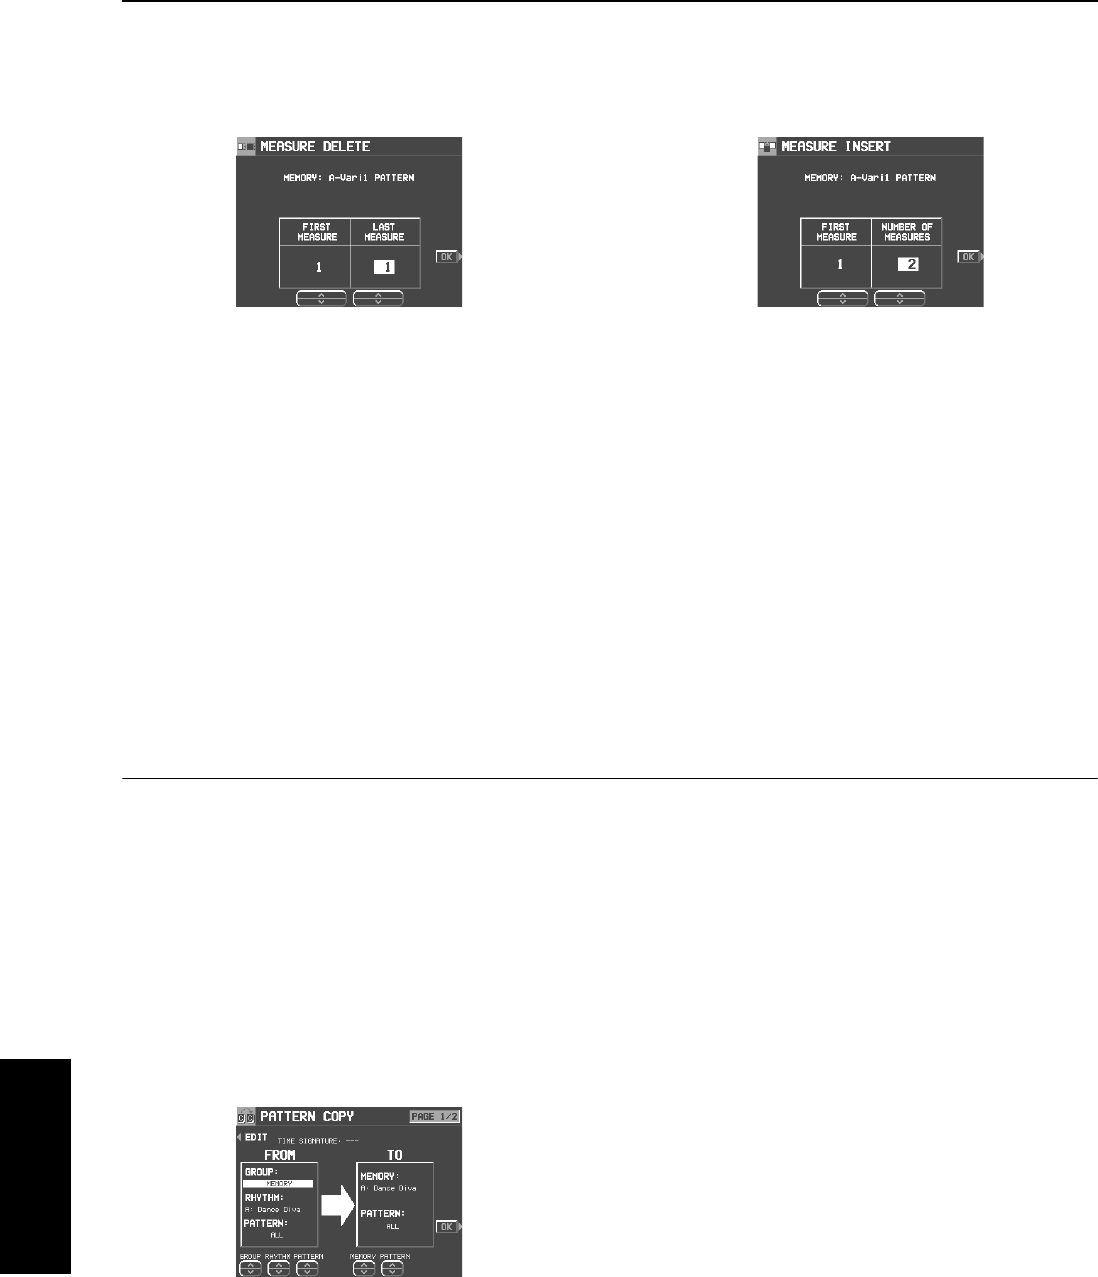
MEASURE DELETE
Delete specified measures from all parts at once.
• The length of the performance accordingly decreases by
the number of deleted measures.
1.
Use the FIRST MEASURE
∧
and
∨
buttons, to
specify the first measure to delete.
2.
Use the LAST MEASURE
∧
and
∨
buttons to
specify the last measure to delete.
• One measure is the smallest unit that can be deleted.
3.
Press the OK button.
• The confirmation display appears. Press the YES button
to execute the function, or press the NO button to cancel
the function.
• When the INTRO or ENDING measures are deleted, the
Maj and Min data are erased at the same time.
MEASURE INSERT
Insert blank measures at a specified point.
• The length of the performance accordingly increases by
the number of inserted measures.
1.
Use the FIRST MEASURE button to select the
point (measure) where the measures are to be
inserted.
2.
Use the NUMBER OF MEASURE button to
select the number of blank measures to insert.
• No more than 16 measures total can be inserted.
3.
Press the OK button.
• The confirmation display appears. Press the YES button
to execute the function, or press the NO button to cancel
the function.
• The Maj or Min data is inserted in the INTRO and END-
ING at the same time.
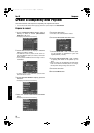
Pattern Copy
Use this function to copy a pattern from a rhythm or from SEQUENCER data.
PATTERN COPY
Copy a rhythm to the COMPOSER.
• You can also copy a pattern from the MEMORY.
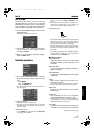
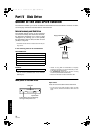
1.
On the COMPOSER MENU display, select
PATTERN COPY.
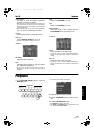
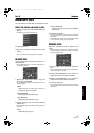
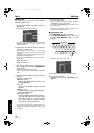
• The display looks similar to the following.
2.
Select the pattern you wish to copy.
• In the FROM box, specify the settings with the corre-
sponding buttons.
GROUP: Group name
RHYTHM: Rhythm name
PATTERN: Pattern name
•If ALL is selected, all the patterns are copied.
3.
Select the memory you wish to copy to.
• In the TO box, specify the settings with the corresponding
buttons.
MEMORY: Memory name (A, B or C)
PATTERN: Pattern name
•If ALL is selected, all the patterns are copied.
4.
Press the OK button.
• When copying has been successfully completed, “COM-
PLETED!” appears on the display.
• If you wish to use the COMPOSER functions to edit the
copied data, press the EDIT button, and follow the proce-
dure to record a pattern.
09_Part IV.fm 88 ページ 2003年5月20日 火曜日 午後5時25分