ZEPHYREXPRESS HARDWARE 3-3
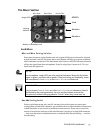
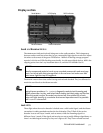
The Mixer Section
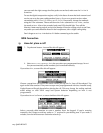
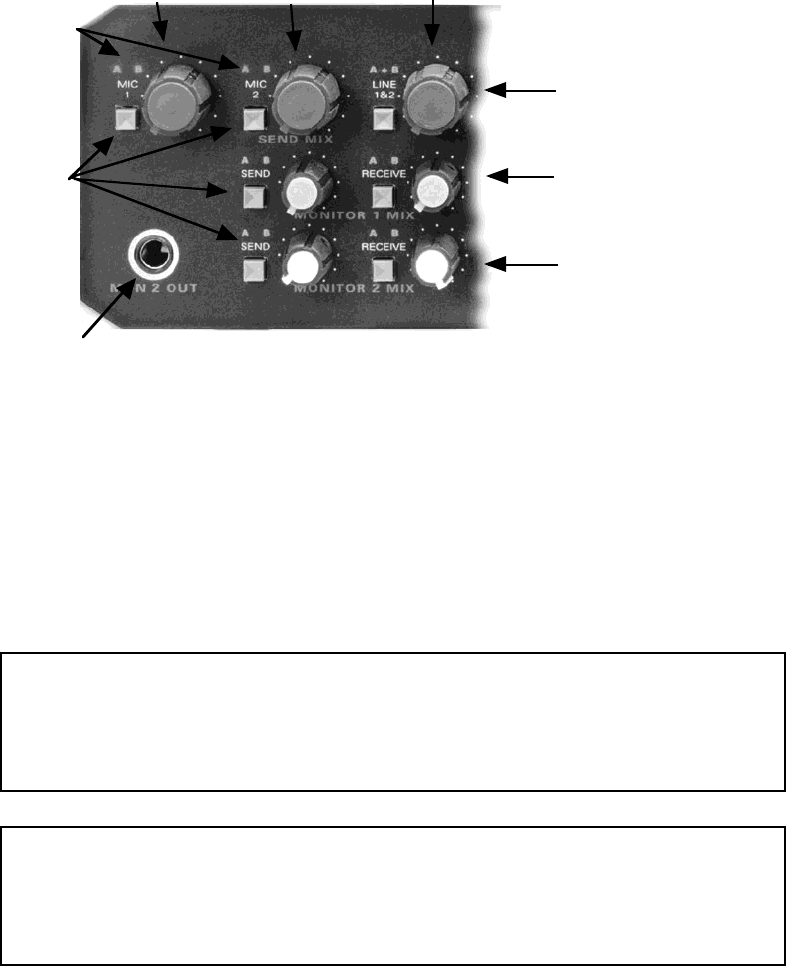
MIXERS:
Send
Monitor 1
Monitor 2
Routing
Switches
Assi
g
n LEDS
Mic 1 Gain Mic 2 Gain Line In Gain
Monitor 2 Head
p
hone Jack
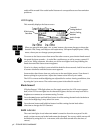
Send Mixer
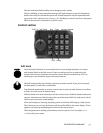
Mic 1 and Mic 2 Routing Switches
Press these buttons to cycle whether each mic’s signal will be sent to channel A, channel
B, both channels, and off. The letters above each button will light up in green to indicate
which channels are selected. This determines which one or two ISDN transmit channels
will get the signal from that microphone. If you’re using Layer 2 mono or G.722, you
must route the signal to A.
h
HOT TIP!
The microphone A and B LEDs are also overload indicators. Normally the letters
appear in green, and flash red on peaks. If they’re turning red frequently, lower
that microphone’s Sensitivity in the Audio: Microphone submenus.
t
TECHNICAL TIP!
If you’ve turned Phantom Power on in the Audio: Microphone submenus, it won’t
be affected by the routing switches. You can use the buttons to mute the
microphones, without worrying about a “thunk” when they come back on.
Line 1&2 Routing Switch
Press to cycle between A B, A+B, and off. A B treats the two line inputs as a stereo pair,
routing them to both ISDN channels. A+B combines the two inputs and then routes them
to both channels, so you can use two different mono sources. If you want a mono line
source to be routed to only one of the send channels, just plug in a single XLR connector
— they have the letters A and B below them, to indicate their channel routing — and use
the A B setting.


