


204 Chapter 17—Automix
DM2000 Version 2—Owner’s Manual
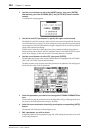
2 Use the cursor buttons to select the INSERT button, then press [ENTER].
Alternatively, press the AUTOMIX [REC] and [AUTO REC] buttons simulta-
neously.
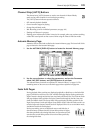
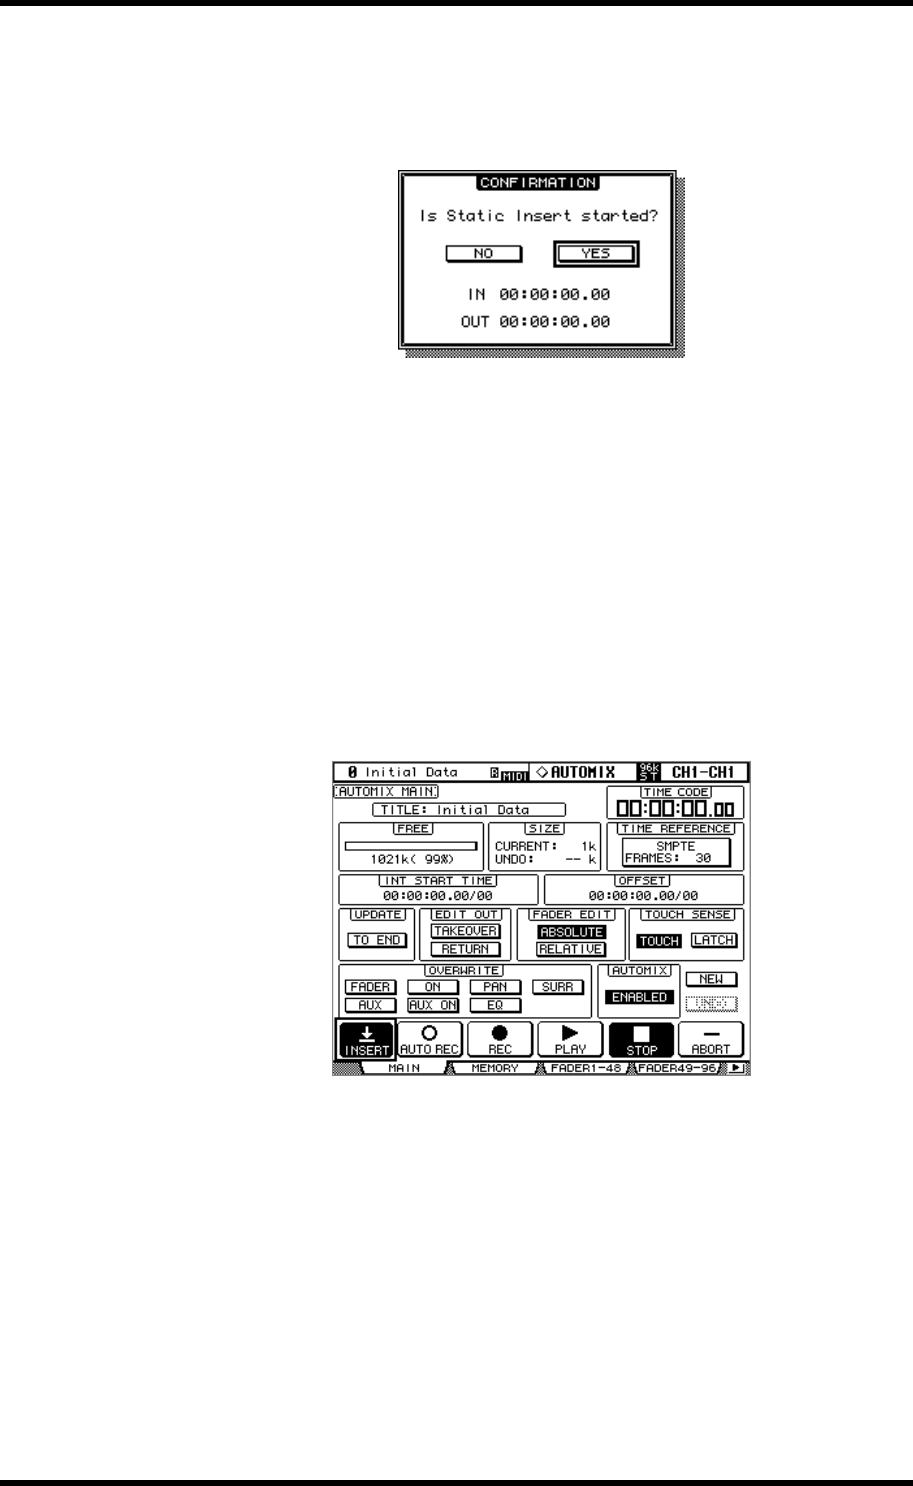
A confirmation message appears.
3 Use the IN and OUT parameters to specify the region to be inserted.
The default IN and OUT parameter values use the Locate memories specified by the Insert
Time Link preference (see page 278). If you change the Locate points for the corresponding
Locate memories while the confirmation message is displayed, the IN and OUT parameter
values will be updated accordingly.
If MIDI clock is selected as a timecode source, these parameters indicate the position in
bar:beats:clocks and use the IN and OUT parameter values in the TIME SETTING section
on the Event Job page. In this case, the Insert Time Link preference is disabled.
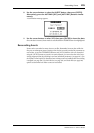
4 Use the cursor buttons to select YES, then press [ENTER].
The DM2000 enters Insert mode, and the INSERT button is highlighted. The AUTOMIX
[REC] and [AUTO REC] button indicators flash.
The fader positions, mute function and other parameters are updated to the settings speci-
fied for the time value of the IN parameter.
5 Select the parameter you wish to insert using the AUTOMIX OVERWRITE but-
tons.
To select effect or plug-in parameters, locate the Effect Edit or Plug-in Edit page, then move
the cursor to the desired parameter and press [ENTER].
6 Select the insert destination channel by pressing the corresponding [AUTO]
button.
The selected [AUTO] button indicator lights up red.
7 Edit a parameter you wish to insert.
It might be helpful to use loop playback (page 259) while editing the parameter if you wish
to insert EQ parameters.