


21
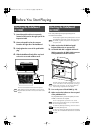
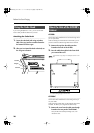
Before You Start Playing
Before You Start Playing
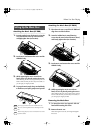
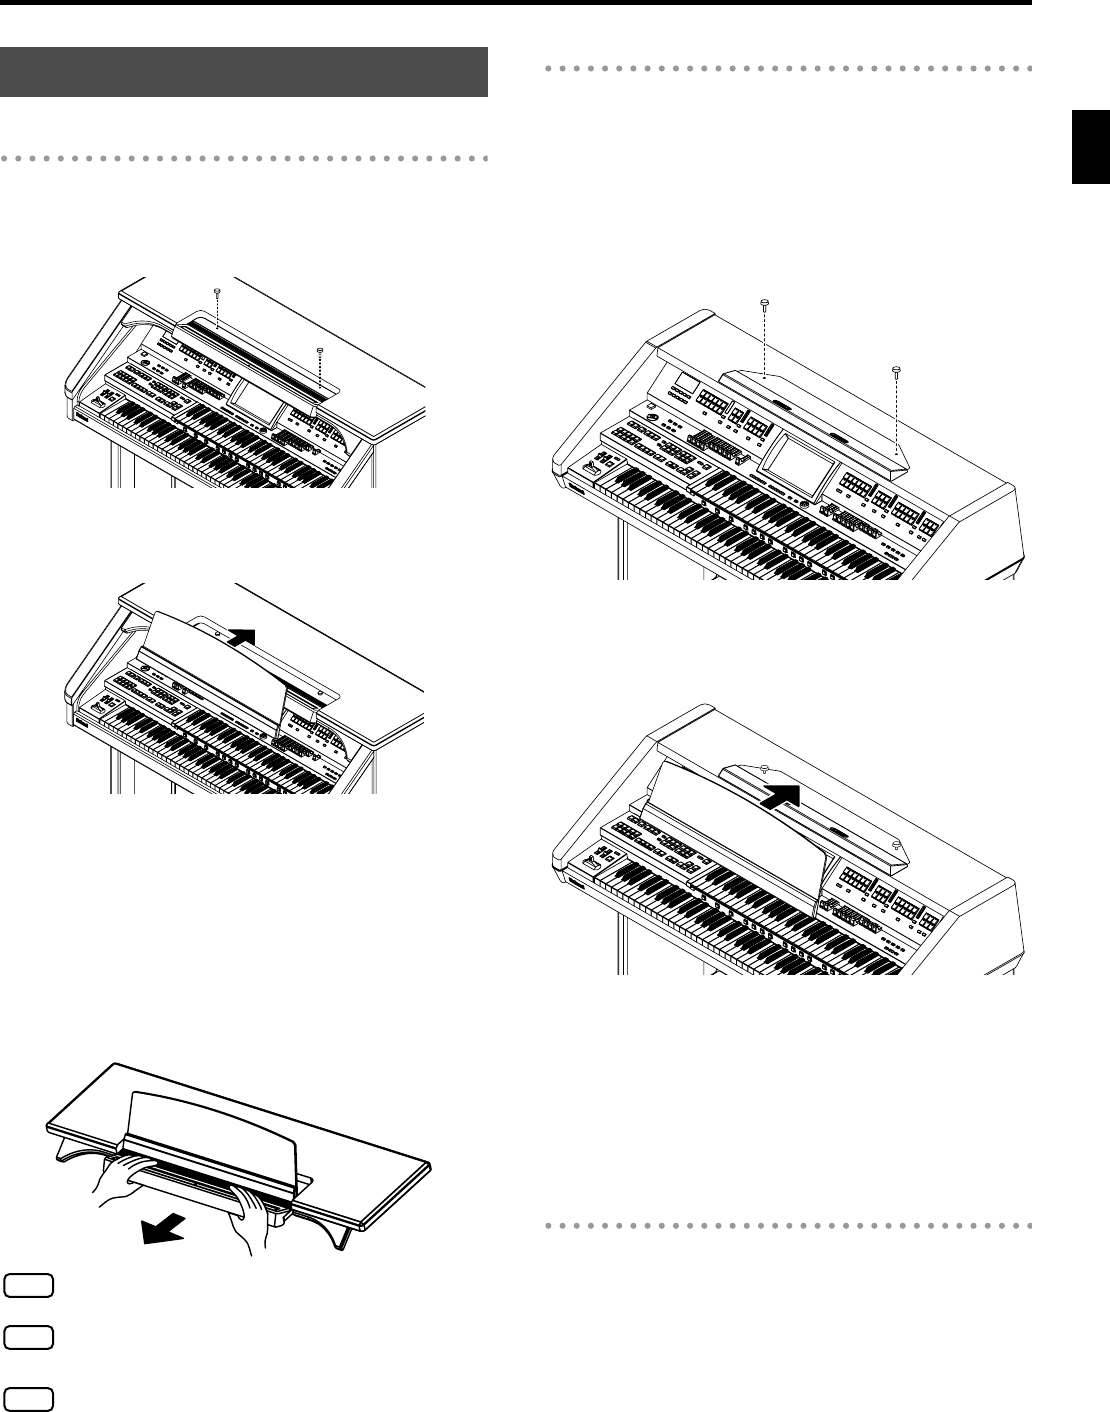
Attaching the Music Rest (AT-900)
1.
Insert the supplied screws for the music rest into the
screw holes located on the top of the instrument,
and lightly tighten them (two locations).
2.
Put the music rest between the screws and the
ATELIER’s body.
3.
While supporting the music rest with one
hand, secure it in place by turning the screws.
When attaching the music rest, support it firmly with one
hand to make sure that you don’t drop it. Be careful, so
you don’t get your fingers pinched.
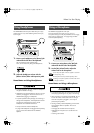
4.
To set up the music stand, always use both hands
to lift the base, and pull it gently toward yourself.
fig.00-24.eps
Do not apply excessive force to the installed music rest.
Be sure to use the supplied screws for attaching the music
rest.
Before moving the piano, be sure to remove the music rest to
prevent accidents.
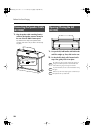
Attaching the Music Rest (AT-900C)
1.
Place the music rest on top of the AT-900C and
align the screw hole locations.
2.
Insert the included music stand fastening
screws into the screw holes of the music stand,
and loosely tighten them (two locations).
3.
Put the music rest between the screws and the
ATELIER’s body.
4.
While supporting the music rest with one
hand, secure it in place by turning the screws.
When attaching the music rest, support it firmly with one
hand to make sure that you don’t drop it. Be careful, so
you don’t get your fingers pinched.
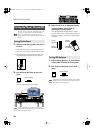
Removing the Music Rest
1.
To remove the music rest, support it with one
hand while loosening the screws.
2.
Remove the music rest.
After removing the music rest, don’t forget to retighten
the screws.
Setting Up the Music Rest
Screw
Screw
NOTE
NOTE
NOTE
Screw
Screw
AT-900_e.book 21 ページ 2007年9月7日 金曜日 午前8時43分