


77
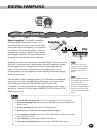
DIGITAL SAMPLING
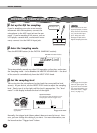
2) Move the cursor along the waveform by using the OVERALL +/
- buttons.
The cursor position determines the end point — the point at which
sample playback stops. Any sound after the cursor is not played.
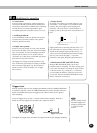
Make sure to press and
release a key each time you
want to audition a new
cursor/end point setting.
Generally, it’s best to play the lower keys of the sample, since this
allows you to hear the sample played back slowly — making it easier
to spot the desired end point. If you can’t precisely pinpoint the
desired location, go on to step 4).
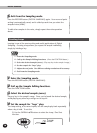
4) Select a more detailed resolution, and repeat steps 2) and 3)
above.
The best way to adjust the end point is to use the three resolutions in
their given order: 1) Coarse, 2) Mid, 3) Fine. Once you’ve gotten as
close to the desired end point as possible within Coarse, select Mid
(by using the OVERALL
▲
/
▼
buttons), then use the OVERALL +/-
buttons to move the cursor.
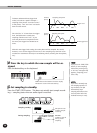
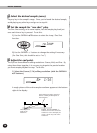
Here is our example waveform as seen in the Mid resolution:
3) Play the keyboard and listen to the edited sample.
Repeat this as often as necessary — playing a key, listening, and
continuing to move the cursor, adjusting the end point until you’re
satisfied.
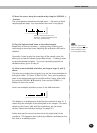
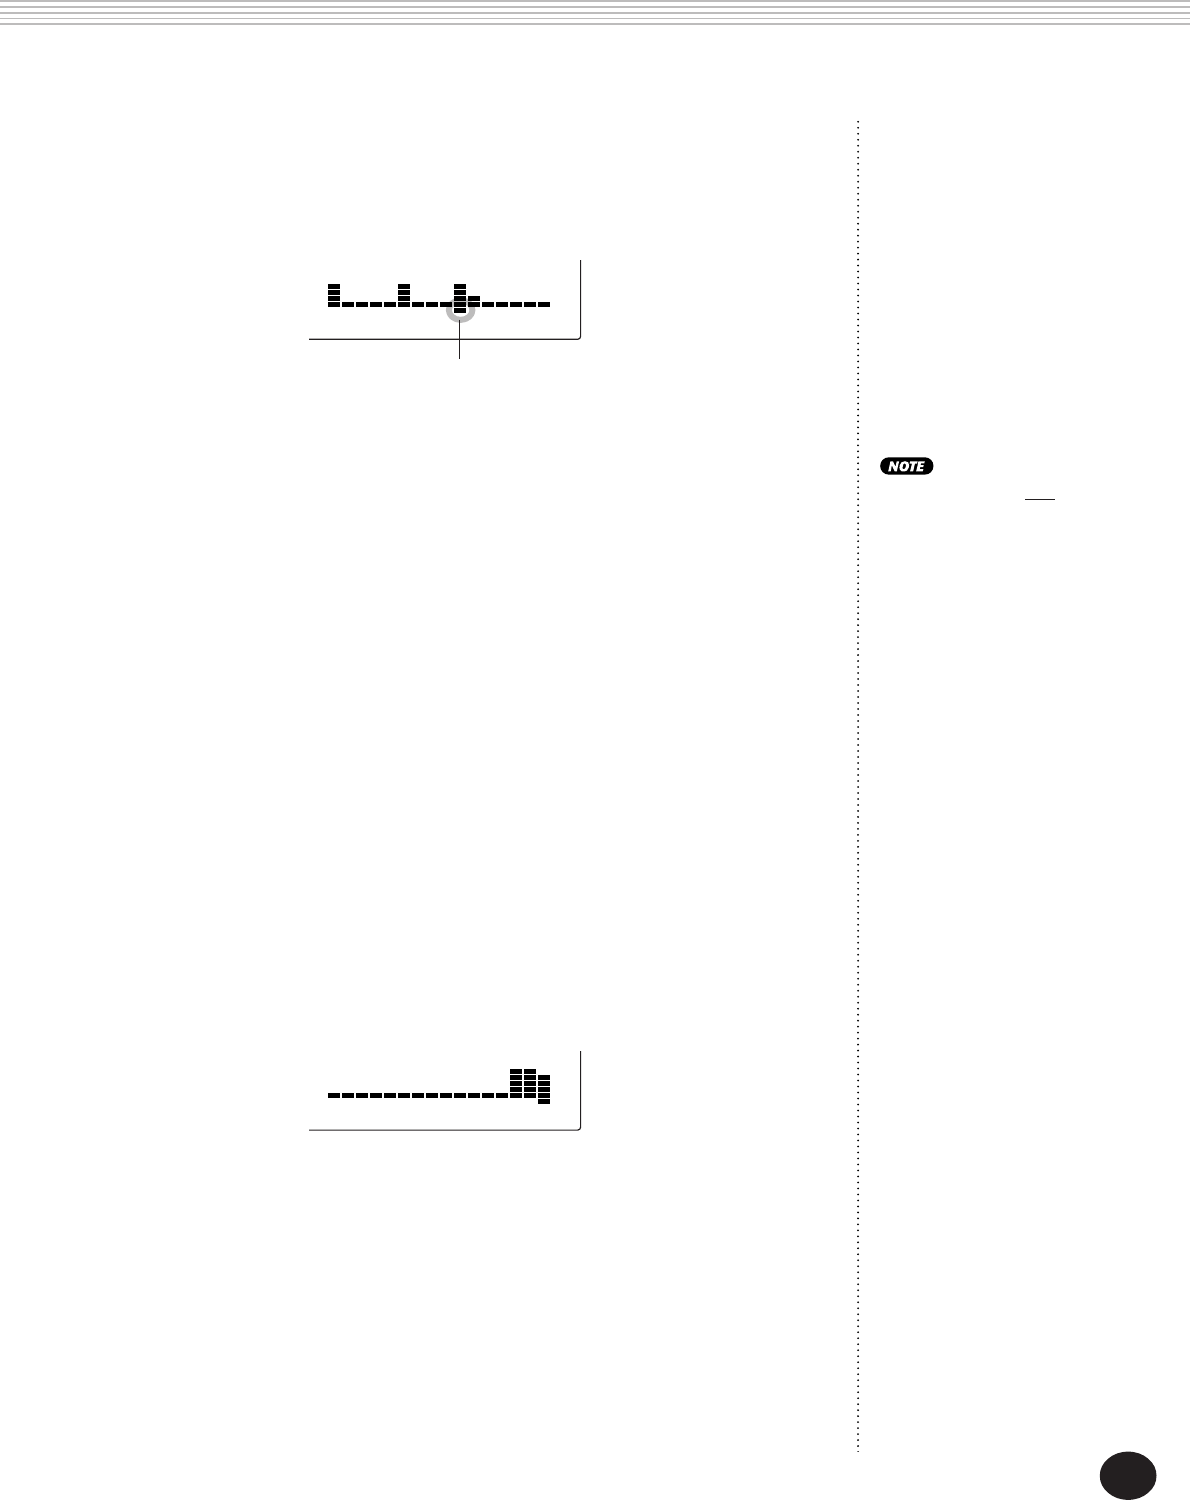
Cursor is at the third peak in the
waveform. (Sample playback stops at
this newly selected point.)
This display is an enlargement of the block we selected in step 2). It
shows only the initial part of the third peak in our sample. (For more
details on the Coarse, Mid, and Fine resolutions, see the boxed
section “About the resolution settings“ on page 79.)
Notice also that the cursor has returned to the right (end) of the
waveform. This happens when selecting a different resolution for the
first time in an editing session.