


85
SONG RECORDING
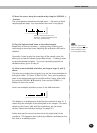
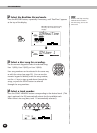
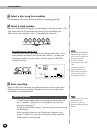
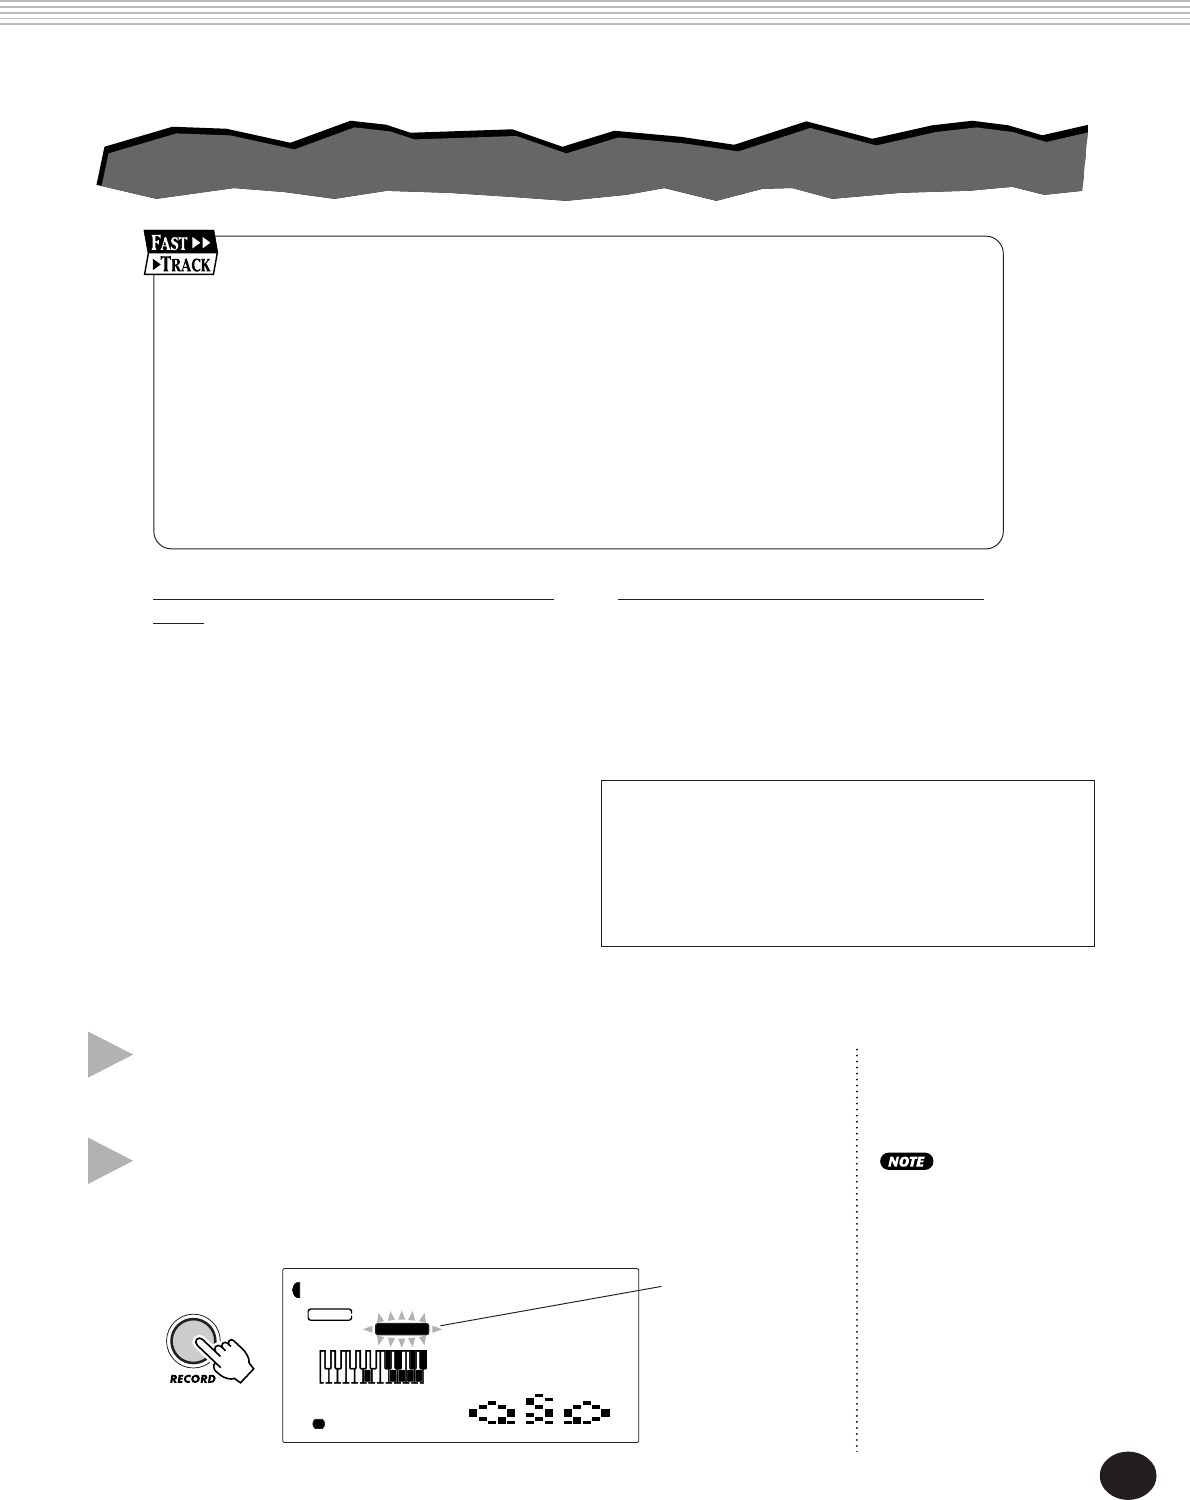
2 Select the Step Record mode.
Press the RECORD button, repeatedly if necessary, until “Step” appears at
the top of the display.
1 Make all desired DJX settings.
This operation is the same as that of Realtime recording (page 81).
Realtime and Step recording
methods can be mixed in
the same song, but not the
same track.
Data that can be recorded to the normal (melody)
tracks:
• Note on/off
• Velocity**
• Main voice settings (Voice Number*, Volume*,
Octave, Pan*, Reverb Send Level*, Chorus Send
Level*, DSP Send Level*)
• Dual voice settings (Voice Number*, Volume*,
Octave, Pan*, Reverb Send Level*, Chorus Send
Level*, DSP Send Level*)
• Reverb on/off, Reverb Type*
• Chorus on/off, Chorus Type*
• DSP on/off, DSP Type*
• BPM (Tempo)*, Time Signature* (if there is no
such data in the Chord track)
Data that can be recorded to the Chord track:
• Style number*
• Chord changes and timing
• Changing sections (Lead In, Beat A/B, etc.) and timing
• Pattern Volume*
• BPM (Tempo), Time Signature*
* These settings can only be recorded once at the beginning
of a song; other settings can be changed in the middle of a
song.
** All notes are entered at the same velocity; however, this
can be changed in various ways with the Velocity Curve
function (page 90).
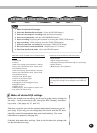
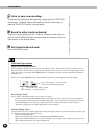
004
001 142
MEASURE
RECORD
SONG
1
Step
RECORD indication
flashes briefly, then
stays lit to indicate
record standby.
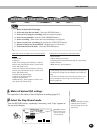
RECORDING A USER SONG — STEP RECORDING
RECORDING A USER SONG — STEP RECORDING
1 Make all desired DJX settings.
2 Select the Step Record mode. (Press the RECORD button.)
3 Select a User song for recording (with the numeric keypad).
4 Select a track number (with the SONG MEMORY buttons).
5 Start recording. (Enter notes and rests individually; see page 86.)
6 Listen to your new recording (by pressing the START/STOP button).
7 Record to other tracks as desired. (Repeat steps #4 - #6 above.)
8 Exit from the Record mode. (Press the RECORD button.)