29
Formatting a Disk
1
.
2
.
3
.
5
.
6
.
7
.
4
.
CLK
SYNC OUT DRIVE
SCSI
AUTO A.PUNCH
SMF
PGM
ABS
44.1kHz
[SCSI] is lights up
SYNC OUT DRIVE
SCSI
AUTO A.PUNCH
SMF
PGM
ABS
44.1kHz
Formatting a current drive disk (SCSI disk)
You may use a SCSI removable disk, a fixed hard disk, or an optional 2.5-inch internal hard disk as the FD-8’s
current drive. This section explains how to format a SCSI-type removable or fixed disk. Before you can format a
SCSI disk, [SCSI] should appear in the [DRIVE] indication area. If you are also using an optional 2.5-inch internal
hard disk, make sure that the following indication appears on the display.
Turn on the power to the FD-8 and the current drive.
The [Initial...] message, then [No Disk] message appears
on the display. (If a fixed hard disk is connected, the
[Initial...] message, then the [Un Format !] message ap-
pears and the FD-8 enters SETUP mode. Skip to Step 3
below.)
Formatting a new disk
The following procedure explains how to format a new SCSI disk, and assumes that a SCSI drive (removable or
fixed hard disk) is connected to the FD-8 as the current drive.
Insert a new removable disk into the current drive.
The FD-8 displays the “UnFormat!” message, then auto-
matically enters SETUP mode, and displays the “Format
?” menu. At this time, the ID number (e.g., [SCSi id-2])
of the connected SCSI drive (or fixed disk) will appear
and [SURE ?] will blink on the display.
Make sure that the ID number is correct and the
[SURE ?] message appears, then press the EX-
ECUTE/YES key.
The FD-8 displays [Pls Wait !], then immediately displays
the recording mode menu, with [Normal] (Normal mode)
and [SURE ?] flashing.
Turn the JOG dial to select the desired recording
mode.
Turning the JOG dial toggles between [Normal] and [Mas-
ter].
If you wish to format another removable disk, insert the
disk and repeat the procedure described above.
Press and hold the RECORD button and press the
EXECUTE/YES key.
The FD-8 starts formatting in selected recording mode.
[REMAIN] lights up on the display, and a negative value
of the unformatted disk area size will count down as the
format operation progresses. Please wait a while.
When formatting is complete, [COMPLETED !] lights up
on the display, and the FD-8 stops spinning the disk.
Press the EXIT/NO key or the STOP button to exit
SETUP mode.
Formatting will automatically create one Program 1 on
the disk. The Time Base will change to ABS 0.
Press the DISP SEL key to change to the REMAIN
display and check the available recording time.
Press the DISP SEL key again to return to the Time Base
display.
Press the EXIT/NO key while holding down the SHIFT
key to eject the removable disk from the drive.
Note:
If you are using a removable MO, Zip, or EZ disk as
the current drive, select [Normal]. If you are using a fixed
disk or optional 2.5 inch internal hard disk, select [Normal]
or [Master]. Note that you cannot save or load data via a
DAT or adat if you recorded the data on a disk formatted in
Normal mode.
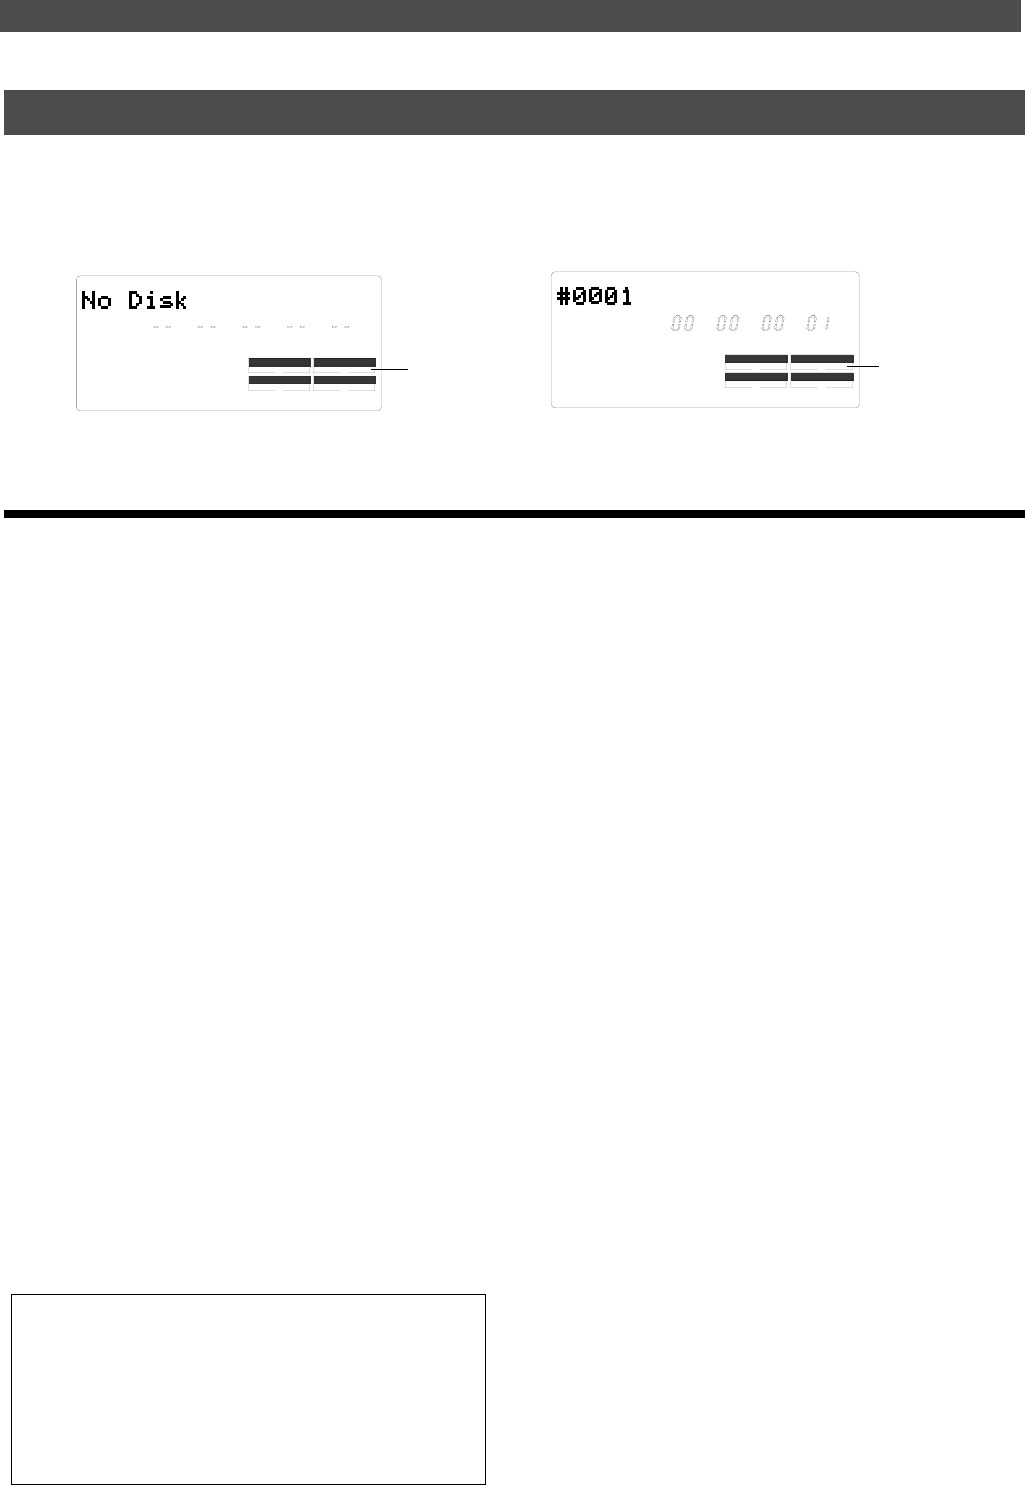
[SCSI] is lights up
<The display when disk is set in the current drive.>
<The display when no disk is set in the current drive.>


