40
4. Record the sample
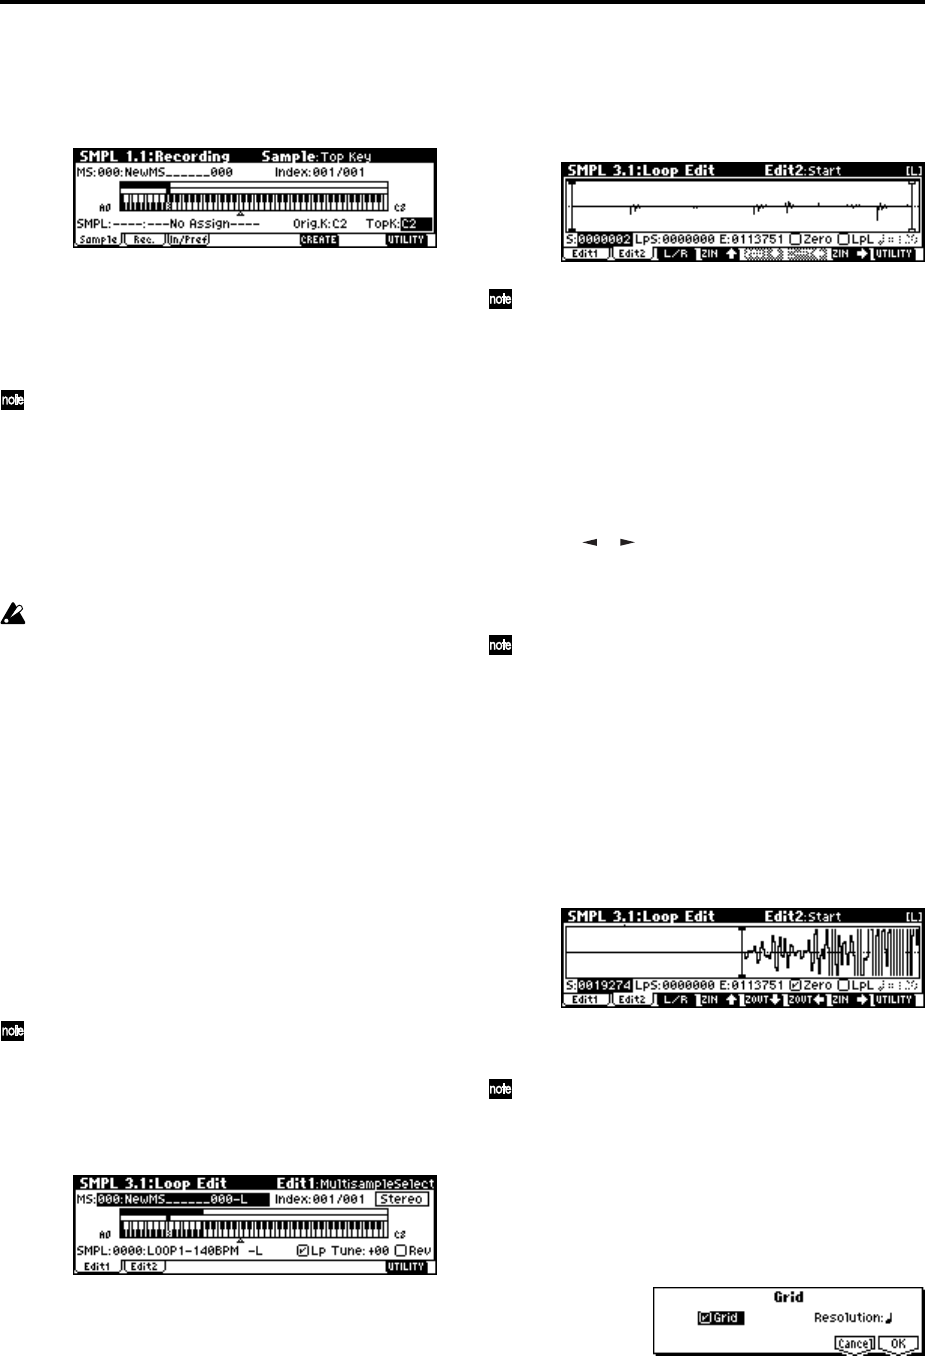
1 Press the [F1] (“Sample”) key to access the SMPL
1.1: Recording, Sample page.
2 Press the [REC/WRITE] key.
3 At the moment that you wish to start sampling,
press the [START/STOP] key.
Sampling will start.
It is a good idea to allow a bit of extra time before
you start and after you stop sampling.
4 At the moment that you wish to stop sampling,
press the [START/STOP] key.
Sampling will stop.
A 140 BPM drum phrase has now been sampled.
The sample will automatically be assigned to
“SMPL.”
Sampling will stop automatically if the remaining
amount of memory reaches zero.
5 Listen to the sampled sound, and assign a name to
the sample.
Press the C2 note or the [AUDITION] key, and the
sampled sound will play. After you have verified
the sound, assign a name to the sample (
☞p.37)
(e.g., LOOP1-140 BPM). Up to 14 characters can be
input as the name of a stereo sample (the two char-
acters -L and -R at the end are fixed). When you
assign a name to either the L or R channel, the other
sample will be named automatically.
5. Make loop settings
Next we will delete unwanted portions from the sam-
ple, and make settings so that the sample will be
looped smoothly.
By default when the power is turned on, sampled
sounds will be looped automatically. (1.1: Record-
ing, Input/Pref page “Auto Loop On” On)
1 Press the [MENU] key to access the page menu.
Press the [F3] key, and then press the [F8] (“Open”)
key to select 3.1: Loop Edit.
2 Notice that 0000: LOOP1-140BPM -L is selected for
“SMPL.”
3 Press the [F2] (“Edit2”) key to access the Edit2
page.
The waveform data of the currently selected sample
will be displayed.
The selected sample is a stereo sample. The L and
R waveforms will be displayed alternately when
you press the [F3] (“L/R”) key.
4 Use “S (Start)” to set the start address, “LpS (Loop
Start)” to set the loop start address, and “E (End)”
to set the end address.
The sample will sound as follows.
When looping is on: S → E → LpS → E → (continue
repeating LpS → E)
When looping is off: S → E
Use the [ ], [ ] to select “S (Start)” (highlighted),
and use the [VALUE] dial etc. to specify the location
at which the sample will begin sounding. The verti-
cal line in the display will move accordingly.
As necessary, you can press the [F4]–[F7] keys to
expand or shrink the waveform display. Zoom will
expand/shrink the display starting at the selected
“S (Start),” “LpS (Loop Start),” or “E (End)”
points.
If you check “Zero (Use Zero),” locations where
the waveform is at zero will automatically be
found and selected when you use the [VALUE]
dial etc. to set “S (Start),” “LpS (Loop Start),” or
“E (End)” points. This makes it easy to set these
points to addresses that will not produce clicks or
noise.
For this example, set “LpS (Loop Start)” and “S
(Start)” to the same value.
If desired, you can make a dotted vertical line
appear in the sample waveform display to indicate
the BPM. If you use this function with waveforms
that have a specific BPM, it will be easier to make
accurate settings for “E (End).”
Press the [F8] (“UTILITY”) key to access the utility
menu, and press the [F7] key to select “Grid.”
Press the [F8] (“OK”) key. The following dialog
box will appear.


