84
Step recording
This is a method of recording where you specify the
note timing, note length, and velocity etc. in the LCD
screen, and use the keyboard to input the pitches.
(
☞p.67)
Only note-on/off data can be recorded with this
method.
Event Edit and Create Control Data
Note data is the only type of data that can be recorded
in step recording. However there are ways to record
other types of data, aside from the realtime mode. You
can use the Event Edit and Create Control Data func-
tions.
Event Edit is intended as a way to edit previously-
recorded data, but you can also use it to modify pro-
gram numbers or insert control changes.
Create Control Data is a function that lets you create
and insert controller data that changes smoothly
between two specified values over the specified length
of time. This is used to input bend, after touch, and
control change data etc.
Realtime-recording to a pattern
Here’s how you can use realtime recording to create a
pattern. User patterns can be accessed by the RPPR
function in the same way as preset patterns, and can
be copied to or placed in a song. Playback data from a
track can also be copied to a pattern.
Before you begin recording a pattern, turn off the
memory protect setting in Global mode (
☞p.43).
When realtime-recording a pattern, a pattern of the
specified number of measures will playback repeat-
edly, allowing you to continue adding musical data to
it.
1 Create a new song, and load the template song
“P02: R&B.” (
☞p.65)
2 Access the SEQ 5.1: RPPR, Pattern page.
3 For “Track Select,” select track T02: Bass.
4 Set “Pattern Bank” to User, and set “Pattern
Select” to U00.
User patterns U00–U99 can be created for each song.
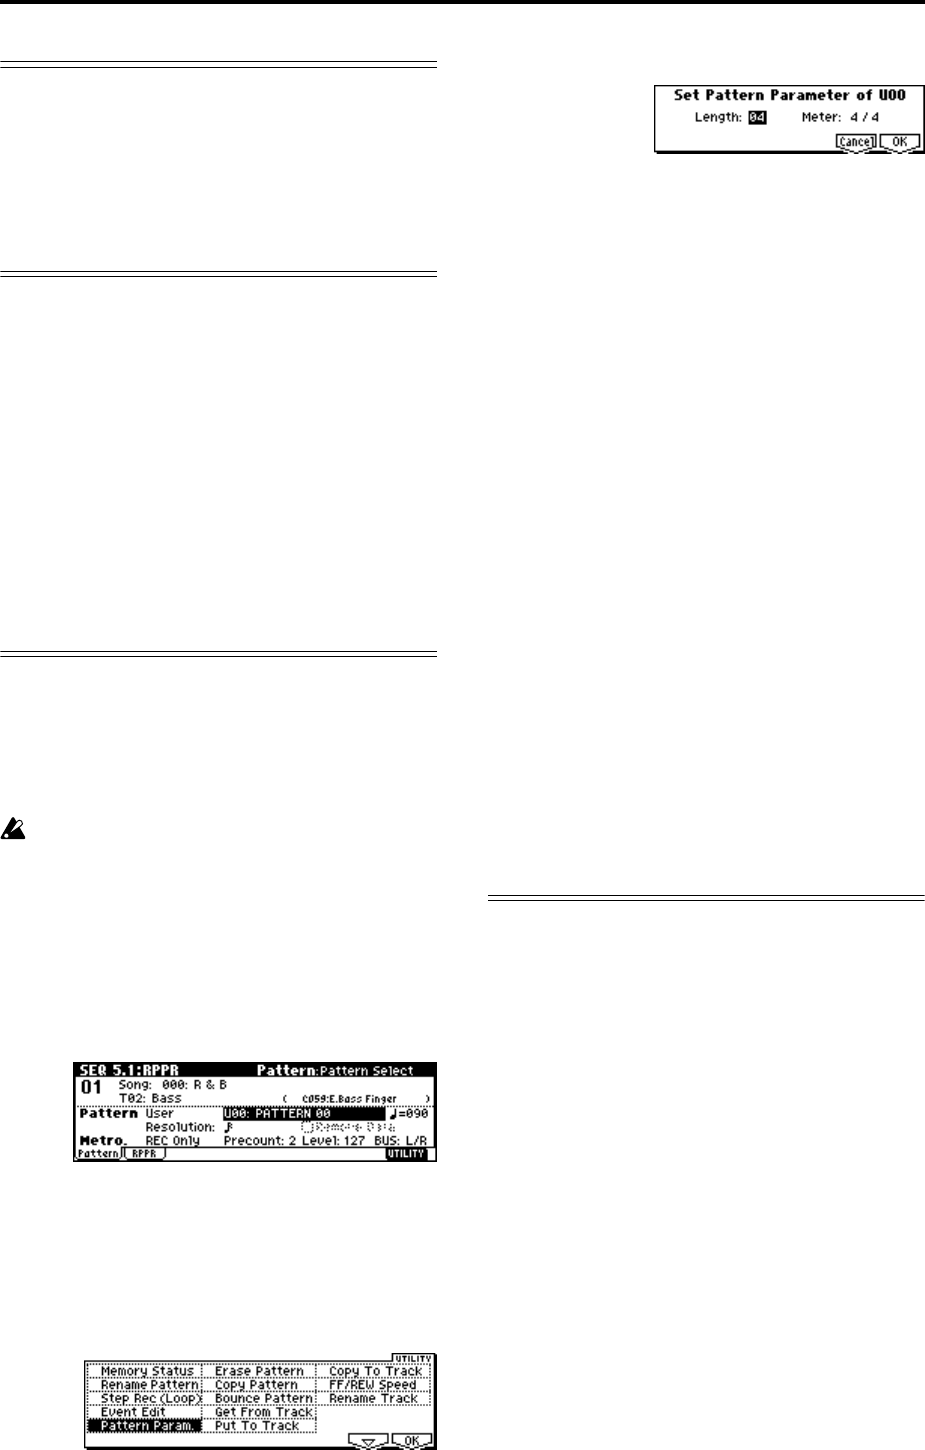
5 Select the Utility menu command “Pattern
Param.”.
A dialog box will appear.
6 Set the number of measures in the pattern to a
“Length” of 04 (four measures), and set “Meter” to
a time signature of 4/4. Press the [F8] (“OK”) key.
7 Set the “Resolution.” For this example, select
(16th note).
8 Begin realtime recording.
You can record in the same way as you did when
recording tracks with Loop All Tracks. (
☞p.82)
Press the [REC/WRITE] key, and then press the
[START/STOP] key.
After the pre-count, pattern recording will begin.
Play the keyboard and operate the joystick and
other controllers to record your performance.
When you reach the end of the pattern, you will
return to the beginning of the pattern and continue
recording. If you continue recording, the newly
recorded data will be added to the previously-
recorded data.
9 If you want to delete specific data while you con-
tinue pattern recording, you can press the [REC/
WRITE] key or check the “Remove Data” check
box.
For details refer to step 6 of “Loop All Tracks”
(
☞p.82).
0 Press the [START/STOP] key to stop recording.
If you made a mistake or decide to re-record, press
the [START/STOP] key to stop recording, and press
the [COMPARE] key.
Using the arpeggiator for pattern recording
If the arpeggiator is set to operate for the track that is
selected for “Track Select,” you can turn on the [ARP
ON/OFF] key and record the performance of the
arpeggiator into the pattern.
For details on arpeggiator settings, refer to p.76 and PG
p.82.
