90
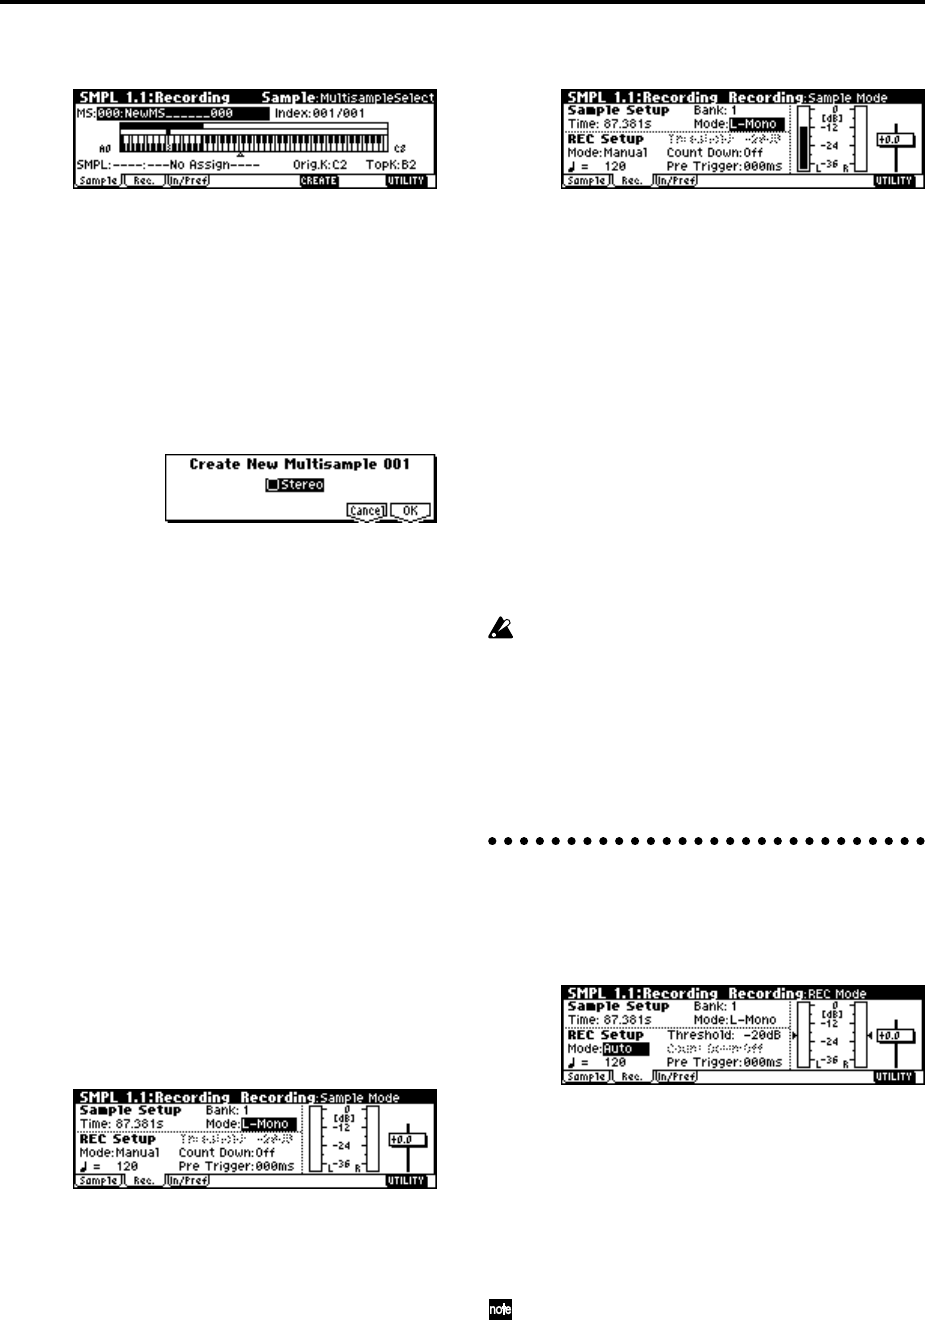
3 Select the 1.1: Recording, Sample page.
4 For “MS (Multisample Select),” select 000:
NewMS____000.
Immediately after the power is turned on, 000:
NewMS______000 will be created automatically.
Use the numeric keys [0]–[9] to input the multisam-
ple number that you wish to record, and press the
[ENTER] key.
If you select a new number, the Create New Multi-
sample dialog box will appear. Press the [F8] (“OK”)
key, and the new multisample will be created.
To specify the name, use the Utility menu command
“Rename MS.”
5 In “SMPL (Sample Select),” select the sample that
you wish to record. For this example, select ----: ---
No Assign----.
You may sample even in this condition. The sample
will be automatically recorded to a vacant sample
number.
If you wish to start by specifying the sample num-
ber to be sampled, use the [INC]/[DEC] keys or
numeric keys [0]–[9] and [ENTER] key to specify the
desired number.
A sample will be created when you record. A sam-
ple name such as 0000: NewSample_0000 will be
assigned automatically. This name can be edited
using the Utility menu command “Rename SMPL.”
If you execute sampling when an existing sample
such as 0000: NewSample_0000 is selected, the new
sample will be sampled to a vacant sample number.
You do not need to be concerned with this setting
even when you continue recording successive sam-
ples.
6 Select the 1.1: Recording, Recording page.
7 Set the “Mode (Sample Mode).”
Monaural source: If the “Input1” setting “Pan” is
L000, set “Mode (Sample Mode)” to L-Mono. If
“Pan” is R127, set “Mode (Sample Mode)” to R-
Mono.
Stereo source: Set the “Mode (Sample Mode)” to
Stereo.
8 Press the [REC/WRITE] key.
If an input signal is present, the Recording Level
[dB] meter will move according to the “Pan” setting
in “Input1” and “Input2.” This is the recording-
standby condition.
In the case of “Connections and settings for a mon-
aural source,” the L meter will move. In the case of
“Connections and settings for a stereo source,” the L
and R meters will move.
Use the “Recording Level” slider to adjust the level.
For this example, set the slider to the 0.0 setting
(
☞PG p.94).
9 At the moment that you wish to begin sampling,
press the [START/STOP] key.
Sampling will begin.
0 Sampling will stop when you press the [START/
STOP] key.
Sampling will stop automatically when the
remaining amount of memory reaches zero.
A Either press the [AUDITION] key, or press the C2
key.
The sample you recorded will play back.
If you wish to continue recording samples, repeat
steps 7–0.
Auto sampling
With auto mode, sampling will begin when the input
signal exceeds the specified threshold level.
1 Select the 1.1: Recording, Recording page.
2 For “Mode (REC Mode),” select Auto.
This will select auto recording mode.
3 Set the “Threshold.”
When the input signal exceeds the “Threshold”
level, sampling will begin automatically. The black
triangles at both sides of the Recording Level [dB]
meter display will indicate the specified level.
When you use auto sampling, the attack portion of
the sampled input sound may be lost, depending
on the “Threshold” setting. If this occurs, you can
use “Pre Trigger” to sample the sound that occurs
before sampling actually begins. Normally you
will set this to 0, and use it only when necessary.
4 Select the 1.1: Recording, Sample page.


