83
Basic functions
Sequencer mode
By checking the “Remove Data” check box you can
erase only the specified data. During loop record-
ing, press the note that you wish to delete, and only
the data of that note number will be deleted from
the keyboard as long as you continue pressing that
note.
Similarly, bender data will be deleted as long as you
tilt the joystick in the X (horizontal) direction, and
after touch data will be deleted as long as you apply
pressure to the keyboard.
When you are once again ready to record musical
data, uncheck the “Remove Data” check box.
7 Press the [START/STOP] key.
Playback will end, and you will return to the record-
ing start location that you specified in step 4.
If Loop All Tracks is selected, normal playback will
be looped as well.
• Multi (multitrack recording)
Multitrack recording allows you to simultaneously
record onto multiple tracks, each with a different
channel. This method can be used with overwrite,
overdub, manual punch-in, and auto punch-in
recording.
Using the arpeggiator to record multiple tracks
simultaneously
A multi-track performance using the arpeggiator
function can be recorded simultaneously using
multi recording (
☞p.79).
When simultaneously recording multiple tracks
using the RPPR function
You can use multitrack recording to simultaneously
record the playback of multiple tracks that are being
triggered by the RPPR function. For the procedure,
refer to “Realtime-recording an RPPR performance”
(
☞p.76).
When simultaneously recording multiple tracks of
MIDI data from an external sequencer, etc.
1 Make sure that the TR’s MIDI IN and the external
sequencer’s MIDI OUT are connected by a MIDI
cable.
If they are not connected, turn off the power, make
the connection, and then turn the power back on
again. (
☞PG p.233)
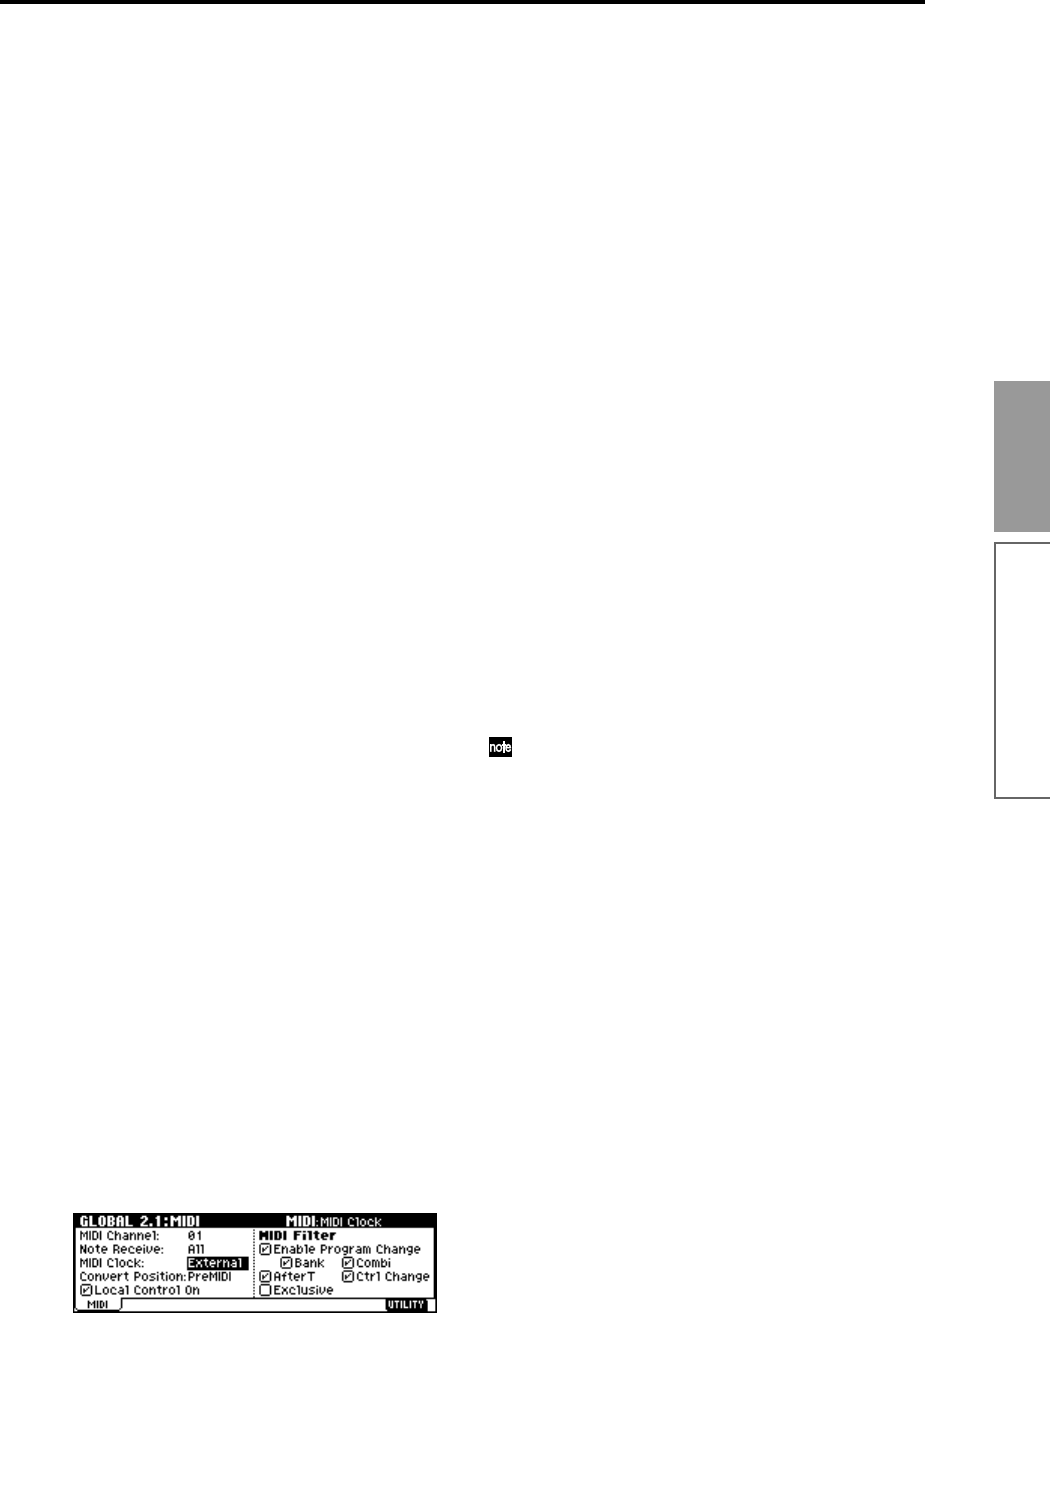
2 Set the MIDI Clock (GLOBAL 2.1: MIDI, MIDI
page “MIDI Clock”) to External or Ext-USB, so
that this instrument will synchronize to the MIDI
clock of the external sequencer (
☞PG p.129).
3 Create a new song, and in the SEQ 1.1: Play/REC,
Preference page, check the “Multi REC” check
box. Set the “Recording Mode” to Over Write.
4 Select the SEQ 1.1: Play/REC, Program page.
For the tracks that you are not recording, set “PLAY/
MUTE/REC” to PLAY or MUTE.
5 In SEQ 3.1: Param1, MIDI page “MIDI Channel,”
specify the MIDI channel for each track.
The specified channel of musical data will be
recorded on that track. It is a good idea to set tracks
1–16 to MIDI channels 1–16. (This is the default set-
ting.) Also make sure that “Status” is set either to
INT or BTH.
6 Press the [LOCATE] key to set the location to
001:01.000.
7 Press the [REC/WRITE] key to enter recording-
standby mode.
8 Start the external sequencer.
The TR’sequencer will receive the MIDI Start mes-
sage transmitted by the external sequencer, and will
automatically begin recording.
9 When the song ends, stop the external sequencer.
This instrument’s sequencer will receive the MIDI
Stop message transmitted by the external sequencer,
and will automatically stop recording. You can also
press the [START/STOP] key on this instrument
itself to stop recording.
0 Playback.
In the GLOBAL 2.1: MIDI page, set “MIDI Clock”
to Internal.
Set “Tempo Mode” to Auto.
When you press the [START/STOP] key, playback
will begin.
If the correct sounds do not play immediately after
playback is started, you may be able to solve the
problem by using the Utility menu command
“Event Edit” (SEQ 5.2: Track Edit) to edit the Pro-
gram Change data.


