


56
Making Detailed Settings for Tones
Making Layer Settings
The RD-700NX features four Parts (UPPER 1, UPPER 2, LOWER 1, and LOWER 2) that you can use for freely controlling the internal parts with the
RD-700NX’s buttons and keyboard.
These four parts that are used for controlling the internal parts are collectively known as the “Layer.”
You can perform operations like Split with the Layer very simply using the RD-700NX’s keyboard (p. 29), and you can make more detailed settings for the
Layer as well.
NOTE
Depending on the tone selected, there may be parameters that cannot be altered.
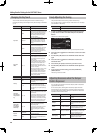
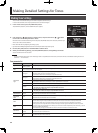
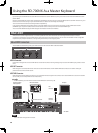
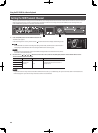
1. Press the [LAYER EDIT] button.
The [LAYER EDIT] button will light, and the LAYER EDIT screen will appear.
Layers that have their LAYER switch turned o are dimmed in the screen.
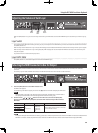
2. Press the Cursor [ ] [ ] buttons to switch screens.
3. Press the Cursor [
] [ ] [ ] [ ] buttons to move the Cursor to the parameter to be set.
4. Use the [DEC] [INC] buttons or the VALUE dial to edit the value.
Pressing the [DEC] and [INC] buttons simultaneously sets that parameter to the standard default value.
5. When you nish making settings, press the [TONE EDIT] button, extinguishing its indicator.
You are returned to the Live Set screen.
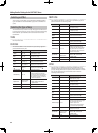
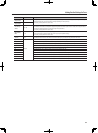
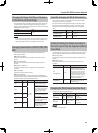
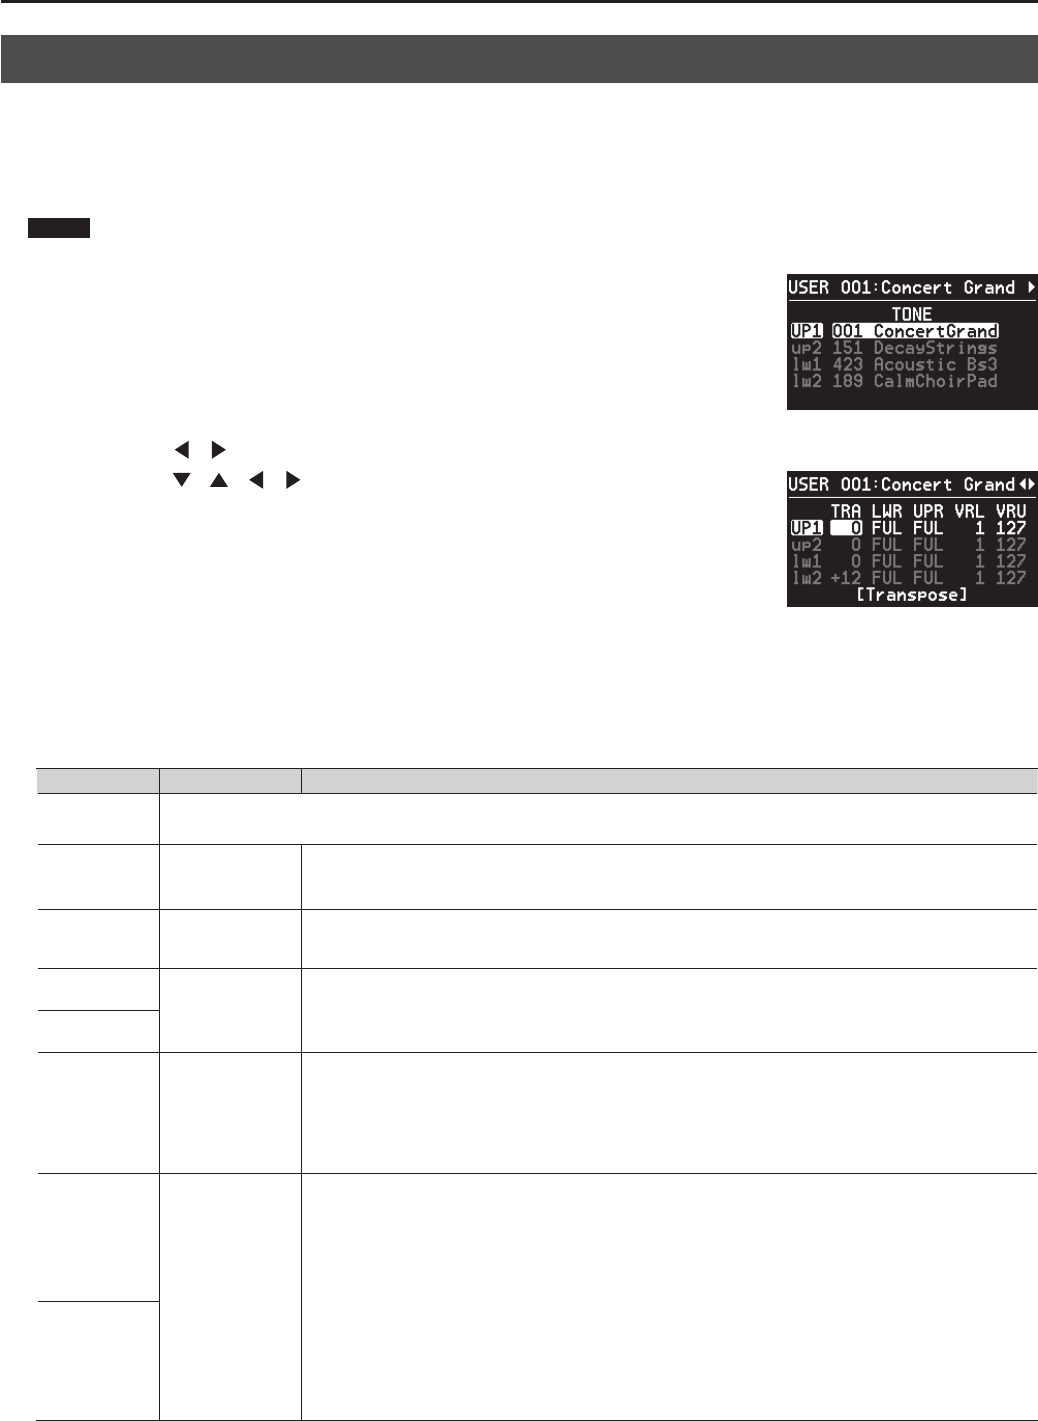
Layer parameter list
Parameter Value Description
TONE
This indicates the tone that is assigned to the layer.
You can select tone using the ONE TOUCH buttons and the LIVE SET buttons.
VOL (Volume) 0–127
Sets the volume for each of the layers.
The Volume setting is mainly used when multiple tones are playing to obtain the desired balance in volume between each
layer.
PAN L64–0–R63
The Pan setting localizes the sound image of each layer when the output is in stereo. With an increase in the value for L,
more of the sound will be heard as coming from the left side. Similarly, more of the sound will originate at the right if the
value of R is increased. When set to 0, the sound is heard as coming from the center.
REV
(Reverb Amount)
0–127
This sets the depth of the reverb and chorus eects.
When this value is set to “0,” no reverb or chorus eect is applied when the REVERB [DEPTH] knob or the CHORUS [DEPTH]
knob is turned.
CHO
(Chorus Amount)
TRA (Transpose) -48–0–+48
You can perform with each Layer transposed to a dierent pitch.
When multiple tones are playing, you can create a richer sound by setting the two Tones to dierent octaves. Also, if the
Keyboard Mode is set to Split (p. 29) and you are playing a bass Tone in the lower Layer, you can use the Transpose function to
play the bass at a lower pitch.
You can also set the same degree of transposition for all layers with the [TRANSPOSE] button. For details, refer to “Transpos-
ing the Key of the Keyboard (TRANSPOSE)” (p. 32).
LWR (Key Range
Lower)
A0–C8
When the [SPLIT] button is pressed in normal performance conditions, the key range is divided at the Split Point, and you
can play with two dierent tones on one keyboard.
Using Key Range allows you to make even more detailed key range settings.
This sets the lower and upper limit of the key range in each layer. You cannot set the key range’s lower limit higher than the
upper limit, nor can you set the upper limit below the lower limit.
After moving the cursor to the parameter to be set, you can make the setting by pressing the designated key and the
[ENTER] button.
This is eective only when the [SPLIT] button is on (p. 29) in the key range settings.
“FUL” is displayed when the [SPLIT] button is set to OFF. In this case, the [SPLIT] button is automatically switched on when
the value is changed to something other than “FUL” with the [DEC] [INC] button or VALUE dial.
When the split point (p. 29) is changed, the Key Range value also changes.
UPR (Key Range
Upper)