Example 1: Recording a song from scratch
E-60/E-50 Music Workstation
r
125
(4) Press the following three fields and enter the
desired values using the [DATA÷ENTRY] dial or the
[DEC]/[INC] buttons.
● Tempo—Allows you to specify the initial tempo of the
new song (q= 20~250). Choose a tempo that is comfort-
able for recording. You can set the final tempo by editing
the MASTER track (see p. 139) or by recording it after
activating the TEMPO REC SW parameter (see p. 126).
● Time Signature BEAT—If your new song uses the 4/4
time signature, there is no need to change this value.
Otherwise, enter the desired time signature (1/2~32/16).
The warning alerts you to the fact that pressing
[EXECUTE] may have disastrous consequences. See
“Saving your song” on p. 128 if you still need to save
your previous song.
■Using two drum tracks
The E-60/E-50 allows you to use as many drum tracks
as you like: simply assign a Drum Set to the desired
track and start recording. This requires no particular
initialization procedure.
Track 10, however, can only play Drum Sets and
should therefore be used for your main percussion
applications.
(5) Press the [EXECUTE] field to really initialize the
Song RAM memory (which you haven’t done so
far).
The E-60/E-50 now initializes the Song RAM memory
and jumps to the main 16-track Sequencer page.
Preparations
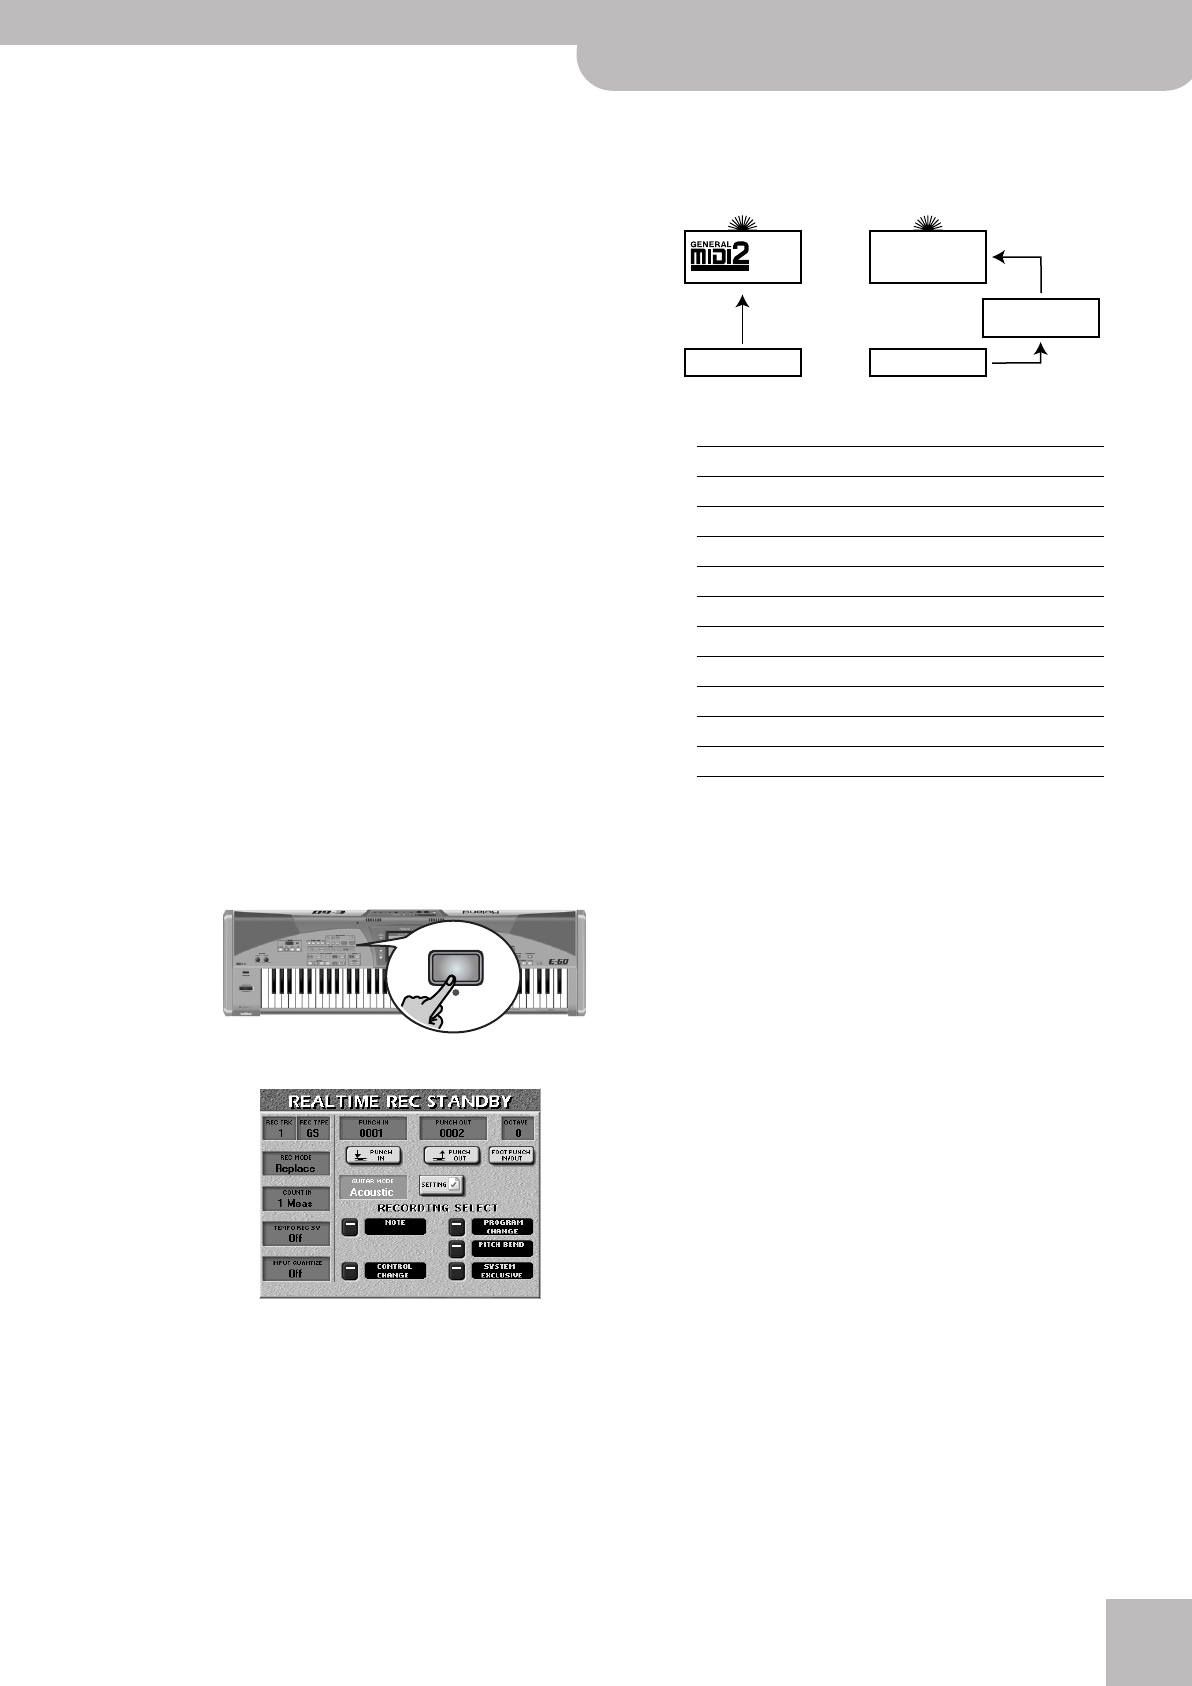
(6) Press the RECORDER [REC¥∏] button.
The display changes to:
(7) Press the [REC¥TRK] field and use the [DATA÷ENTRY]
dial or the [DEC]/[INC] buttons to select the track
you want to record to.
(8) Press the [REC¥TYPE] field and use the
[DATA÷ENTRY] dial or the [DEC]/[INC] buttons to
specify how the track should behave (some are
always “GS tracks”):
(9) To record a guitar part onto the selected track (not
available for track 10):
• Press the [GUITAR¥MODE] “display” and use the
[DATA÷ENTRY] dial to select “Acoustic” or “Electric”.
(Select “Off” if you want to use the track for some-
thing else.)
• Press the [SETTINGS] field to jump to the GUITAR
MODE page and set up your “guitar”. See page 29 for
details.
• Press the [EXIT] button to return to the REALTIME REC
STANDBY page.
• Skip to step (11).
Note: The “DOUBLING” function (Guitar Mode Options) is not
available here, because only one track can be recorded at any
one time.
(10) Assign the desired sound to the recording track
you selected.
See “Selecting sounds for the Keyboard parts” on
p. 27. You can play on the keyboard to check whether
the sound matches the mood of the part you wish to
record.
(11) Specify how the data will be added to the track
during recording (REC MODE):
REC
Track REC TYPE
1~3 GS (cannot be changed)
4 GS UP1*
[*] The track uses the same sound as the Keyboard part it is linked
to. The important thing to remember is that whenever you assign
a different sound to the connected Keyboard part, the track in
question automatically switches to that sound as well.
5 GS (cannot be changed)
6 GS UP2
7~10 GS (cannot be changed)
11 GS LWR**
12 GS MBS**
13 GS (cannot be changed)
14 GS (cannot be changed)
15 GS MELODY INTELL**
16 GS GS (cannot be changed)
g
KEYBOARD PART/
MELODY INTELL
Track Track
If you select “GS” (or if
there is no
alternative).
If you select the corre-
sponding part.
Sound (and tone
generator) of the
selected part.
Song parts
E-60_50_OM_UK.book Page 125 Thursday, June 22, 2006 10:06 AM


