29
Playing in Patch Mode
Playing in Patch Mode
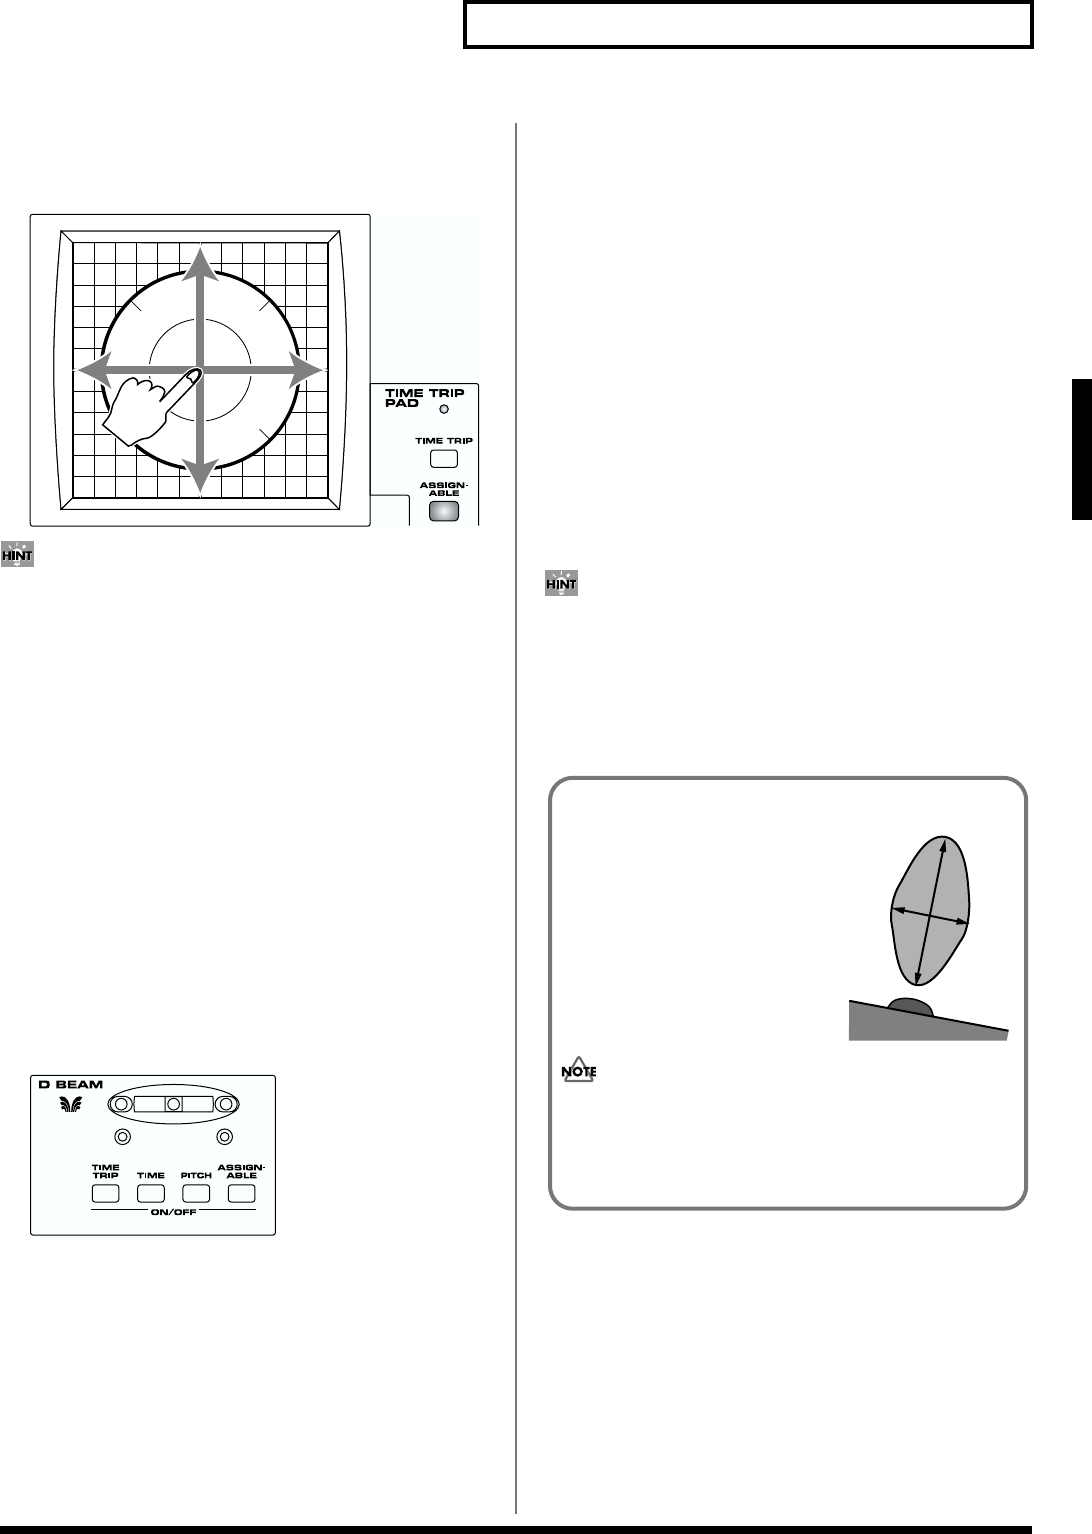
If [ASSIGNABLE] is on
The effect will be applied when you move your finger up/
down/left/right on the Time Trip pad.
fig.02-13
• By pressing TIME TRIP PAD [HOLD], you can cause the effect to
be held even after you take your finger off the Time Trip pad.
• The Time Trip Pad settings are saved with each patch. This
means that you can create patches that contain Time Trip Pad
settings you like.
Applying an Effect by Passing Your
Hand Over the D Beam (D Beam
Controller)
The D Beam controller can be used simply by waving your hand
over it. It can be used to apply various effects, depending on the
function that is assigned to it. You can also create effects in which the
sound changes instantaneously, in a way that would not be possible
by operating a knob or the bender lever.
1. Access the PATCH PLAY screen (p. 21).
2. Choose the function that you want to control from the D
Beam controller, and press the D BEAM button for that
function to turn on the D Beam controller.
fig.02-14
[TIME TRIP]: Apply the Time Trip effect.
[TIME]: Apply the time control effect.
[PITCH]: Apply the pitch control effect.
[ASSIGNABLE]: Apply the effect that is specified by each patch.
By turning [ASSIGNABLE] on, you can apply the effect that is
specified by each patch. In this case, however, unlike the other
three functions, simply pressing the button to turn it on will not
apply an effect. You will also need to make matrix control
settings. Set the matrix control Source to “BEAM-L” or “BEAM-
R,” and specify the parameter to be controlled in Destination.
For details on these settings, refer to “Matrix Ctrl” (p. 38).
3. While playing the keyboard to produce sound, place your
hand over the D Beam, and slowly move it up and down.
Effects will be applied to the sound according to the button you
pressed in step 2.
4. To turn off the D Beam controller, once again press the
button that you pressed in step 2, so its indicator goes out.
• The D Beam controller settings are saved with each patch. This
means that you can create patches that contain D Beam settings
you like.
• By assigning a MIDI controller number to the D Beam controller,
you can use the D Beam to control an external MIDI device that
is connected. For details, refer to “Beam” (p. 79).
The usable range of the D Beam controller
The following diagram shows the
usable range of the D Beam controller.
Waving your hand outside this range
will produce no effect.
The D BEAM indicator will light when
the D Beam controller is responding.
The D BEAM indicator will not light if
you are outside the valid range of the
D Beam controller.
The usable range of the D Beam controller will become
extremely small when used under strong direct sunlight.
Please be aware of this when using the D Beam controller
outside.


