


92
Connecting to Your Computer via USB (USB Mode)
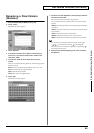
8.
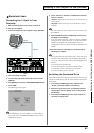
Touch <Internal> or <PC Card> to establish the connection
with your computer.
<Internal>:
Mounts the internal memory as an external drive on
your computer.
<PC Card>:
Mounts the PC card as an external drive on your
computer.
You cannot select “PC Card” unless a PC card is inserted in the
PC CARD slot.
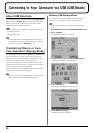
9.
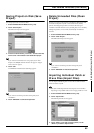
When the USB connection is established, the driver
installation will begin. A dialog box of “Found new
hardware” will appear near the Windows task tray.
Installation is completely automatic. Please wait for it to be
completed.
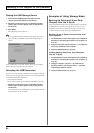
10.
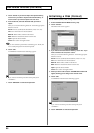
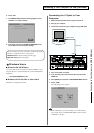
When installation is completed, open My Computer and you
will see a new drive icon.
In Windows Me/2000/98/98SE, a drive icon named
“Removable Disk” will appear. In Windows XP, the drive icon
will be named “V-SYNTH” if you selected “Internal.” If you
selected “PC Card,” it will show the volume label that you
assigned when formatting the card. If you formatted the card on
the V-Synth, the volume label will be “PC CARD.”
11.
Once the V-Synth is connected, you can transfer files by
operating your computer.
Do not perform the following actions while “Access” (the access
indicator) in the USB Storage screen is blinking. Doing so may
cause your computer to freeze, and may also damage the files in
the drive.
• Do not disconnect the USB cable
• Do not remove the PC card while it is being accessed
• Do not suspend (standby), hibernate, restart, or shut down
your computer
• Do not turn off the power of V-Synth.
Switching the Connected Drive
When USB-connected, here’s how to switch between “Internal” (the
V-Synth’s internal memory) and “PC Card” (the PC card inserted in
the V-Synth).
1.
In the V-Synth’s USB Storage screen, make sure that
“Access” (the access indicator) is not blinking.
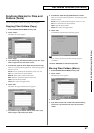
2.
In My Computer, right-click the “Removable Disk” icon and
execute “Eject.”
3.
In the V-Synth’s USB Storage screen, touch <Internal> or
<PC Card> to change drives.
Closing the USB Storage Screen
1.
In the V-Synth’s USB Storage screen, make sure that
“Access” (the access indicator) is not blinking.
2.
In My Computer, right-click the “Removable Disk” icon and
execute “Eject.”
3.
Press [EXIT].
The USB Storage screen will close.
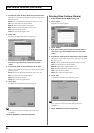
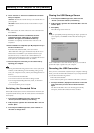
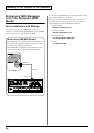
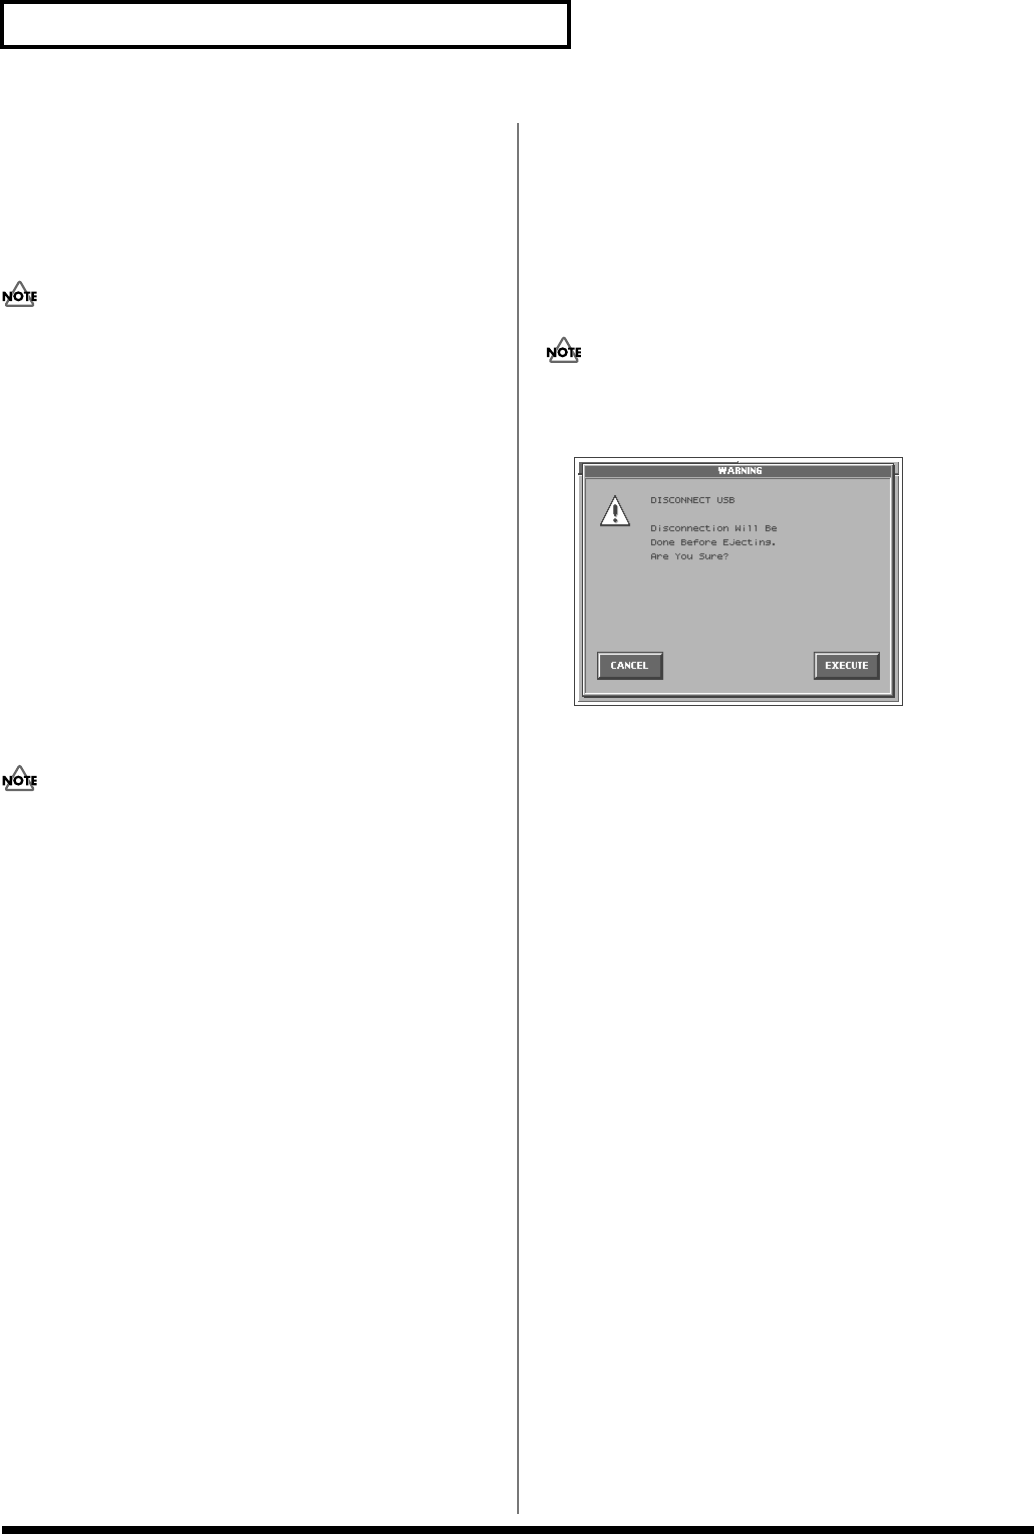
If you press [EXIT] without performing the “Eject” operation on
your computer, a WARNING window like the following will
appear.
fig.07-04_50
Touch <EXECUTE> to close this window only if you are unable to
perform the “Eject” operation on your computer.
Canceling the USB Connection
Once you have connected the V-Synth and your computer in Storage
mode, you must cancel the USB connection on your computer before
you do either of the following actions:
• Disconnect the USB cable
• Turn off the V-Synth’s power while the USB cable is connected
1.
Use “Eject hardware” (displayed in the task bar in the lower
right of the screen) to cancel the connection with the V-
Synth.
The “Removable Disk” drive icon will disappear from My
Computer, and the USB connection will be cancelled.