3-12
Rear Panel Operation Mark Levinson
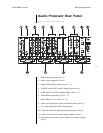
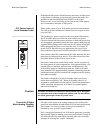
13. Aux 1 and aux 2 main analog outputs (slot D)
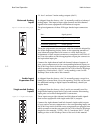
Balanced Analog
Input
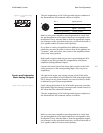
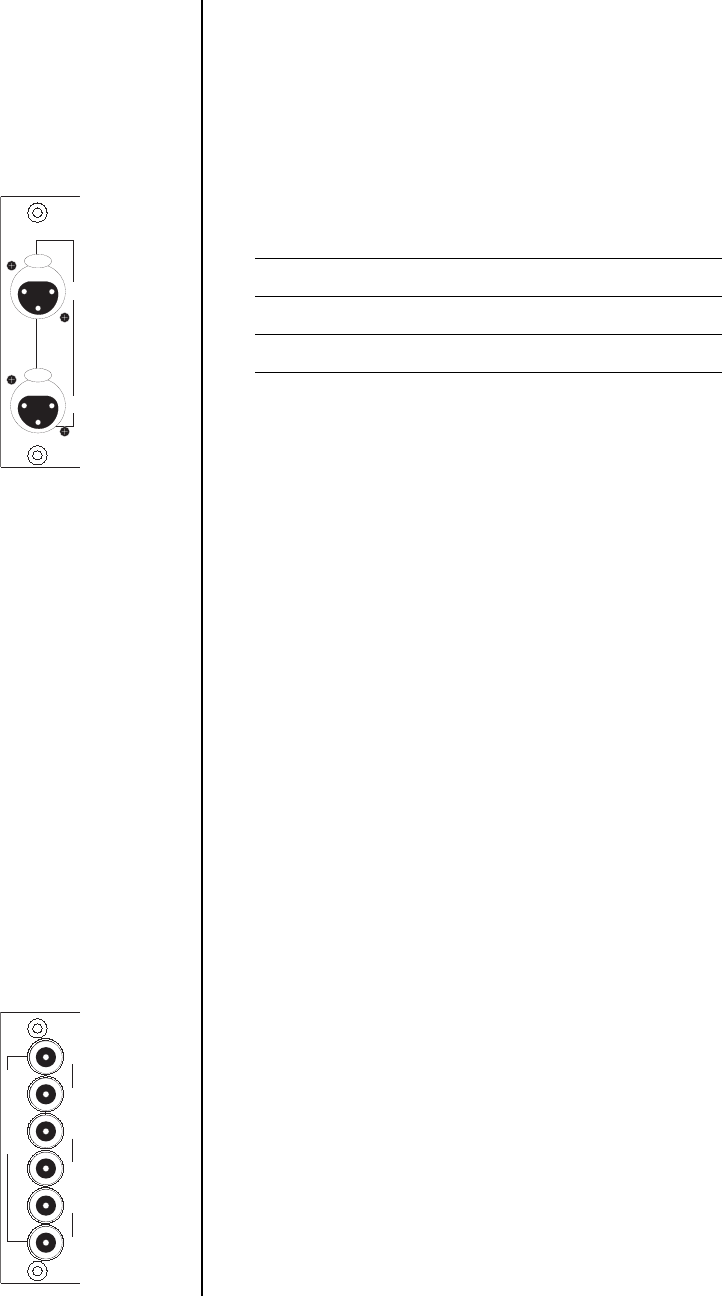
As shipped from the factory, slot 1 is normally used for a balanced
analog input. This input accepts right-channel and left-channel
signals from source equipment with balanced outputs.
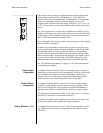
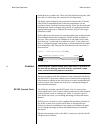
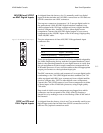
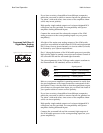
Figure 3-16: Balanced Analog Input. The pin assignments of these XLR-type female input connectors
are:
These pin assignments are consistent with the standards adopted by
the Audio Engineering Society. Refer to the operating manuals of
your balanced-output line-level sources to verify that the pin
assignments of their output connectors correspond to the Nº40. If
not, wire the cables so that the appropriate output pin connects to
the equivalent input pin.
Connect the right-channel and left-channel balanced outputs of
your source components to the corresponding balanced inputs on
the Nº40. Keep track of which source components are plugged into
which connectors on the rear panel of the Nº40, either by keeping a
simple list (“Reel-to-Reel – Slot 1”) or by making a note on the
Hookup Chart at the end of this manual.
Audio Input
Expansion Slot
As shipped from the factory, slot 2 is normally empty except for a
blank piece of metal that covers the opening. This slot can be used
for additional analog or digital inputs immediately, should you
require them.
Single-ended Analog
Inputs
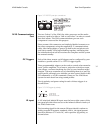
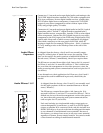
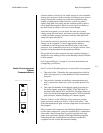
As shipped from the factory, slots 3 and 4 are normally used for
single-ended analog input cards. Each card contains three analog
input pairs on Levinson-designed RCA connectors.
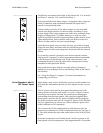
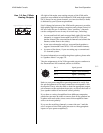
Figure 3-17: Single-ended inputs. These inputs accept right-channel and left-channel audio signals
from source equipment with single-ended (RCA) outputs.
Connect the right-channel and left-channel single-ended outputs
of your various source components to the corresponding inputs on
the Nº40. Keep track of which source components are plugged into
which connectors on the rear panel of the Nº40, either by keeping a
simple list (for example, “S-VHS – Slot 3, Connector Pair 1”) or by
making a note on the Hookup Chart at the end of this manual.
L
R
analog inputs
PUSH
21
3
PUSH
21
3
Pin 1 Signal ground
Pin 2 Signal + (non-inverting)
Pin 3 Signal – (inverting)
Connector ground lug chassis ground
L
2
L
3
R
2
R
3
L
1
analog inputs
R
1


