


EFFECT SECTION
27
GUIDED TOUR (TUTORIAL)
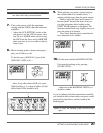
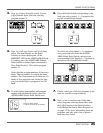
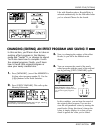
Notice that the red LED at the top of the
block is now off, indicating that the effect is
off. Press the CHORUS Pedal Switch again
to turn the effect and the LED back on.
Although we’re using the Pedal Switches to
turn a single effect block on and off, it is
possible to “group” together several effect
blocks to be turned on and off from just one
Pedal Switch. For more information on how
to use this function, see page 45.
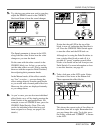
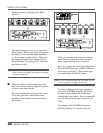
7. Take a look now at the LCD again. Notice
the chain of five boxes at the bottom left.
These represent the effect blocks.
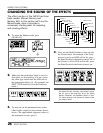
This shows the current order of the effects in
the chain, from left to right. Remember that
you can change this order. To do this, press
the Utility switch until “CONECT” is shown
in the LCD.
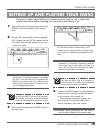
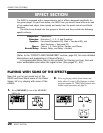
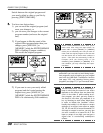
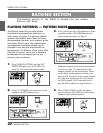
5. Try playing your guitar now, and as you play,
adjust the SPEED control in the CHORUS
block and listen to how the sound changes.
The Speed parameter is shown in the LCD,
along with the value. Notice how the value
changes as you turn the knob.
Do the same with the other controls in the
CHORUS block, too. In fact, go on and try
out the other effects as well, first by turning
them on with the respective Pedal Switches,
then adjusting their parameter knobs.
In the Manual mode, all the effect controls
are “live” or active — you can change the
effect settings directly from the panel knobs
as you would with a normal pedal effect box.
Moreover, the values are displayed instantly
as you change them.
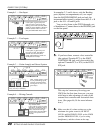
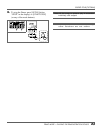
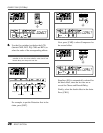
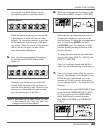
6. As you’ve seen, you can also turn individual
effect blocks on or off by simply pressing the
Pedal Switch of the appropriate block. For
example, to turn off CHORUS here, press the
CHORUS Pedal Switch. (Note: This only
works for individual effects that have not
been assigned to a Group; see page 45 for
details.)
LED is off.
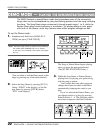
Compressor Reverb/Delay
LED is off.
Equalizer
Distortion Chorus