Layers, Splits, and Velocity Switches
75
Quick StartIntroductionSetupProgram
Combination
MultiEffectGlobalArpeggiatorDrum Kit
External control
Other functions
Appendices
Layers, Splits, and Velocity
Switches
You can use keyboard regions and velocity to
switch between different tracks in a combination,
just as you can in a combination. For more details,
see “Layers, Splits, and Velocity switches”
(☞p.64).
Effects
Effects are covered in their own section of the
manuals, so we won’t go into too much detail
here. (☞p.79)
Insert Effect
You can make settings for the insert effect in the
MULTI 8: InsertFX page.
The output of each track can be sent to the insert
effect. You can use any type of effects, from distor-
tions and compressors to choruses and reverbs.
The Insert Effect can be routed to the main out-
puts, or to any of the individual outputs. (☞p.84)
Master Effects
You can make master effect settings in the MULTI
9: MasterFX page.
There are two Master Effects, which are accessed
through Sends 1 and 2. These are best-suited to
effects such as reverbs and delays, but you can use
them with any type of effect. (☞p.85)
Master EQ
You can make master EQ settings in the MULTI 9:
MasterFX page.
The master EQ is located immediately before the
(MAIN OUTPUT) L/MONO and R outputs. Use it
to adjust the overall tone. (☞p.85)
Saving your edits
Once you’ve tweaked the sound to perfection,
you’ll want to save your work. To save your edits:
1. Press the [UTILITY] button to access the utility
menu.
2. Use the ClickPoint to select “Write Multi,” and
then press the ClickPoint center.
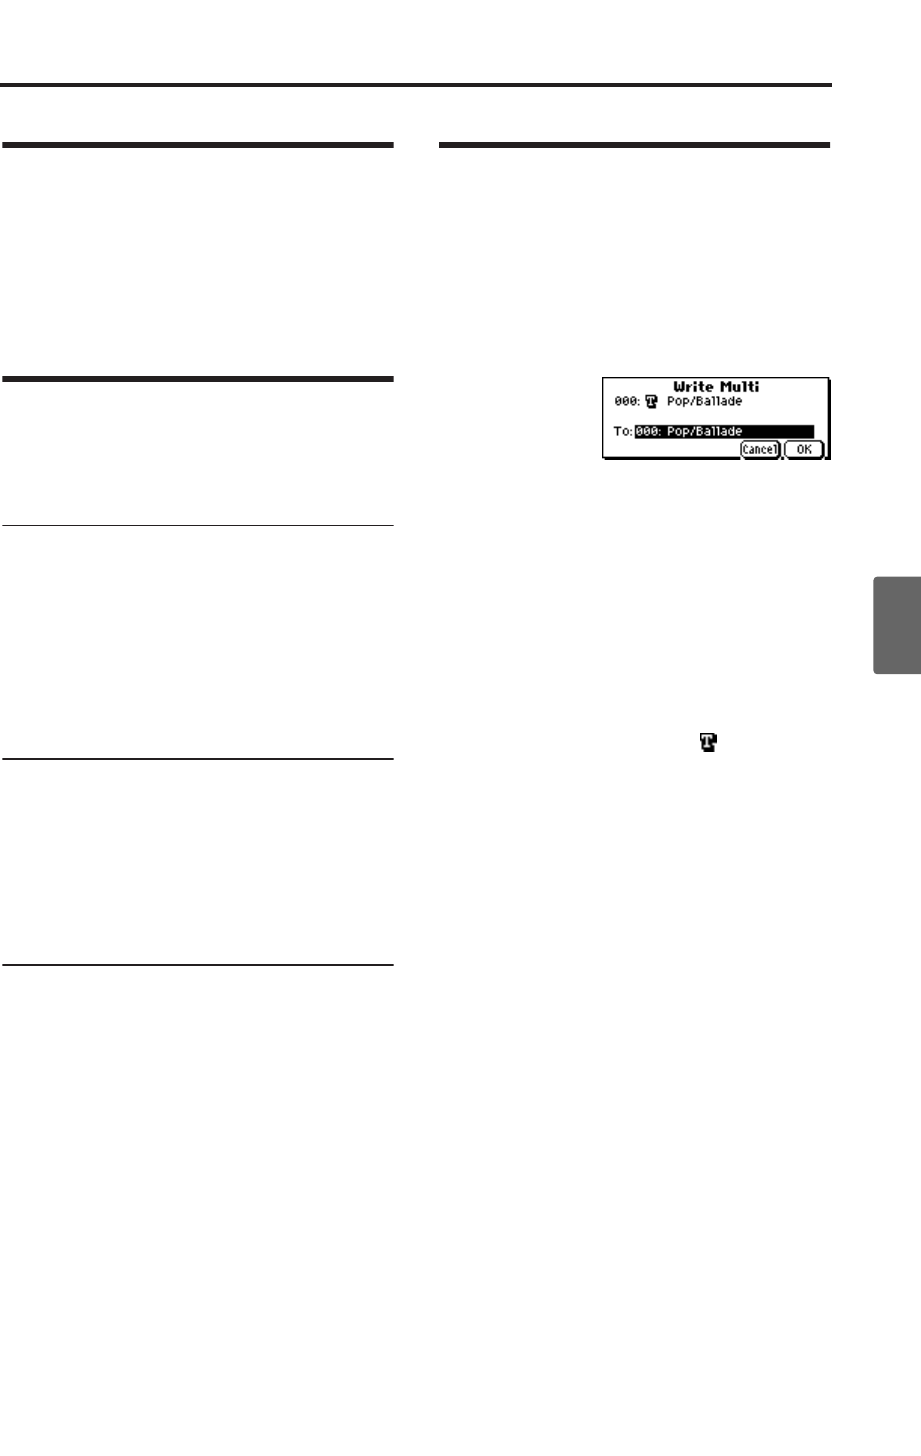
The Write Multi dialog box will appear.
You can also access this utility command by
holding down the [ENTER] button and
pressing numeric button [0].
Note: If the display indicates “Memory
Protected,” the multi set memory protect is
turned on. Go to GLOBAL 0: System,
Preference page, and uncheck the Memory
Protect “Multi” setting. (☞p.88)
3. Optionally, you can also select a new location,
or change the Multi set’s name or category.
• If you want to change the name, use the Click-
Point to select the text button ( ) and then
press the ClickPoint center to open the text edit
dialog box.
You can give the Multi set a descriptive name
using the on-screen keyboard. (☞p.112)
After entering the name, press [MENU/OK]
button.
The text edit window will disappear, returning
you to the main Write dialog.
4. In the Write Multi dialog box, press the
[MENU/OK] button to write (save) the
program.
5. A message will ask you for confirmation. If you
are sure you want to write the program, press
the [MENU/OK] button once again.
The multi will be written (saved).
