Editing Styles on the fly via additional recordings
E-60/E-50 Music Workstation
r
161
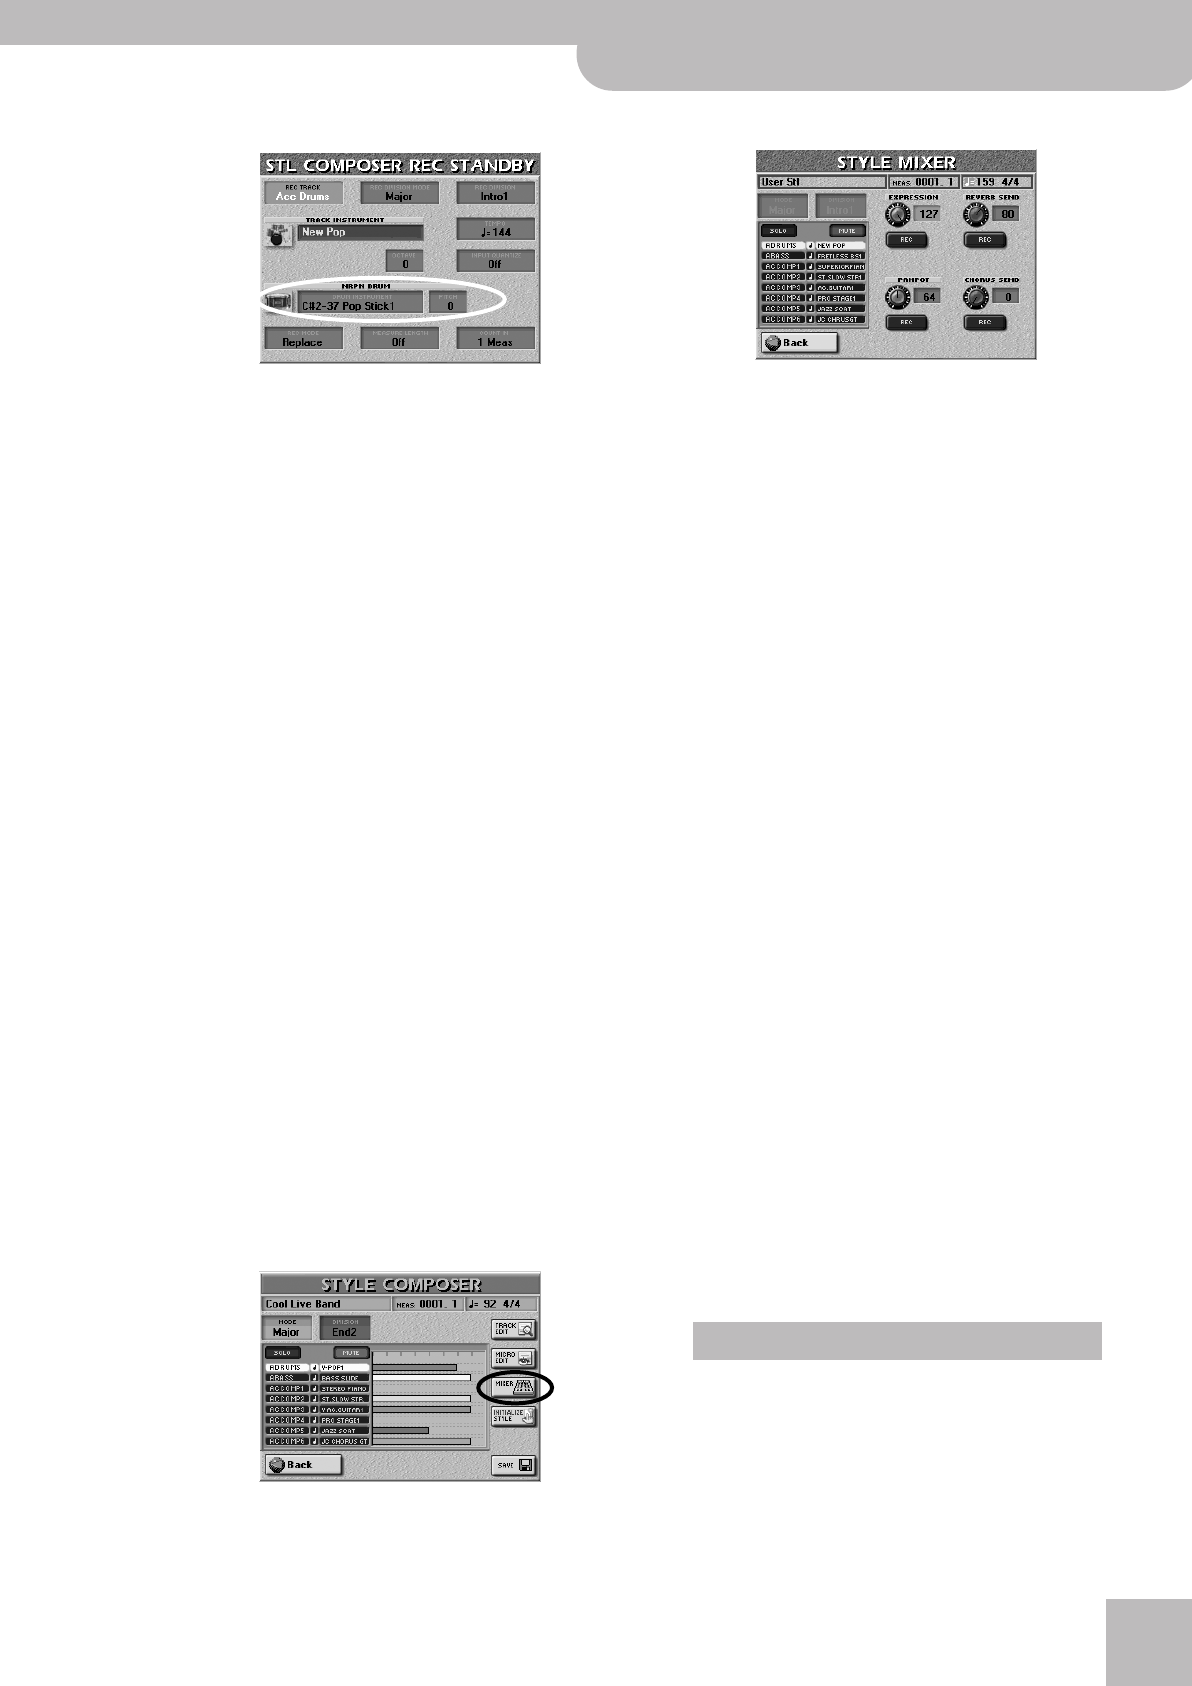
■Drum Instrument & Pitch
After selecting the “AccDrums” track, you can change
the pitch of certain sounds of the selected Drum Set.
The eligible sounds and corresponding note numbers
are:
Note: The names of the drum/percussion sounds depend on
the currently selected Drum Set. The sounds are usually similar
in nature, however.
• On the above display page, select the AccDrums
track.
• Select the Division whose settings you wish to
change and possibly also all clones (page 154).
• Press the [REC¥MODE] field and use the [DEC]/[INC]
buttons to select “Mix”. (Let us assume that your
track already contains data.)
• Press the [NRPN¥DRUM] field and select the drum
sound whose pitch you want to change with the
[DATA÷ENTRY] dial or the [DEC]/[INC] buttons.
• Press the [PITCH] field and use the [DATA÷ENTRY] dial
to set the desired pitch (–64~+63).
You can play on the keyboard to listen to the result.
• Press the [START÷STOP] button to start recording.
• Press [START÷STOP] again after the first or second
beat (but wait until the count-in, if any finished).
Expression, Panpot, Reverb, Chorus
Setting or modifying the Expression, Panpot, Reverb
(Send) and Chorus (Send) parameters is similar to
assigning sounds to existing tracks.
(1) Stop playback of your Style (if it is running).
(2) Press the [MIXER] field on the STYLE COMPOSER
page.
The display changes to:
(3) Select the track by pressing its line in the table.
The name of that track appears on a light back-
ground.
(4) Select the MODE and DIVISION whose settings you
want to change.
(5) Press the [REC] field of the parameters whose set-
tings you want to record.
Only switch this on for settings you want to change.
For safety reasons, you might consider recording one
change at a time.
(6) Press the [EXPRESSION], [PANPOT], [REVERB¥SEND] or
[CHORUS¥SEND] field, depending on the parameter
you want to set.
(7) Use the [DATA÷ENTRY] dial or the [DEC]/[INC] but-
tons to set the desired value.
The REVERB SEND and CHORUS SEND settings repre-
sent Send values and indicate how strongly the track
in question should be processed by the reverb or cho-
rus effect. The settings of the effects processors
themselves need to be changed using the STYLE
MAKEUP TOOLS – after programming your Style (the
Style Composer does not recognize the MAKEUP
TOOLS settings and discards them when you save
your Style).
You can create interesting panning effects by slowly
shifting the selected track from left to right (or vice
versa) in the course of a pattern. This is especially
effective for synthesizer or guitar riffs. Continuous
changes mean that you have to keep recording until
the end of the pattern.
(8) Press the RECORDER [REC¥∏] button.
(9) Press the [START÷STOP] button to start recording.
If you are changing a static setting, you can stop
recording on the second beat.
(10) Press [START÷STOP] again to stop recording.
(11) Press the [Back] field to return to the STYLE
COMPOSER page.
The STYLE MIXER functions can be used in three ways: to
try out settings during playback without recording them,
to record the events available on this page or to change
some (i.e. not all) of them at a later stage.
For the first approach, start playback of your Style, then
select the STYLE MIXER page, then change the settings.
(They are not recorded and reset when the loop returns to
the beginning.)
C#2/37 Side Stick
D2/38 Stand.2 Snare 1
E2/40 Stand 2. Snare 2
F2/41 Low Tom 2
E3/52 Chinese Cymbal
G#3/56 Cowbell
A3/57 Crash Cymbal 2
F4/65 High Timbale
About the Mixer
E-60_50_OM_UK.book Page 161 Thursday, June 22, 2006 10:06 AM


