


About the Keyboard modes
46
r
E-60/E-50 Music Workstation
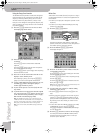
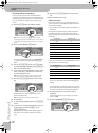
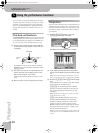
The left half of the keyboard allows you to use one
part for chords (the LWR part, “Heavy Traffic”) and a
second one that plays bass notes.
Just like in Arranger mode, there is a simplified chord
fingering system for the LWR part. Furthermore, you
could release the LWR notes immediately after play-
ing them because they will be held until you play new
notes. The function that takes care of this is called
“Lower Hold”. See page 78 for how to switch it on.
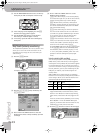
The right half of the keyboard allows you to play one
or two Upper parts. By deafult, UP1 is switched on
and uses the sound “R&B B3”. You can change the
location of the split point (originally C4).
To select Organ mode, press the EASY SETTING
[ORGAN] button.
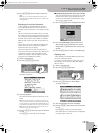
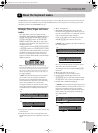
Split and Whole modes
Using the SPLIT Keyboard Mode
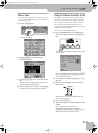
Split means that the keyboard is divided into two
halves. You can use the LWR and MBS parts in the left
half, and the UP1 and UP2 parts in the right.
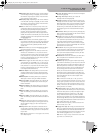
Here’s how to split the keyboard:
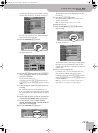
(1) Return to the main page and press the [SPLIT] field.
(2) Press the PART ON/OFF buttons of the parts (MBS,
LWR, etc.) you want to play via the keyboard and
switch off the parts you do not need.
If a part is on, its button lights.
Note: If you like, you can activate a Hold function for the LWR
part. That way, briefly pressing the notes to be played by the
LWR part is enough. The Arranger has a similar function (called
“ARR Hold”). See “Lower Hold” on p. 78.
Note: If none of the PART ON/OFF buttons lights, the notes
you play on the keyboard will not be audible. (It would, how-
ever, be possible to go on controlling the Arranger.)
Note: Your settings can be written to a User Program and
recalled at a later stage. See p. 88.
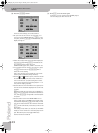
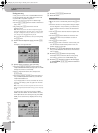
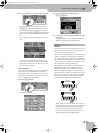
■Setting the split point
When the [SPLIT] field lights, the keyboard is split in
two halves. The split point is located at the C key
below the display. That key is called the “C4”:
This split point applies both to the chord recognition
area of the Arranger and the split between the LWR
and UPP1/2 parts.
There may be situations where the automatically
assigned range is not what you need. In that case,
you can change the split point:
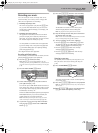
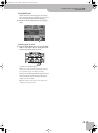
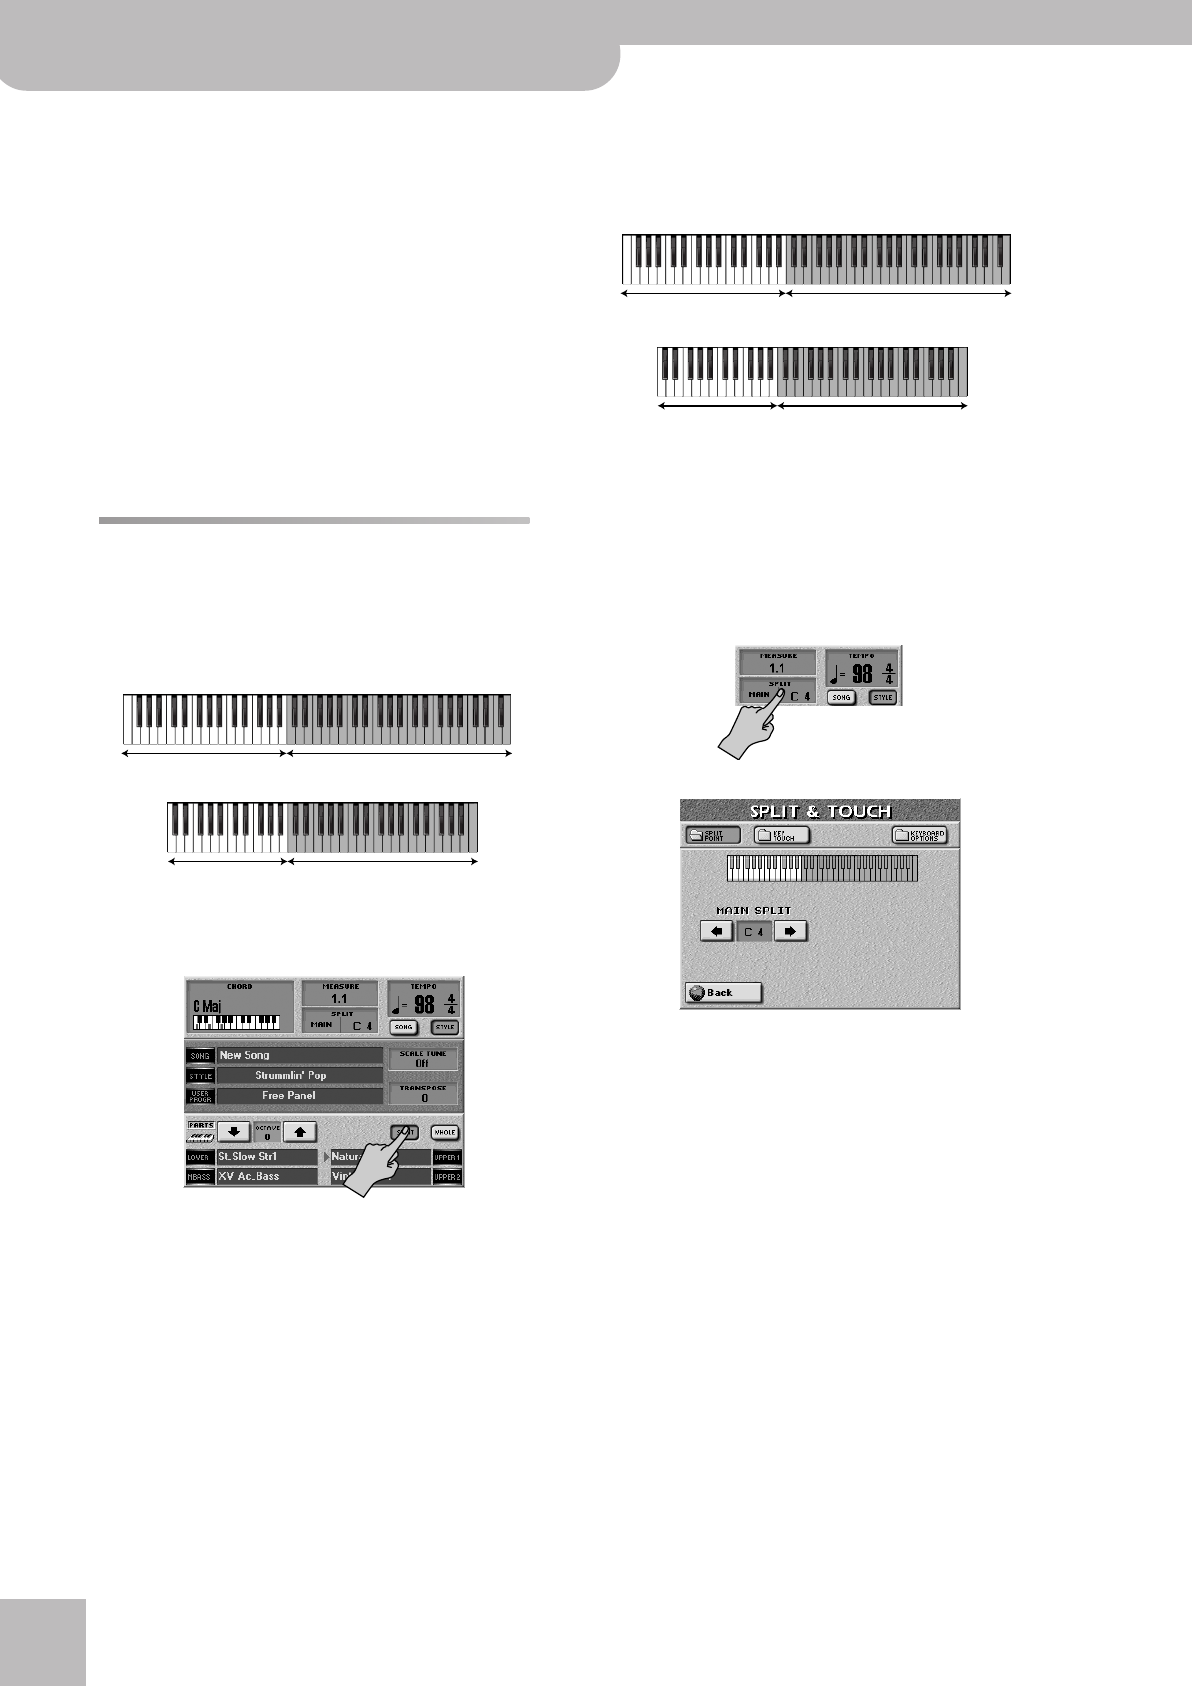
(1) Press the SPLIT field in the display.
The display now looks more or less as follows:
(2) Use the SPLIT POINT [√][®] fields to select the new
split point.
The setting range is F1~F#7 (E-60) or C#2~B6 (E-50).
The darker keys in the display refer to the right half.
As you can see, the “SPLIT POINT” is the lowest note
of the right half.
Note: Your settings can be written to a User Program and
recalled at a later stage. See p. 88.
LWR, MBS UP1, UP2
LWR, MBS UP1, UP2
E-60
E-50
Arranger control UP1, UP2
Arranger control UP1, UP2
E-50
E-60
E-60_50_OM_UK.book Page 46 Thursday, June 22, 2006 10:06 AM