


Selecting other Style divisions
E-60/E-50 Music Workstation
r
61
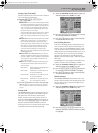
• The E-60/E-50 also provides a SYNC STOP option
(which is combined with Sync Start): press [SYNC]
twice so that the button starts to flash. This will
cause the Arranger to stop playback as soon as you
release all keys in the chord recognition area. This is
great for songs where you need breaks (i.e. one or
several beats of silence).
There is no need to restart Style playback manually,
because the flashing pattern means that Sync Start is
also active. So if you repress one or several keys,
Arranger playback resumes. (Press the [SYNC] button
yet again to switch off this function.)
About Sync Start & Stop
If you’ve never used an arranger keyboard before, the
status of the [SYNC] button is the single most impor-
tant function to look out for after switching on your
instrument. If it is on, playing just one note on the key-
board may cause the Arranger to start playing when
you don’t want it to.
Once you get to know the E-60/E-50 a little better, you
will appreciate this function, though.
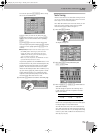
SYNC START means that the Arranger starts as soon as
you play a note or chord in the chord recognition area
of the keyboard. (If the EASY SETTING [ARR] button
lights, this area is the left half of the keyboard. See
p. 66 for details.)
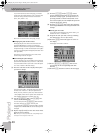
Selecting other Style divisions
You can “professionalize” your performance with the
Arranger by selecting different accompaniment pat-
terns.
Here’s a quick overview of how the E-60/E-50’s Music
Styles are structured:
The numeric button you press flashes until the new
pattern is used (after which the button lights steadily).
You can use fill-ins (transitions) to go from one MAIN
VARIATION pattern to the next by switching on the
[AUTO¥FILL] button before pressing another (or the
lighting) MAIN VARIATION [1]~[4] button.
The fill-in that is played between the current and the
next VARIATION pattern depends on where you come
from. Each transition from one VARIATION pattern to
another (e.g. from [1] to [2]) is different from the others
(from [2] to [3], from [3] to [4] and from [4] to [1]).
There are three Fill-Ins for the upward direction (“Up”)
and three for downward moves (“Dw”).
Note: You can also press [INTRO] in the middle of a performance.
In that case, the button flashes until the end of the current bar,
and then lights on the next downbeat to indicate that the
Arranger is playing the introductory pattern.
Other ways of selecting Arranger patterns
You can also switch among Style patterns using a foot-
switch. Here are the pattern selection functions you
can assign:
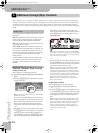
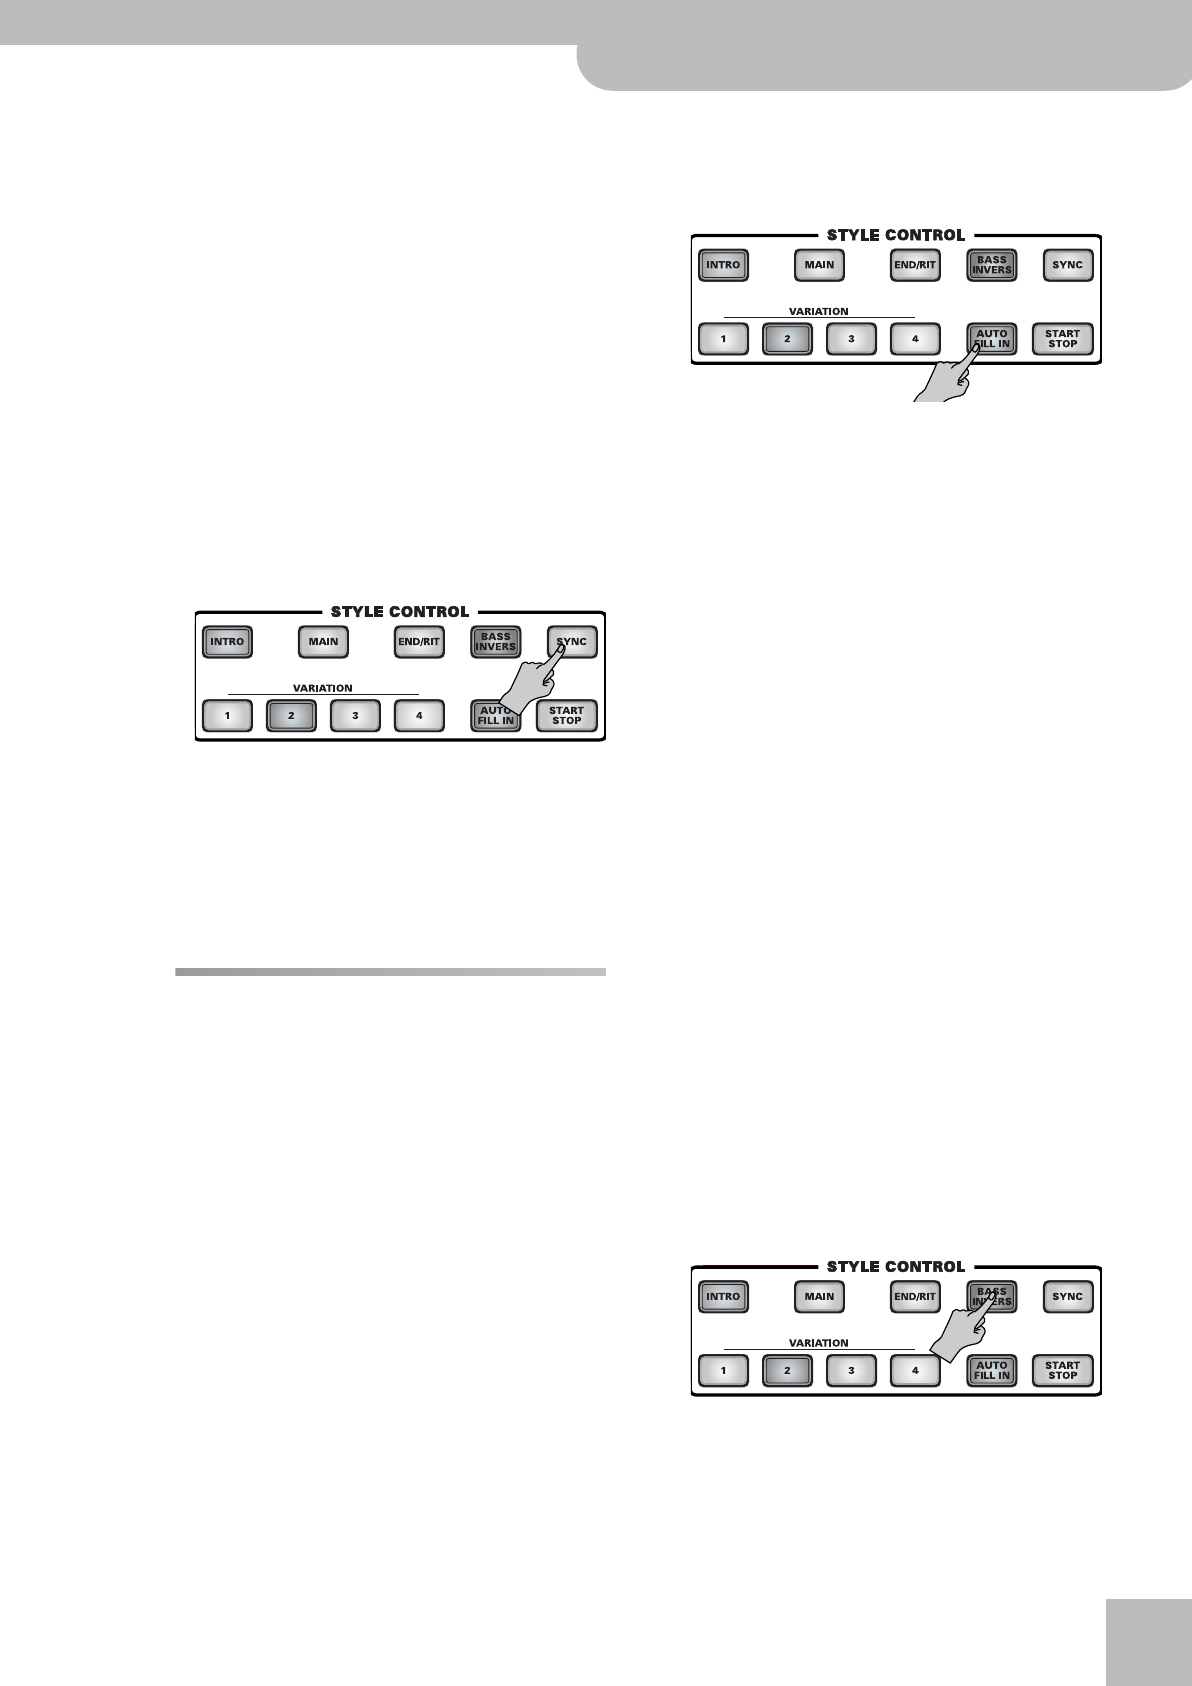
Bass Inversion
The [BASS¥INVERS] button allows you to change the
way the Arranger reads the chords you play.
If this function is off, the A.BASS part (ABS) plays the
root of the chords that feed the Arranger, while the
chords of the ACCOMP 1~6 parts are voiced in such a
way as to avoid semitone intervals (for complex chords)
that wouldn’t sound very nice.
Bass Inversion gives you more artistic license because
you specify the notes played by the ABS part. Switch on
Bass Inversion for songs that rely on bass rather than
on chord patterns (for example C – C/B – C/Bb, etc.).
(1) Press the [BASS¥INVERS] button (so that it lights) to
switch this function on.
(2) Press it again to switch this function off again.
Note: You can also assign this function to an optional foot-
switch (page 55).
MAIN VARIATION [1] The simplest of the four basic accom-
paniment patterns. This pattern is ideal
for the first verse of a song.
MAIN VARIATION [2] A slightly more complex pattern. Con-
sider using it for the second and third
verses.
MAIN VARIATION [3] This pattern could be used for the first
chorus(es).
MAIN VARIATION [4] This is the most complex accompani-
ment that could be used for the final
choruses and/or the bridge.
D Beam (E-60) Fill Up, Fill Down (page 53)
Foot Switch Intro, Ending, Variat 1~4, Half Bar on Fill In
(page 55)
E-60_50_OM_UK.book Page 61 Thursday, June 22, 2006 10:06 AM