Quick Start
24
r
E-60/E-50 Music Workstation
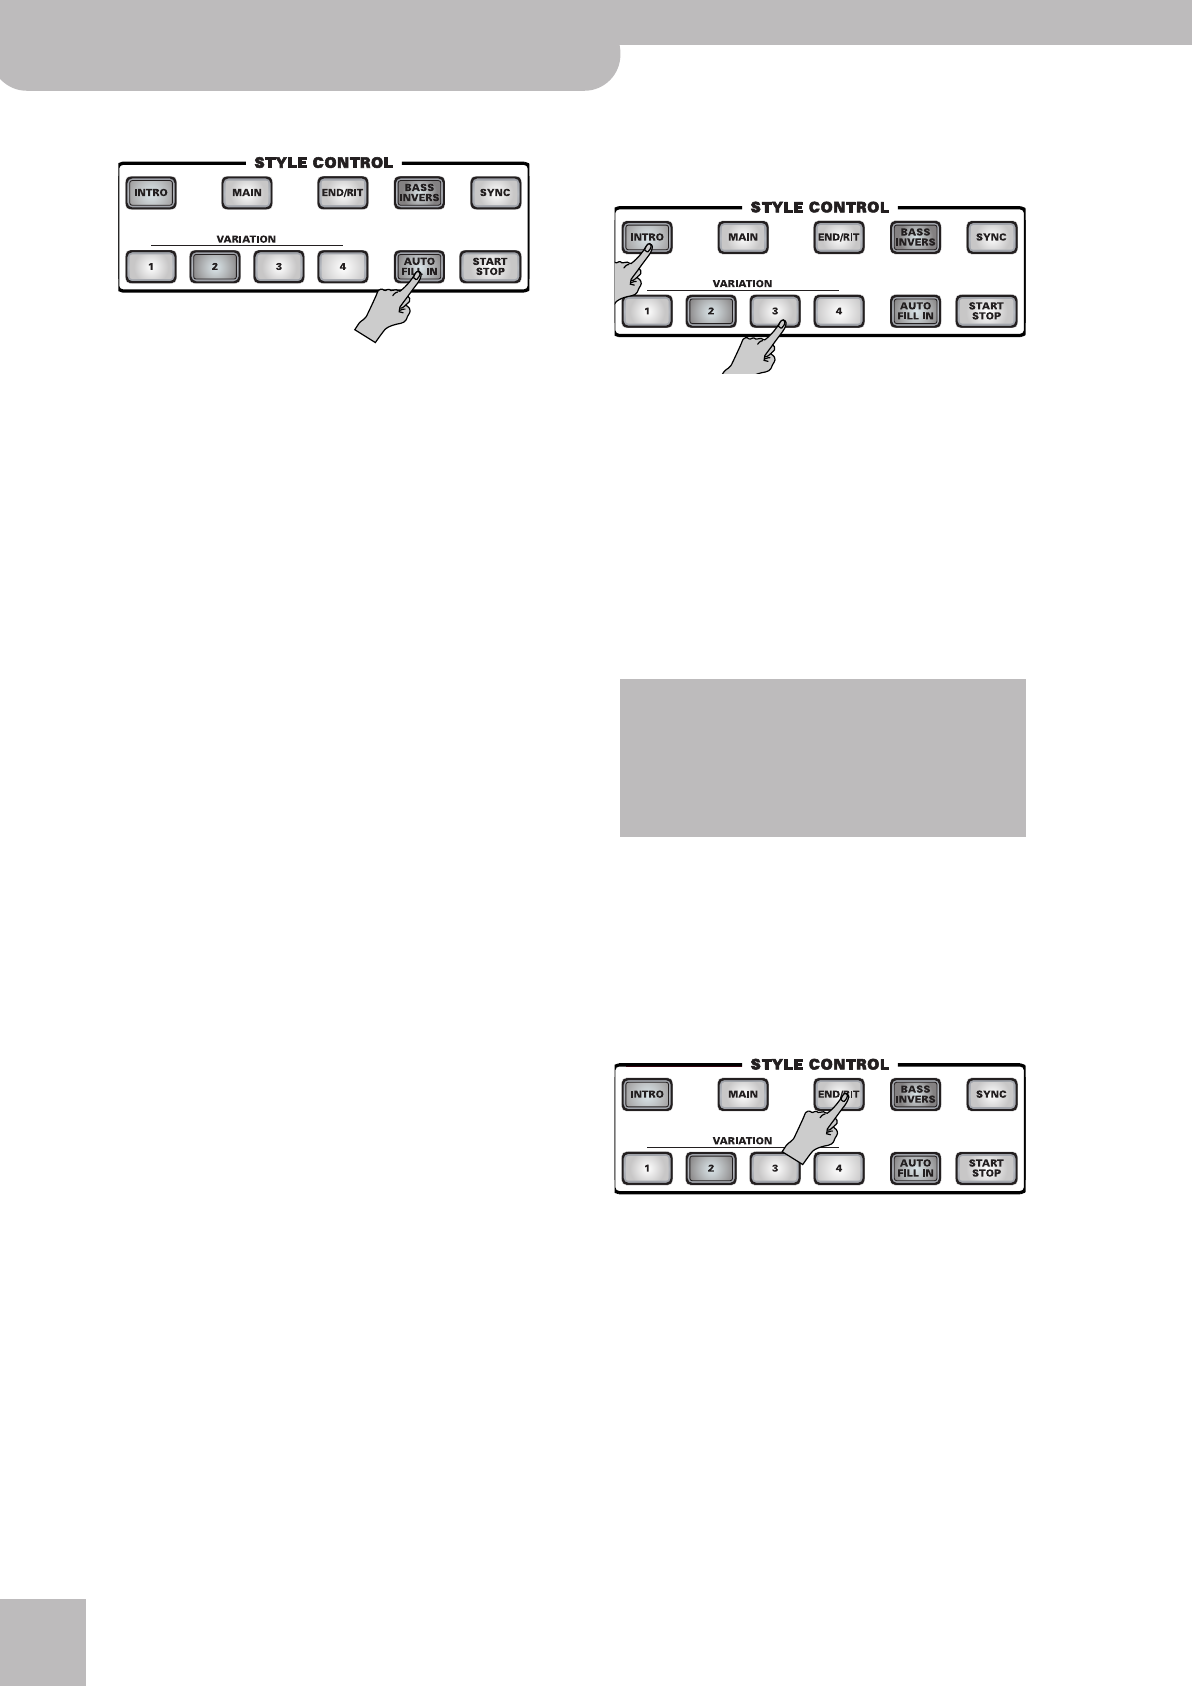
(3) Press the [AUTO¥FILL¥IN] button (it lights).
(4) Press a VARIATION [1]~[4] button to select another
MAIN pattern.
The [MAIN] button and the selected VARIATION [1]~[4]
button flash.
What happens now depends on when you press this
button:
• If you press it on any beat before the last of the cur-
rent bar, the Arranger plays a Fill-In pattern that lasts
until the end of the current bar. It then changes to
the newly selected pattern (at which point [MAIN]
and the selected numeric VARIATION button light
steadily).
• If you press it on the last beat of the current bar, the
Fill-In will start on the next downbeat and last an
entire bar, after which the Arranger automatically
selects the new pattern.
If you press the same numeric button ([1]~[4]) again,
the Fill-In is played according to the above rules. But
when it finishes, the Arranger returns to the pattern
you had been using up to that point.
(5) Switch off the [AUTO¥FILL¥IN] button if you do not
want the next pattern change to be preceded by a
Fill-In.
Note: The length of a Fill-In can be halved. See “Half Bar on Fill
In” on p. 55.
Intro & Ending
Now that we’ve got the transitions covered, you may
start wondering how to create more professional intros
for your songs – and how to end them in style. That is
what the [INTRO] and [END/RIT] buttons are for.
While the MAIN patterns keep repeating the same
accompaniment until you select another one or until
you stop Arranger playback, Fill-Ins (see above), Intros
and Endings are played only once.
Once the INTRO pattern is finished, the Arranger auto-
matically proceeds with the MAIN [1]~[4] pattern
(depending on which button flashes). At the end of the
Ending pattern, however, the Arranger stops.
(1) Stop Arranger playback by pressing the
[START÷STOP] button (it goes dark).
(2) Play a chord in the left half of the keyboard to
specify the key of the Intro pattern.
(3) Press the [INTRO] and the numeric button [1]~[4]
that corresponds to the Intro pattern you want to
use.
(4) Press the [START÷STOP] button to start Arranger
playback.
The Arranger plays the introduction of the currently
selected Music Style. The “MEASURE” field on the
main page now counts backwards (“–4”, “–3”, etc.) to
indicate the Intro’s duration. If you like, you can now
try out the remaining three Intro patterns by pressing
[INTRO] and [1]~[4]. The number refers to the degree
of complexity.
Note: Do not play while the Intro is running. Most Intro pat-
terns indeed contain chord changes, so that playing different
chords may lead to highly annoying results.
(5) Press one of the VARIATION [1]~[4] buttons to
select the pattern that should be played after the
Intro is finished (the button flashes).
By pressing [MAIN] at this stage, you leave the Intro
pattern on the next downbeat (i.e. before the Intro
phrase is finished).
(6) Wait until the selected MAIN pattern is playing,
then press the [END/RIT] button.
At the end of the current pattern cycle, the Arranger
starts playing the Ending pattern and then stops.
While the Ending phrase is playing, the “MEASURE”
field on the main page counts backwards (“–4”, “–3”,
etc.) to indicate the pattern’s duration.
Again, there are four Ending phrases to choose from.
If you don’t press a numeric button [1]~[4] after
switching on [END/RIT], the Arranger automatically
uses the ENDING phrase that corresponds to the
MAIN number you have been using up to that point.
Note: Here again, it would be wiser not to play chords while
the Ending phrase is running.
Note: See “Additional Arranger/Style functions” on p. 60 for
more Arranger functions.
During Arranger playback, the [START÷STOP] button
flashes red on the downbeat and green on the
remaining beats of the bars to indicate the tempo.
While the Arranger is stopped, this visual tempo
indication is provided by the [METRONOME] button
(that only flashes in red, though).
E-60_50_OM_UK.book Page 24 Thursday, June 22, 2006 10:06 AM


