39
Making a Multi-Track Recording
Making a Multi-Track
Recording
5
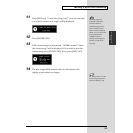
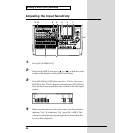
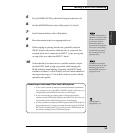
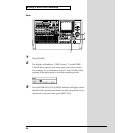
Press [FADER/MUTE] so that the IN (input) indicator is lit.
6
Set the MONITOR knob to the 0 dB position (3 o’clock).
7
Set all channel faders to the 0 dB position.
8
Raise the master fader to an appropriate level.
9
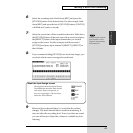
While singing or playing into the mic, gradually raise the
INPUT knob for the jack to which the mic is connected. For
example if the mic is connected to INPUT 1, play your guitar
or sing while you adjust the INPUT 1 knob.
10
Notice that the level meter moves, and that sound is output.
Set the INPUT knob as high as possible while keeping the
PEAK indicator from lighting. Generally, the INPUT knob
should be at about 3 o’clock. Ideally, the level meter should be
moving in the range of -12 to 0 dB in order to record with the
optimal audio quality.
Use these channel faders to
adjust the volume level that
will be sent to Master Out
b
y each input channel.
Furthermore, When an
input channel is assigned to
a track, the corresponding
channel fader will adjust
the recording level to the
applicable track.
The INPUT knobs adjust
the input sensitivity, so that
the analog input to each
input channel will be at an
appropriate level.
GUITAR (Hi-Z)
(Appendices p. 12)
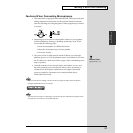
Connecting an Instrument Other than a Microphone
• If you wish to connect an electronic musical instrument (synthesizer
etc.), connect it to any of the INPUT 3–INPUT 8 jacks. In this case, you
will generally set the INPUT knob in the 9 o’clock region.
• If you are connecting an electric guitar or electric bass directly,
connect it to the GUITAR (Hi-Z) jack by the INPUT 8. In this case, you
will generally set the INPUT 8 knob in the 9 o’clock region.
• It is not possible to use both the INPUT 8 jack and the GUITAR (Hi-Z)
jack simultaneously. If a plug is inserted into both jacks, the GUITAR
(Hi-Z) jack will take priority. If you wish to use the INPUT 8 jack, do
not connect anything to the GUITAR (Hi-Z) jack.


