41
Chapter 3 Playback Operations
Chapter 3
Mixer Channel Display
To view mixer settings, press any SELECT button for an
input or track. The SELECT buttons are divided into two
rows. The top row of buttons are referred to as the “Input
SELECT buttons” (p. 18). This section also contains the Stereo
In and Effects 1-4 Returns. The bottom row of buttons are
referred to as the “Track SELECT buttons” (p. 19).
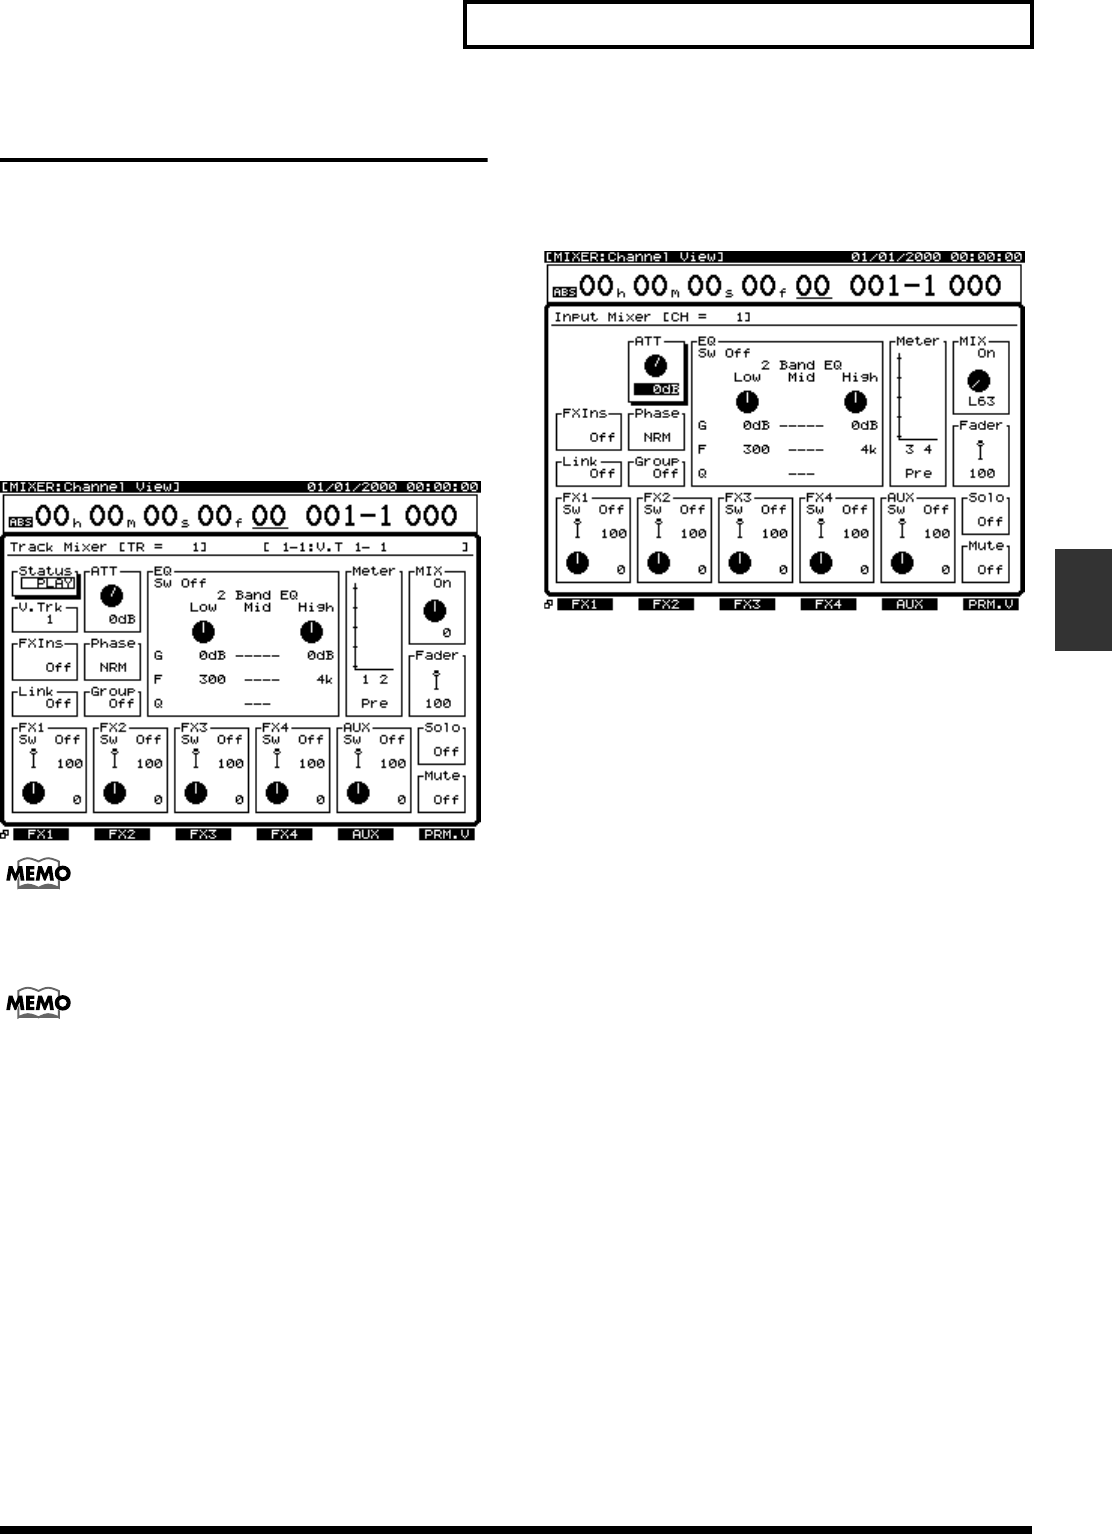
1. Press Track 1 SELECT button.
All mixer settings for Track 6 appear in the display.
Here, you can change all the settings for a track,
including V-Tracks, EQ, panning, and all effects routing.
fig.trackmixscreens
If you want to display track channel 13-18, hold [SHIFT]
down and press the SELECT buttons for track channels
(13-18).
When “VS-1880” is selected as the fader mode, the
correspondence of the track channel numbers switches to
those shown on the overlay sheet provided with the mixer
(p. 75).
When Channel Link (p. 77) is set to “Off” and Channel 7/8,
9/10, 11/12, 13/14, 15/16, or 17/18 is pressed with holding
[SHIFT] down, the Track Mixer screen for the corresponding
even numbered channels is displayed.
2. Press Input 1 SELECT button.
All mixer settings for Input 1 appear in the display.
Here, you can change all settings for an input, including
phase, EQ, panning, and all effects routing.
fig.inputmixscreens
3. Press [PLAY(DISPLAY)] to return to the Playlist display.
