


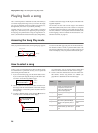


Recording a song > Step 6: Second-pass recording
34
3. Press STOP to stop recording. As an alternative, press the
RECORD button, or the pedal assigned as the Stop func-
tion. The indicator on the RECORD button turns off. The
song returns to the beginning.
Note: After 999 measures, the record automatically ends.
Step 6: Second-pass recording
After the first recording, you can start recording again over the
same song, to add parts or notes.
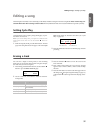
1. Press the RECORD button again. Its indicator will turn on.
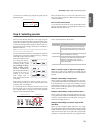
The Record page will appear again:
2. If needed, set the Record options again (see page 32). You
can choose Overdub to add notes, Overwrite to replace
notes (up to the point where you stop recording), or one
of the Punch options to record over a passage.
3. Choose the part to be recorded. When you enter Record
mode again, the indicator of the recorded part will be
turned on, the other off. Press a PART button to make its
indicator start flashing, and record over that part(s).
4. If needed, select a different sound or sound combination.
Please remember that if you record in Layer or Split mode
over a single recorder’s part, only the Main sound will be
recorded.
When you record over an already recorded part, the sound
is the same as the previous recording. However, you can
select a different sound.
5. If needed, change the tempo with the TEMPO buttons. If
the Tempo Record option (see page 32) has been activated,
any tempo change will be recorded.
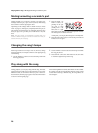
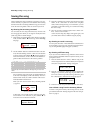
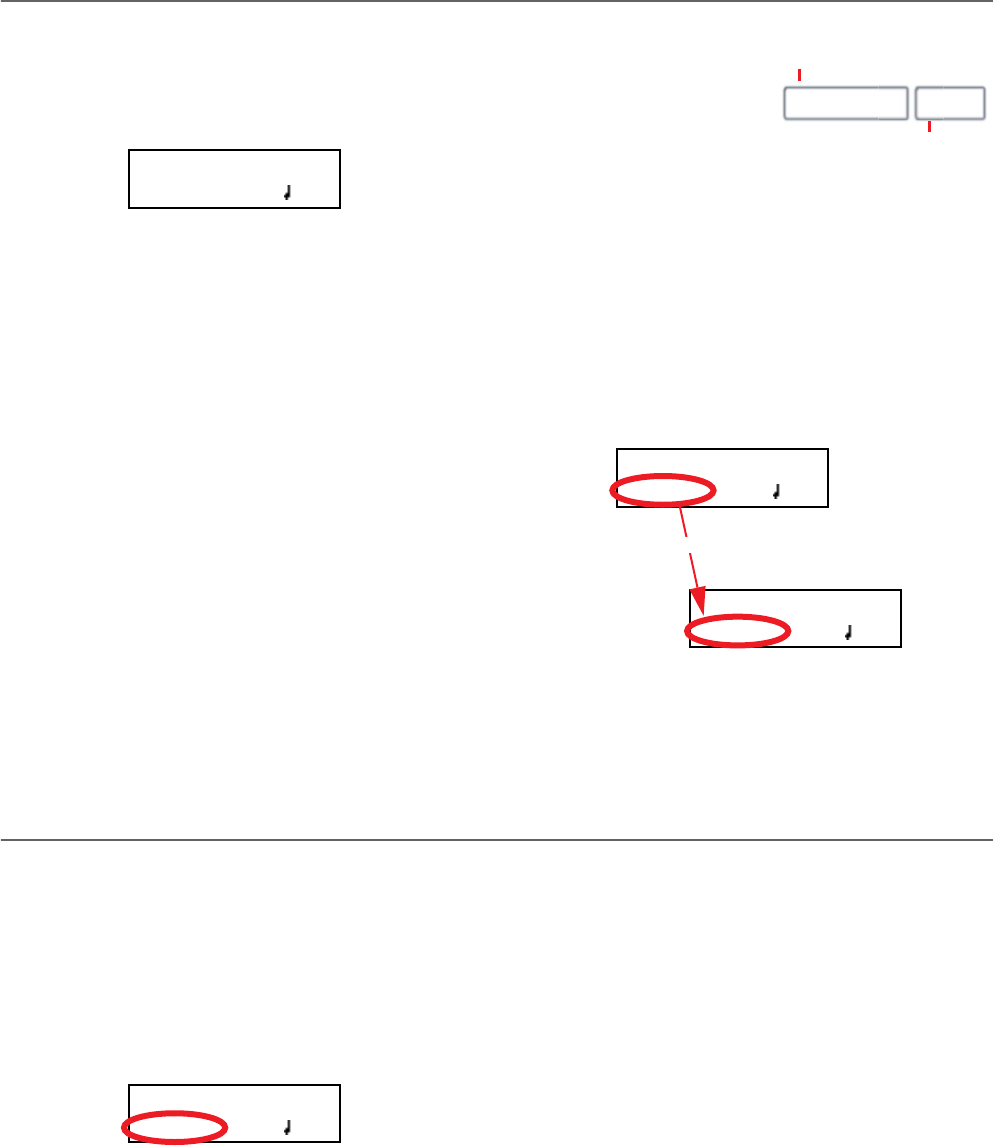
6. You cannot change the
time signature (or drum
pattern) chosen during
the first recording pass.
However, if you are start-
ing to record from the end
of the song (you can move there by assigning the highest
possible value to the M, Measure, parameter), you can
choose a different time signature (or a drum pattern) for a
new section to be appended at the end of the current sec-
tion. This is useful to create a song with different time sig-
natures, or with a drum pattern starting to play at a section
following the first one (see diagram).
7. Choose a measure to start recording from. You can start
recording from a measure other than the first one, by
changing the M (Measure) parameter before starting the
recorder.
8. Start recording.
9. When done, press the STOP or RECORD button to stop
recording.
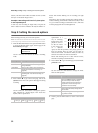
Changing sounds to a recorded song
If you are not happy with the sounds used for recording, it is
easy to replace them with different sounds.
Note: When you choose different sounds, effects are also
changed. Each sound, sound combination or performance also
includes its own set of effects.
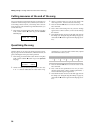
1. Press the RECORD button to access recording again.
2. Be sure you are at the beginning of the song (measure
shown as “---”):
3. Make the PART 1 and/or PART 2 indicator flash, depend-
ing on the part(s) you want to change the sound to.
4. Choose a different sound (or sounds). If you are editing a
single part, and you select a Layer or Split sound combina-
tion, only the Main sound will be considered.
5. Press RECORD to exit song recording.
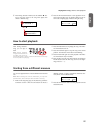
Record:Untitled
M:--- 4/4 120
4/4 3/4
First-pass recording
Second-pass recording
Record:Untitled
M:001 4/4 120
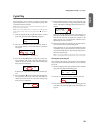
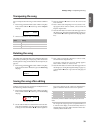
Record:Untitled
M:099 4/4 120
+/YES
Record:Untitled
M:--- 4/4 120