113
Prepare for recording—Multitrack recording
Prepare for recording
Monitoring the sound of a connected
instrument
Selecting the input source
Press the INPUT SELECT button(s) for the instrument you will record. The indicator
of the selected button(s) will light.
Adjusting the input sensitivity
1. Turn the INPUT SENS knob to adjust the input sensitivity.
Adjust the INPUT SENS knob as high as possible without causing the peak indicator
to light when the sound is input.
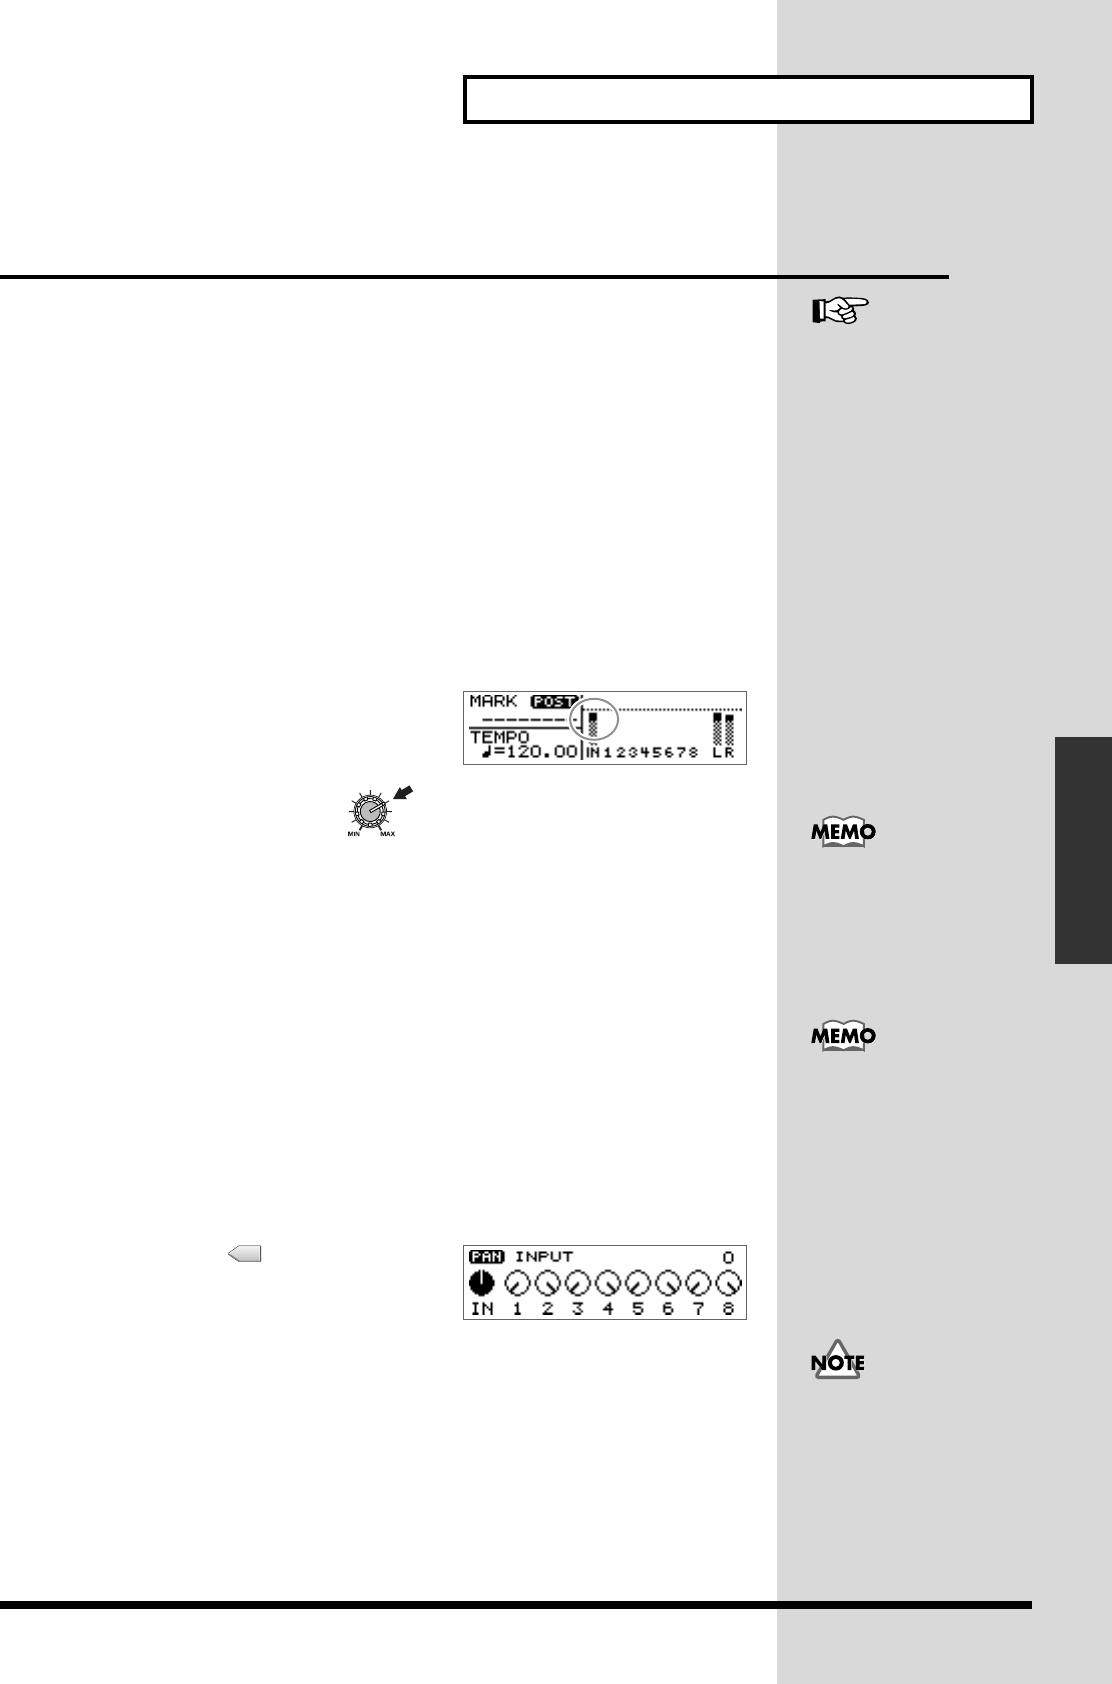
2. Press [DISPLAY] a number of times to access the Post-fader screen. Turn the
INPUT REC LEVEL knob to adjust the level so that “IN” level meter moves as far
as possible without exceeding the dotted line in the upper portion.
fig.41-11
* If you use the INPUT REC LEVEL knob to turn
down the volume of the input source, the sound will
be recorded in the audio track at a low volume, so that
noise will be more apparent when you raise the
volume of the audio track for playback.
* If INPUT REC LEVEL knob is set at in case of Digital In, input level will be “0 dB.”
Monitoring the sound
Use the MASTER fader to adjust the volume of the instrument or mic that you are
monitoring.
If you are monitoring through headphones, adjust the MASTER fader and the
PHONES knob to set a comfortable volume.
Setting the left/right position (pan) of the input sound
If you adjust the pan (left/right position) of the instrument you are playing to a
location where it can be heard easily, the sound of your instrument will not be lost
in the other sounds during overdubbing (p. 124), and you will find it easier to work.
1. Press TRACK EDIT [PAN].
The Pan settings screen appears.
fig.41-12
2. Press CURSOR [ ] to select the INPUT
knob display.
3. Turn the TIME/VALUE dial to set the pan.
4. Press [DISPLAY] to return to the Basic screen.
For details on the jack to use
for connections and on the
INPUT SELECT button, refer
to “Panel Descriptions: Rear
panel” (p. 30) and “Panel
Descriptions: INPUT section”
(p. 21).
The meter moves high level as possible without
exceeding the limit shown as dotted line.
↓
For details on adjusting the
volume of the device
connected to the OUTPUT
ack, refer to the operating
manual for that device.
When recording in stereo
using SIMUL, set the input pan
to “L100” (the far left) before
you record. If you set the input
pan except for “L100,” the two
input sources will be mixed
and recorded.
The pan you set here is
automatically reflected in the
pan of the recording-
destination audio track. When
you play back, you will hear
the same pan setting as when
you recorded. After recording,
you are free to adjust the pan
setting of each audio track.
(“Setting the left/right position
(pan) of each audio track”;
p. 132)
