


56
Settings (Edit mode)
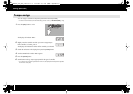
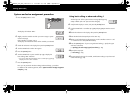
System exclusive assignment procedure
fig.H-Edit.eps
1
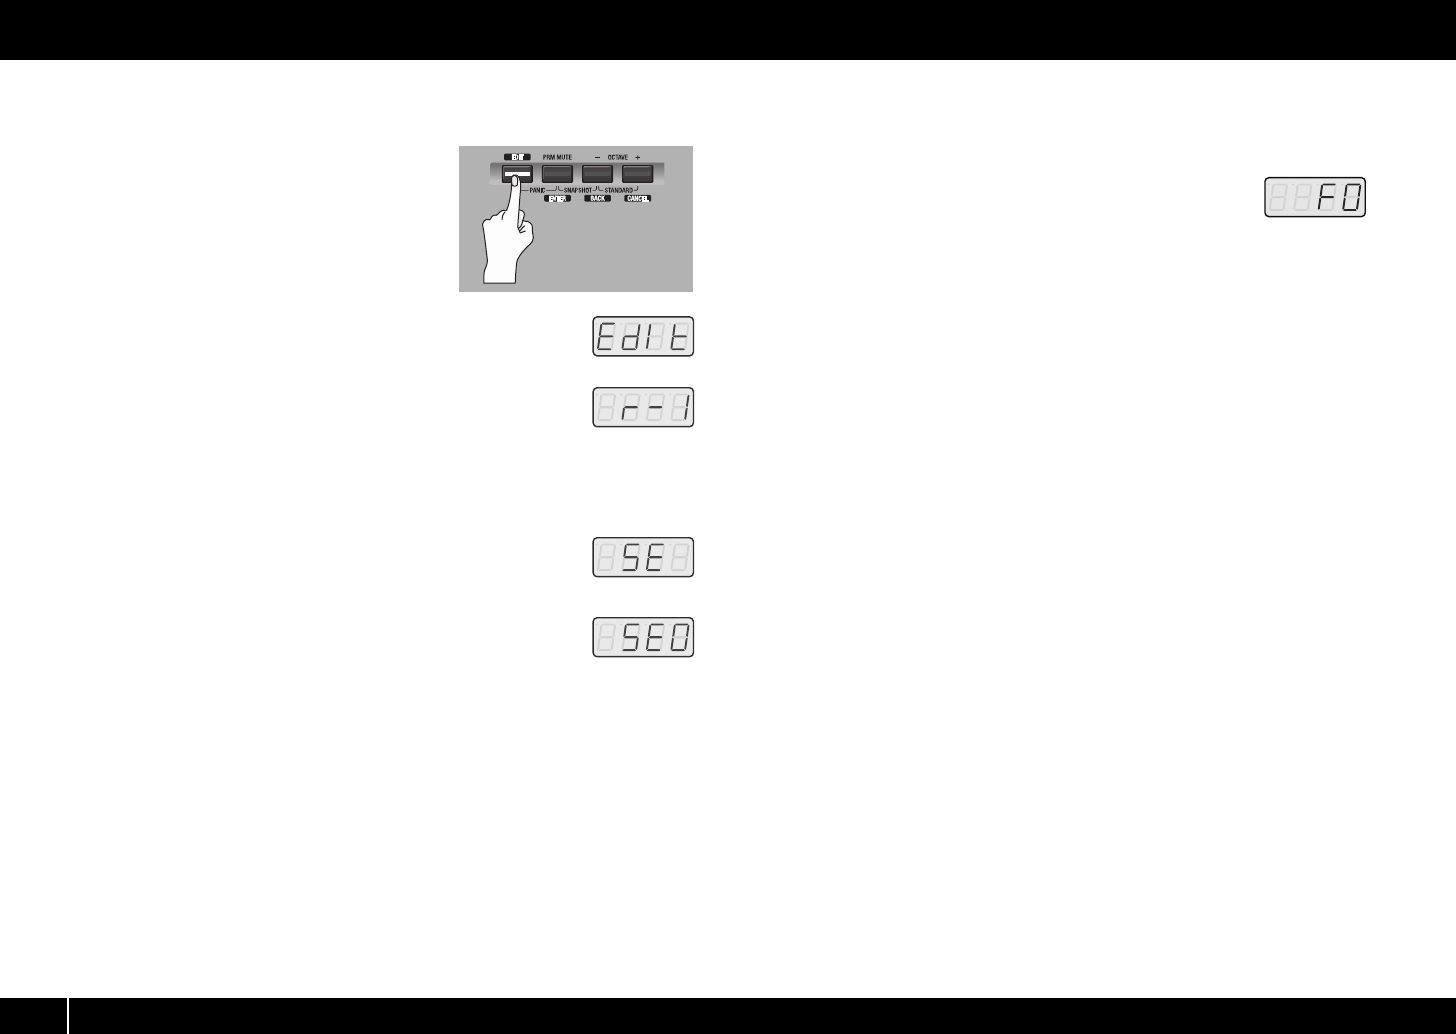
Press the [EDIT] button so it’s lit.
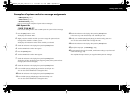
fig.D-Edit.eps
The display will indicate “EDIT.”
fig.D-r1.eps
2
Slightly move the controller to which you want to assign a system
exclusive message.
If the controller is a button, press it.
The display will indicate the number of the controller you selected.
3
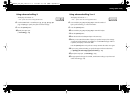
Check the indication in the display, then press the [ENTER] button.
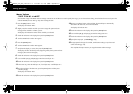
fig.D-SysEx.eps
4
Turn the VALUE knob to make “SE” appear.
5
Press the [ENTER] button.
fig.D-SysExEdit0.eps
6
Turn the VALUE knob or press controller [A1 (0)] to display the
basic editing “SE0” indication.
* If you want to select advanced editing, press a controller [A2 (1)]–[A5 (4)]
to display the “SE1”–”SE4” indication.
7
Press the [ENTER] button.
Now you can proceed to the basic editing/advanced editing 1 procedure.
For details on the actual assignments, refer to
System exclusive message assignment
examples
(p. 58).
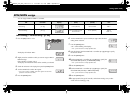
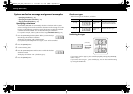
Using basic editing or advanced editing 1
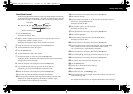
fig.D-F0.eps
The first byte “F0” of the system exclusive message (the beginning
status) will blink. (This “F0” byte cannot be changed.)
8
Verify that the display is correct, and press the [ENTER] button.
9
Use the VALUE knob or controllers [A1]–[A8] and [B1]–[B8] to enter the second
byte.
10
Check the indication in the display, then press the [ENTER] button.
11
Enter the third and subsequent bytes in the same way.
12
When you’ve finished entering the message, use the controllers to enter “F” and
“7” as the final “F7” status (End Of Exclusive).
13
Press the [ENTER] button. If you’re using advanced editing 1, specify the upper
and lower value limits.
(->
Specifying the value range (upper/lower limits)
(p. 45))
14
Specify the output port.
(->
Port setting
(p. 65))
15
As appropriate for the type of controller, set the button mode (p. 64) or the virtual
center click setting (p. 65).
PCR-300_500_800_e.book 56 ページ 2006年12月19日 火曜日 午後2時59分