When you execute the Save operation, the effect
program that previously occupied that memory
will be overwritten and lost.
■ Starting and stopping recording
15 Press the [REC] key, and then press the [PLAY] key
to begin recording. Press the [STOP] key to stop
recording. (Refer to ■ “Starting and stopping
recording”, p.11)
■ Listening to the recorded performance (Play-
back)
16 Move the current time to a location earlier than the
point at which you began recording. Then set the
[TRACK STATUS] of the recorded track to PLAY, and
press the [PLAY] key to begin playback. Press the
[STOP] key to stop playback. (Refer to “■ Listening
to the recorded performance (Playback)”, p.11)
5. Applying an effect to the
input sound and record-
ing only the input sound
Here’s how you can apply the D8’s internal effect
to the sound of an instrument or other sound
source connected to the INPUT 1 jack or INPUT 2
jack. In this section, only the input sound is
recorded. Use this method when you wish to try a
variety of effects during playback and decide on
the final sound later.
■ Connecting the input device and adjusting
the level
1 Refer to “■ Connecting the input device and
adjusting the level” (p.11, p.12), to connect the
input device and adjust the level.
It is not possible to use the effect when recording
digitally.
■ Selecting the location at which the effect will
be inserted
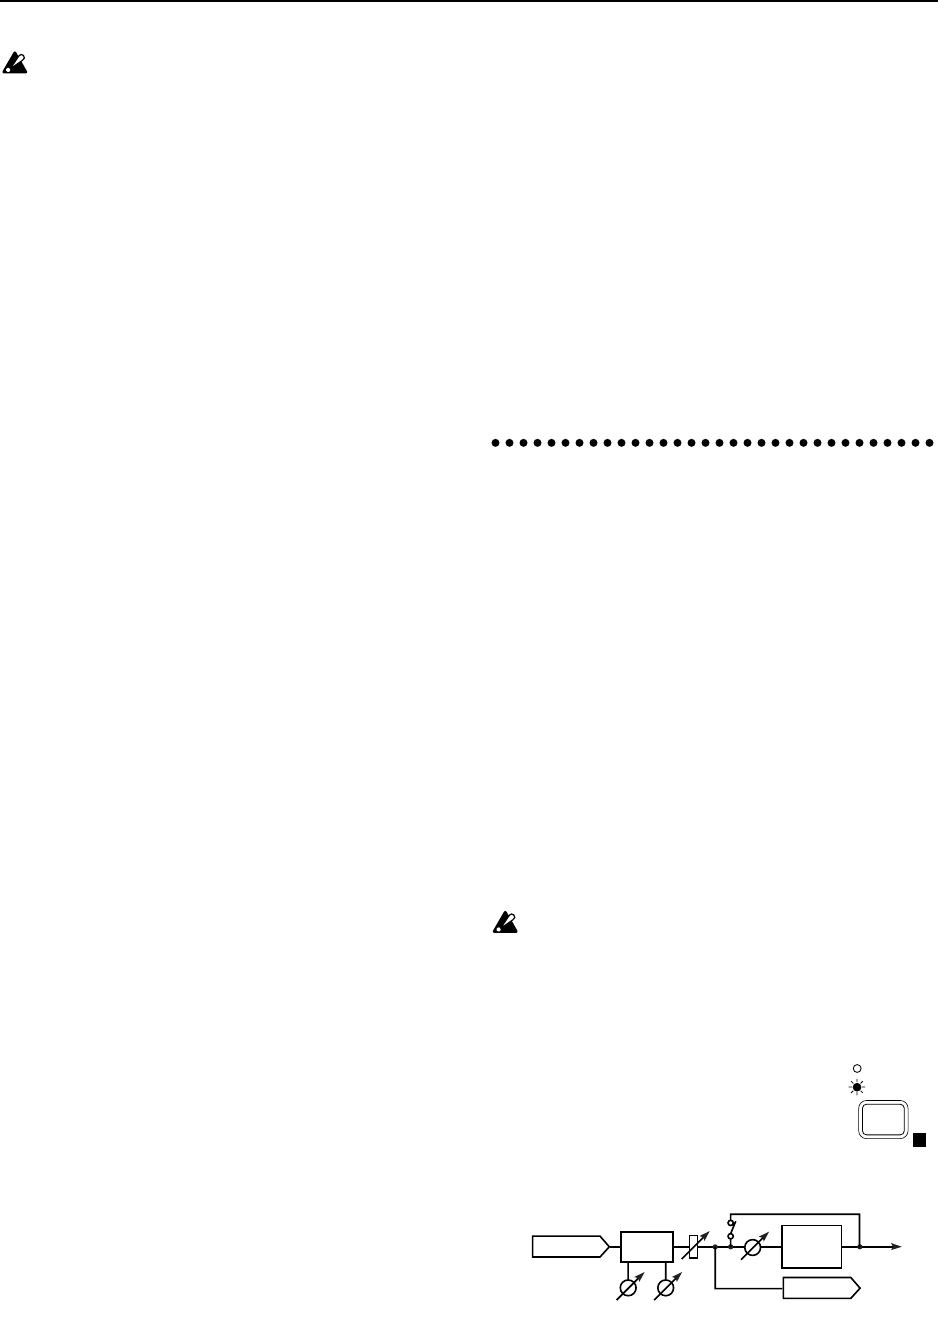
2 Press the [EFFECT ASSIGN] key
several times to select MASTER
(Send Type) (indicator lit). With the
setting MASTER (Send Type), the
send bus will be output to the inter-
nal effect, which will be output to
the master bus.
3 Adjust the following effect settings while listening
to the input sound of the instrument or other source.
■ Sending the input sound to the effect
4 Press the [EFFECT SEND] key several times for the
input channel where you wish to apply the effect,
EFFECT
ASSIGN
INPUT 1/2
MASTER
E
INPUT
OUTPUT
RecTrack
Effect
FADER
[EQ]
HEQ LEQ
Snd
