


31
Chapter 2
Operation
Track editing
This section explains the editing operations
(copy, insert blank, delete, exchange etc.) that
can be performed on tracks.
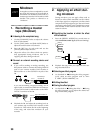
1. Storing IN, OUT and TO
times
In order to edit track data, you must store the time
locations at which editing will be performed. As
explained in “3. Locate points (LOC1, LOC2,
LOC3)” (p.25), LOC1 functions as the IN time,
LOC2 as the OUT time, and LOC3 as the TO time.
1 Change the current time location to the point that
you wish to store as the IN time. (Refer to “1. Mov-
ing the current time”, p.24)
The IN time will function as follows for each edit-
ing operation.
Copy Track: the beginning of the source data
that will be copied
Insert Track: the location at which the blank will
be inserted
Erase Track: the location at which erasure will
begin
Delete Track: the location at which deletion will
begin
Swap Track: the location at which the exchange
will begin
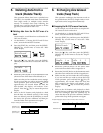
2 Press the [STORE] key to access the “Store” dis-
play, and then press the [IN/LOC 1] key to store
the IN time.
3 Change the current time location to the point that
you wish to store as the OUT time.
The OUT time will function as follows for each
editing operation.
Copy Track: the end of the source data that will
be copied
Insert Track: the location at which the inserted
blank will end
Erase Track: the location at which erasure will
end
Delete Track: the location at which deletion will
end
Swap Track: the location at which the exchange
will end
4 Press the [STORE] key to access the “Store” dis-
play, and then press the [OUT/LOC 2] key to store
the OUT time.
5 Change the current time location to the point that
you wish to store as the TO time.
The TO time needs to be stored only if you are
using the Copy Track operation, and will be the
time at which the data will be placed in the copy
destination track.
6 Press the [STORE] key to access the “Store” dis-
play, and press the [TO/LOC 3] key to store the TO
time.
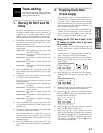
2. Copying track data
(Track Copy)
This operation copies a portion (IN–OUT) of a
recorded track to another location (TO). You can
copy data from a single track or from multiple
tracks simultaneously. You can also copy the data
more than one time. By using the clipboard, you
can copy data to another song.
For example, you could use this to repeatedly copy
a phrase of several measures, such as a drum pat-
tern, or record a favorite phrase in one track, and
use it by copying it to other tracks or songs.
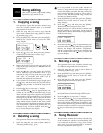
■ Copying the IN – OUT area of track 1 to the
TO location of another track in the same
song multiple times
As an example, we will explain how to copy the
IN–OUT area of track 1 to the TO location of track
2 three times.
1 As described in “1. Storing IN, OUT and TO loca-
tions”, store the IN, OUT and TO locations.
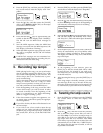
2 Press the [EDIT] key, and then press the [SONG/
TRACK] key several times to access the “Edit-
Track” display.
3 Press the [ ] key, and then press the [SONG/
TRACK] key several times to access the “Cpy” dis-
play.
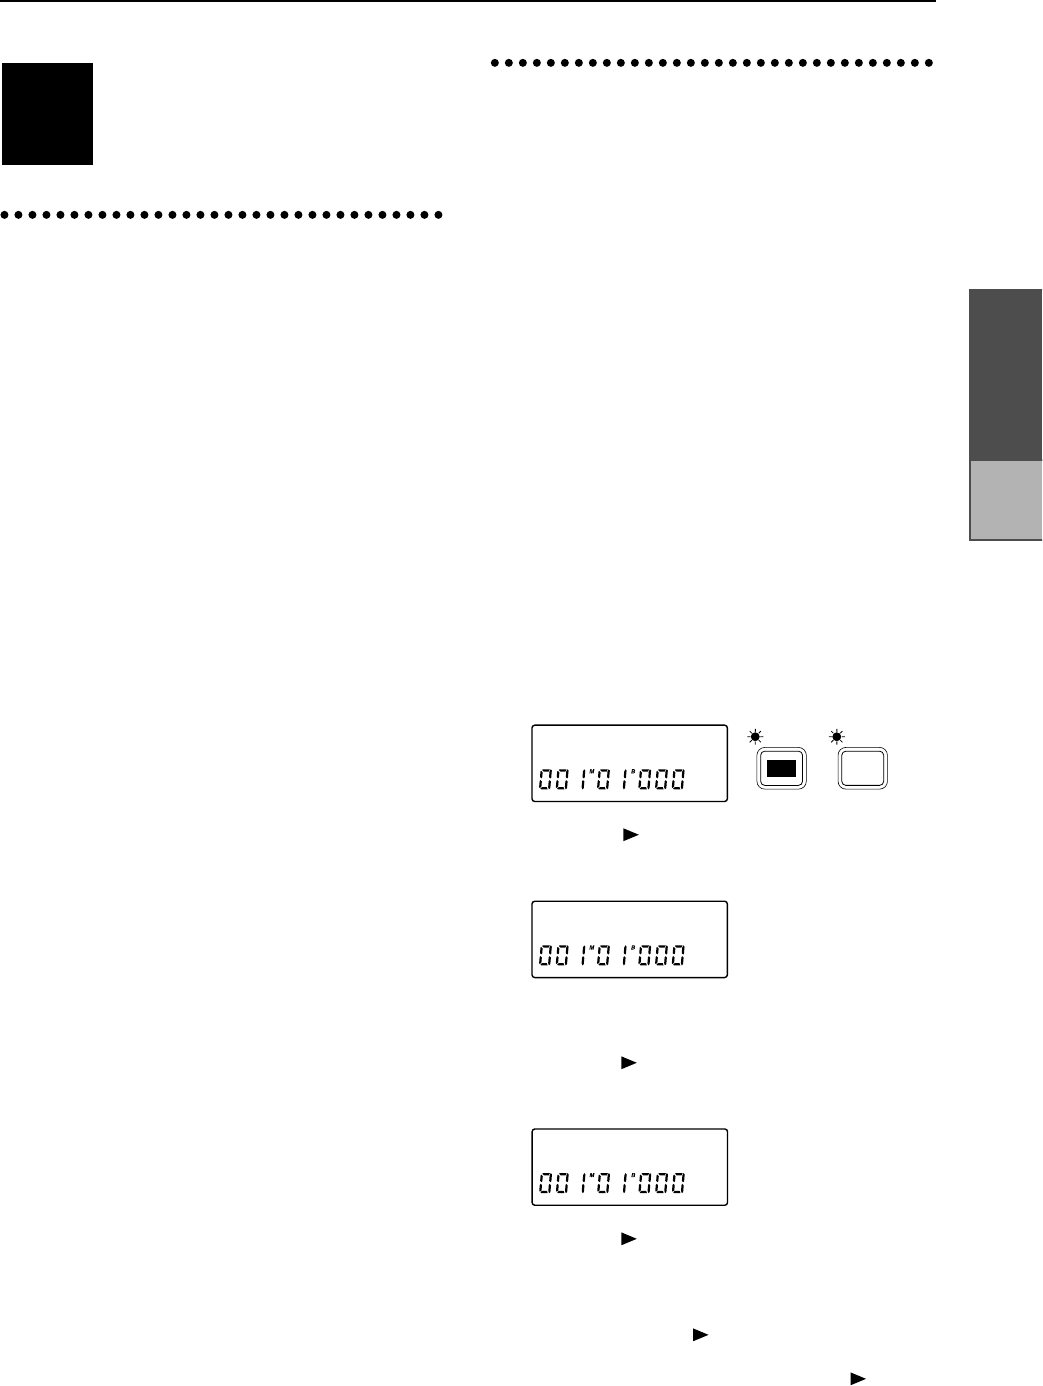
4 Rotate the [VALUE] dial to set the source track (the
track from which the data will be copied) to 1.
5 Press the [ ] key, and then rotate the [VALUE]
dial to set the destination track (the track to which
the data will be copied) to 2.
6 Press the [ ] key, and then rotate the [VALUE]
dial to set the number of copies to 3.
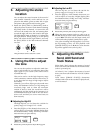
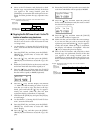
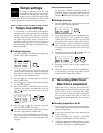
7 Make sure that the correct settings have been
made. If it is all right to execute the copy operation,
press and hold the [ ] key for approximately one
second. When the copy is completed, the display
will indicate “Completed”. Press the [ ] key to
restore the previous display.
STEP8
EditTrack˙
SONG /
TRACK
EDIT
CpyTr 1 ø
øTr 2x 3œ
Track
editing