Chapter 2
Operation
3 Insert another disk into the removable disk drive.
If you insert an uninitialized disk, the display will
read “Init
→✽?” (✽ is the SCSI ID A-G of the drive),
asking whether you wish to initialize the disk. If
you wish to initialize, press and hold the [ ] key
for approximately one second to initialize the disk.
(Refer to “3. Initializing and formatting a drive”)
■ Exchanging disks on a removable disk drive
which is not currently selected
If the currently selected song is on a drive other
than the removable disk drive, use the following
procedure to exchange disks.
✧ Press the Eject key of the external removable disk
drive to remove the disk, and insert a different
disk. (For the location of the Eject key, refer to the
owner’s manual for your removable disk drive.)
If the disk is unformatted, refer to “3. Initializing
and formatting an external drive”.
5. Saving a song on a
removable disk drive
(Backup)
There are two ways in which a song can be saved
on an external disk: Song Copy and Backup. Song
Copy and Backup differ in the following ways.
If you wish to save a song by copying it to an exter-
nal hard disk drive or removable disk drive, refer
to “Copying a song” (p.35).
This section will explain how to backup a song to a
removable disk drive. For the procedure of backing
up to a DAT recorder, refer to “1. Saving a song to a
DAT recorder (Backup)” (p.43).
Korg will accept no responsibility for any loss of
data which may result from failure to backup/
restore correctly.
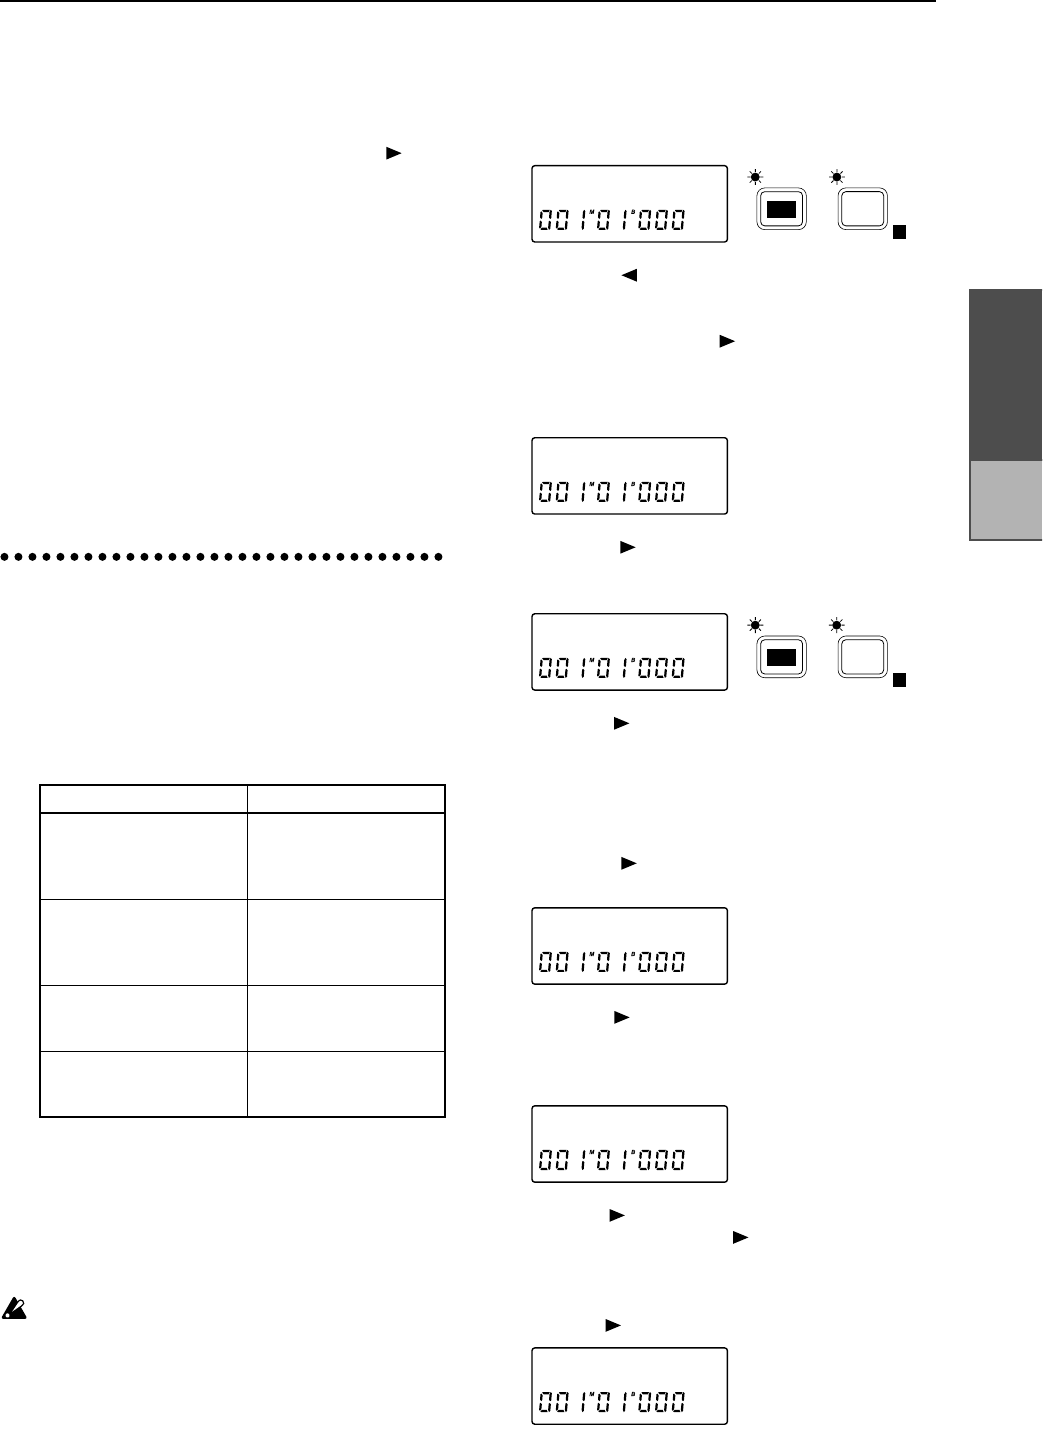
■ Backing up a song to a removable disk drive
1 Press the [EDIT] key, and then press the [SONG
TRACK] key several times to display the song
name (EDIT SONG/TRACK P1).
2 Press the [ ] key, and then rotate the [VALUE]
dial to select the drive which contains the song that
you wish to backup. If you are backing up an indi-
vidual song, press the [ ] key and then rotate the
[VALUE] dial to select the song number as well.
3 Press the [SYSTEM] key several times to make the
display read “DiskUtil”.
4 Press the [ ] key, and then press the [SYSTEM]
key several times to make the display read
“Backup”.
5 Press the [ ] key. The drive and song number that
you selected in step 2 will be displayed. If you
wish to backup all songs in the currently selected
drive, rotate the [VALUE] dial to select 1-✽✽ (All).
If you wish to backup an individual song, leave
this setting unchanged.
6 Press the [ ] key, and then rotate the [VALUE]
dial to specify the backup destination drive (A–G).
7 Press the [ ] key, and the display will indicate the
number of disks that you will need. Prepare the
appropriate number of disks of the same capacity
as the disk that is currently in the drive.
8 Press the [ ] key, and the contents of the backup will
be displayed. Press the [ ] key. The display will
indicate “Over Wrtok?”, asking you to confirm that
you wish to overwrite the backup destination disk. If
you wish to execute the backup operation, press and
hold the [ ] key for approximately one second.
Song Copy Backup
The song can be selected
and played
The song cannot be
selected (you must
Restore before the song
can be selected)
The save destination song
number can be specified
The song is always over-
written, and the song
number cannot be speci-
fied
Song data extending over
multiple disks cannot be
saved
Song data extending over
multiple disks can be
saved
A hard disk drive or remov-
able disk drive can be
used
A removable disk drive or
DAT can be used
A01:SngNa˙
E
SONG /
TRACK
EDIT
DiskUtil œ
Backup ˙
E
SYSTEM
EDIT
øB:RM 100œ
øx02Disksœ
I**øB**ok?
Saving to
and load-
ing from
DAT
