28
3. Adjusting the stereo
location
You can adjust the stereo location of the sound of
each channel. Normally, vocals and bass etc. are
placed in the middle, guitar at either left or right,
and piano at the opposite side from the guitar.
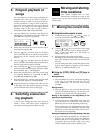
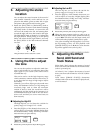
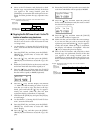
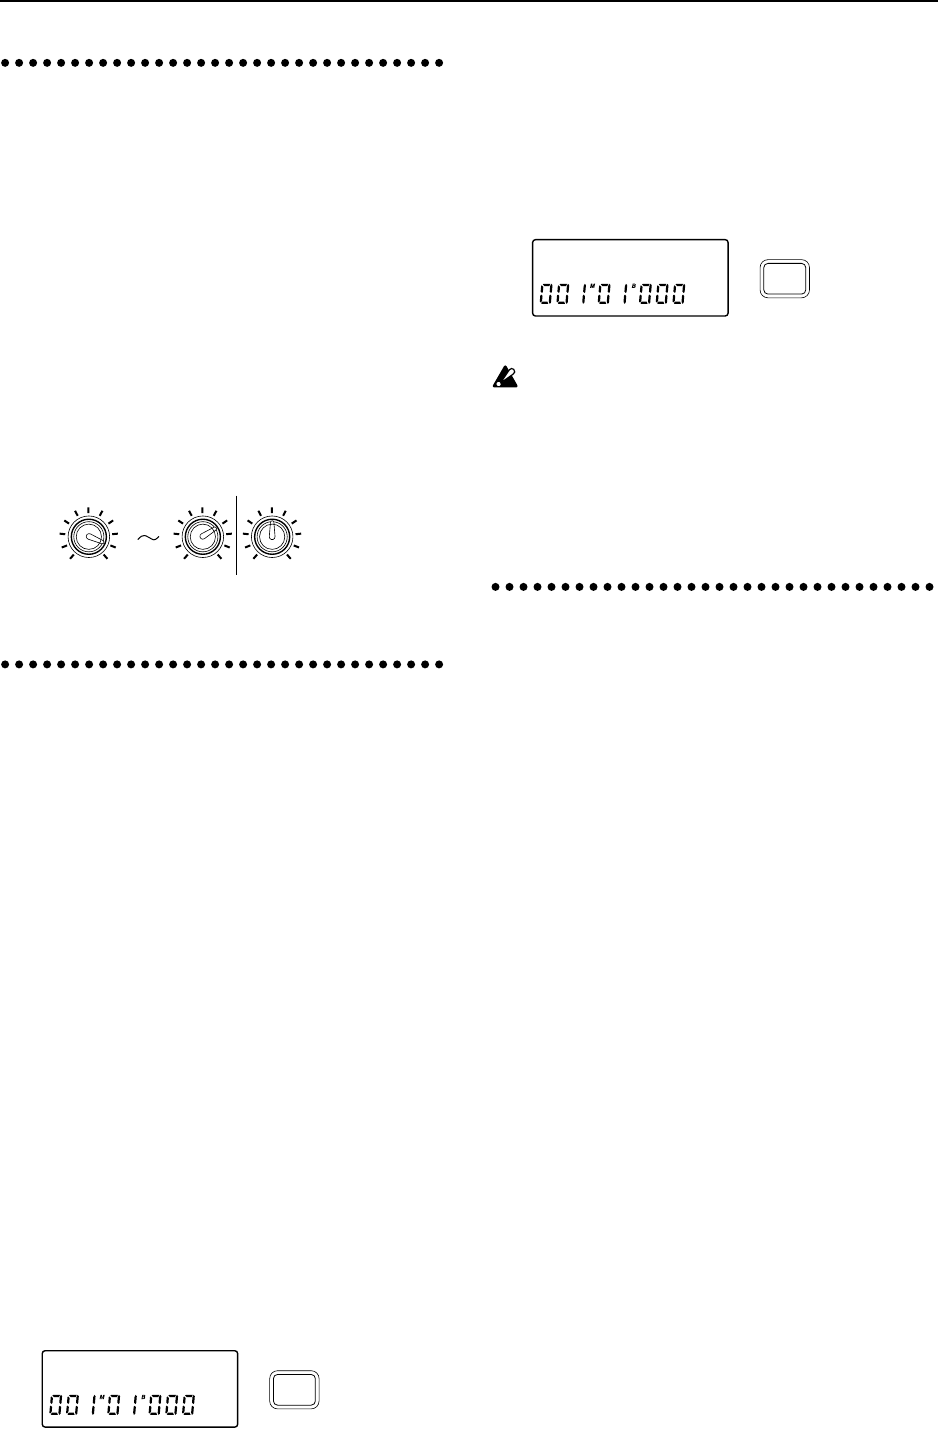
✧ Rotate the [PAN] knob or [BALANCE] knob to
adjust the stereo location of each channel. Rotating
the [PAN] knobs of channels 1–6 toward the left
will move the sound to the left, and rotating them
toward the right will move the sound to the right.
The [BALANCE] knob of channels 7/8 adjusts the
left/right balance. When pairing is on, the [PAN]
knobs will adjust the left/right balance, and only
the [PAN] knobs of the odd-numbered channels
are used.
This parameter can be stored in a scene.
4. Using the EQ to adjust
the tone
You can use the equalizer to adjust the tonal char-
acter of each channel. If you adjust the tone of the
input signal as you record it, the sound will be
recorded that way.
This can be used to cut the high frequency range
which sometimes contains obtrusive hiss noise, or
to cut/boost the low range or high range to adjust
the tonality.
Normally, you will use EQ to give the sound more
clarity and definition. However if EQ settings are
excessively high, such as when the maximum
amount of boost is used, the overall mix will be
unbalanced, and the sound can be fatiguing. It is
recommended that EQ be used in the “cut” direc-
tion as well, and that you use no more boost/cut
than necessary.
■ Adjusting the High EQ
The high EQ lets you cut/boost the 10 kHz fre-
quency range over a range of -15–+15 dB.
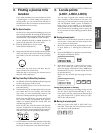
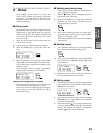
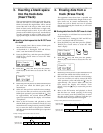
1 Press the [EQ] key of the channel whose tone you
wish to adjust, to access the “HEQ✽” display (✽ is
the channel number). “HEQ” and “LEQ” will alter-
nate each time you press the key.
2 Rotate the [VALUE] dial to adjust the EQ gain.
■ Adjusting the Low EQ
The low EQ lets you cut/boost the 100 Hz fre-
quency range over a range of -15–+15 dB.
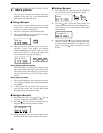
1 Press the [EQ] key of the channel whose tone you
wish to adjust, to access the “LEQ✽” display (✽ is
the channel number). “HEQ” and “LEQ” will alter-
nate each time you press the key.
2 Rotate the [VALUE] dial to adjust the EQ gain.
When the input monitor (refer to p.47) is set to
AUTO, the EQ of tracks whose [TRACK STATUS]
is set to REC will affect only the input sound, and
will not affect the playback sound (refer to p.58).
Also, after recording with EQ applied, if you leave
the EQ settings as they are and playback with
[TRACK STATUS] set to PLAY, be aware that the
EQ will be applied twice (refer to p.58).
5. Adjusting the Effect
Send, AUX Send and
Track Status
Effect Send (“Snd”) adjusts the amount of sound
that is sent from each channel to the internal effect
(refer to p.14 and p.23).
AUX Send (“Aux”) adjusts the amount of sound
that is sent from each channel to AUX OUT. (Refer
to p.23)
Track Status ([TRACK STATUS]) determines
whether each track can be recorded or played back,
or will be muted.
PAN
LR
1
PAN
LR
6
LR
BALANCE
7/8
HEQ1 :+00
EQ
LEQ1 :+00
EQ


