


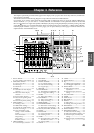
47
Chapter 3
Reference
3. SYSTEM
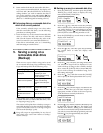
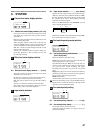
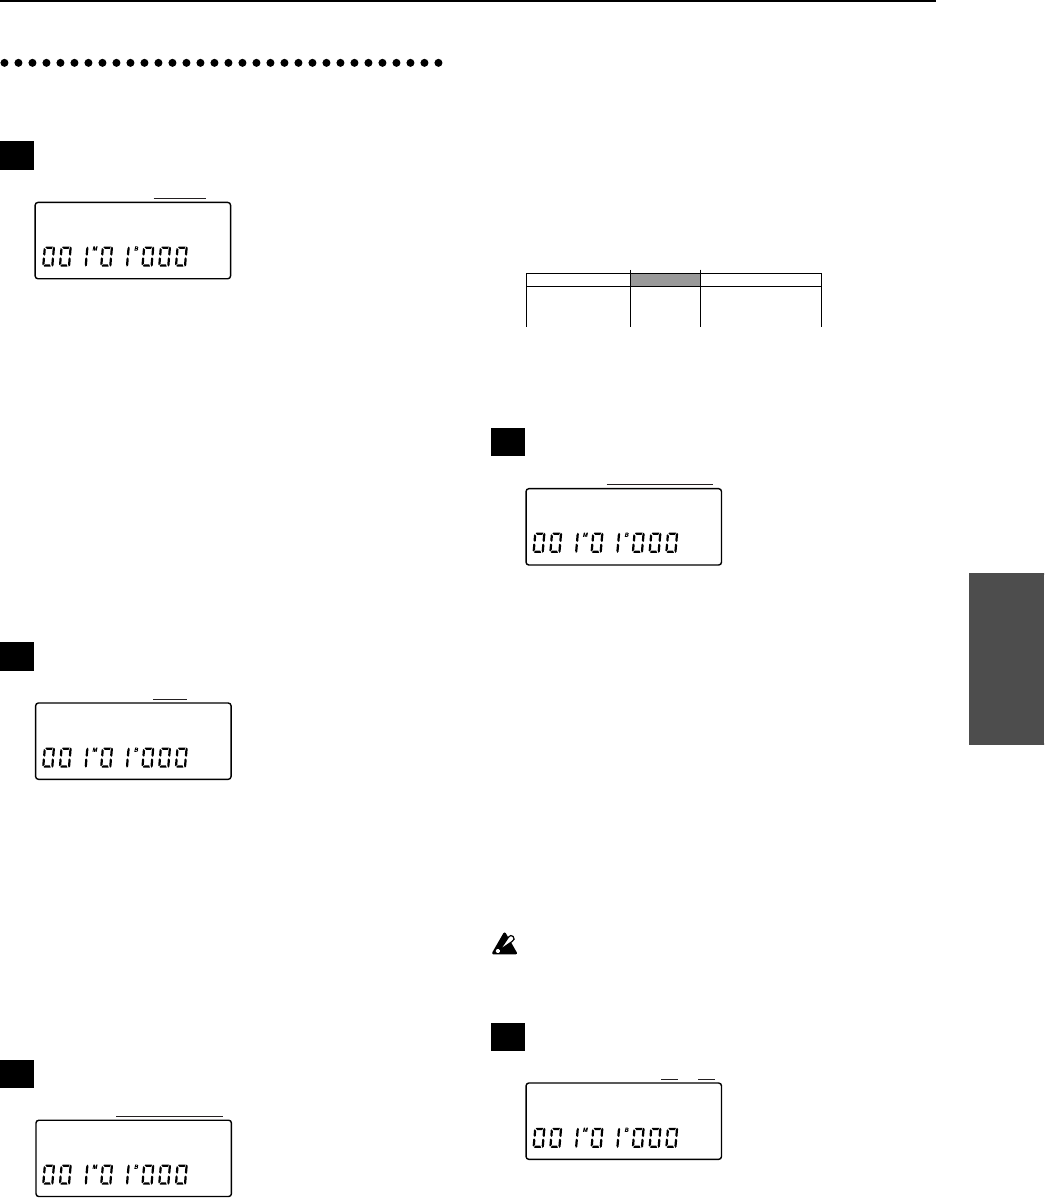
Channel level meter display selection
P1-1 Channel level meter display selection..[Pre, Post]
Selects the location at which the channel level meter
will display the volume level. These are the levels for
channels 1–8.
Pre: The volume level before the EQ and fader of each
channel will be displayed.
When inputting external audio sources, this lets you
check the [TRIM] settings. During playback this lets
you check whether or not each track contains audio.
Post: The volume level after the EQ and fader of each
channel will be displayed.
This lets you view the volume level that is being out-
put during playback, or the recording level for each
track during recording.
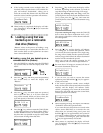
Effect level meter display selection
P2-1 Effect level meter display selection............[In, Out]
Selects the location at which the channel level meter
will display the volume level.
In: The input volume level to the effect will be shown.
This lets you check the input level to the effect.
Out: The output volume level from the effect will be
shown.
This lets you check the output level from the effect.
If the input is stereo or if multiple outputs are used, the
louder of the L/R levels will be displayed.
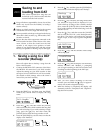
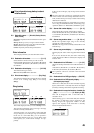
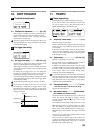
Input monitor selection
P3-1 Input monitor selection ..................... [Auto, Source]
Specifies how the input monitor sound will be output.
Auto: For channels whose [TRACK STATUS] is REC,
the track playback will be heard during playback, and
the external input will be heard during recording
(rehearsal) and when stopped.
However if [REC SELECT] is set to MASTER, you will
always hear the playback tracks.
Source: For channels whose [TRACK STATUS] is REC,
the external input will always be heard.
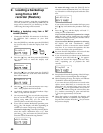
Foot switch operating mode selection
P4-1 Foot switch operating mode selection ..................
[PncI/O, PlyStp, Mark]
Selects the function of the foot switch.
PncI/O (Punch In/Out): The foot switch will start and
stop manual punch in/out recording.
Set [TRACK STATUS] to REC for the track that you
wish to record, and then begin playback. The moment
you press the foot switch, recording will begin.
Recording will end when you press the foot switch
again.
PlyStp (Play/Stop): The foot switch will start and stop
playback. Pressing the foot switch will start playback,
and pressing it again will stop playback.
Mark: Stores a mark.
A mark will be stored when you press the foot switch.
When Tap Recording (refer to EDIT TEMPO P2) has
begun, the foot switch will function as the tap marker
regardless of the SYSTEM P4 setting.
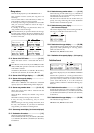
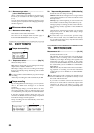
Foot switch polarity setting
P5-1 Foot switch polarity indicator......................(✽, (Off))
P5-2 Foot switch polarity setting...............................[-, +]
This sets the polarity of the foot switch.
Adjust the setting so that the “✽” appears when you
press the foot switch.
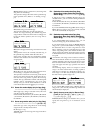
P1
1
ChMtr:Pre
P2
1
EfMtr:In
P3
1
Mon:Auto
IN
OUT
Playback sound Record
an external
input
(rehearsal)
Playback sound
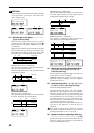
P4
1
Fsw:PncI/O
P5
1 2
FswPol *:-