


15
Step 2: OverdubbingStep 3: Mixdown
Step 4: Mastering
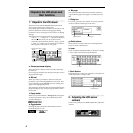
Step 1: Quick Recording Quick Start
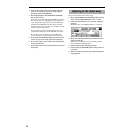
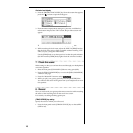
2. Press the “Rhythm” button to make the display read
“”.
The [TEMPO/RHYTHM] key will light.
3. Raise the [MASTER] fader and verify that you hear the rhythm. Use
the front panel [PHONES LEVEL] knob to adjust the volume of your
headphones, or use the top panel [MONITOR OUT LEVEL] knob to
adjust the volume of your monitor speakers.
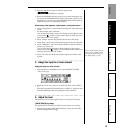
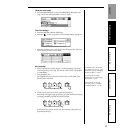
Set the tempo, time signature, rhythm pattern, and rhythm volume
1. Select “TempoSource” and turn the [VALUE] dial to select the tempo
source.
For this example, select “Manual.”
You can select the tempo source in the dialog box that appears when
you press the “ ” button. Use the radio buttons to make your selec-
tion, and press the “OK” button.
2. Select “Tempo” and turn the [VALUE] dial to adjust the tempo.
3. Select “Beat” and turn the [VALUE] dial to specify the time signature.
4. Select “SelRhythm” and turn the [VALUE] dial to select the rhythm
pattern you want to use.
You can select the rhythm pattern in the dialog box that appears
when you press the “ ” button. Use the radio buttons to make your
selection, and press the “OK” button.
5. Select “Vol” and turn the [VALUE] dial to adjust the volume of the
rhythm.
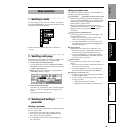
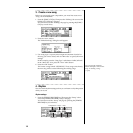
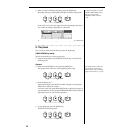
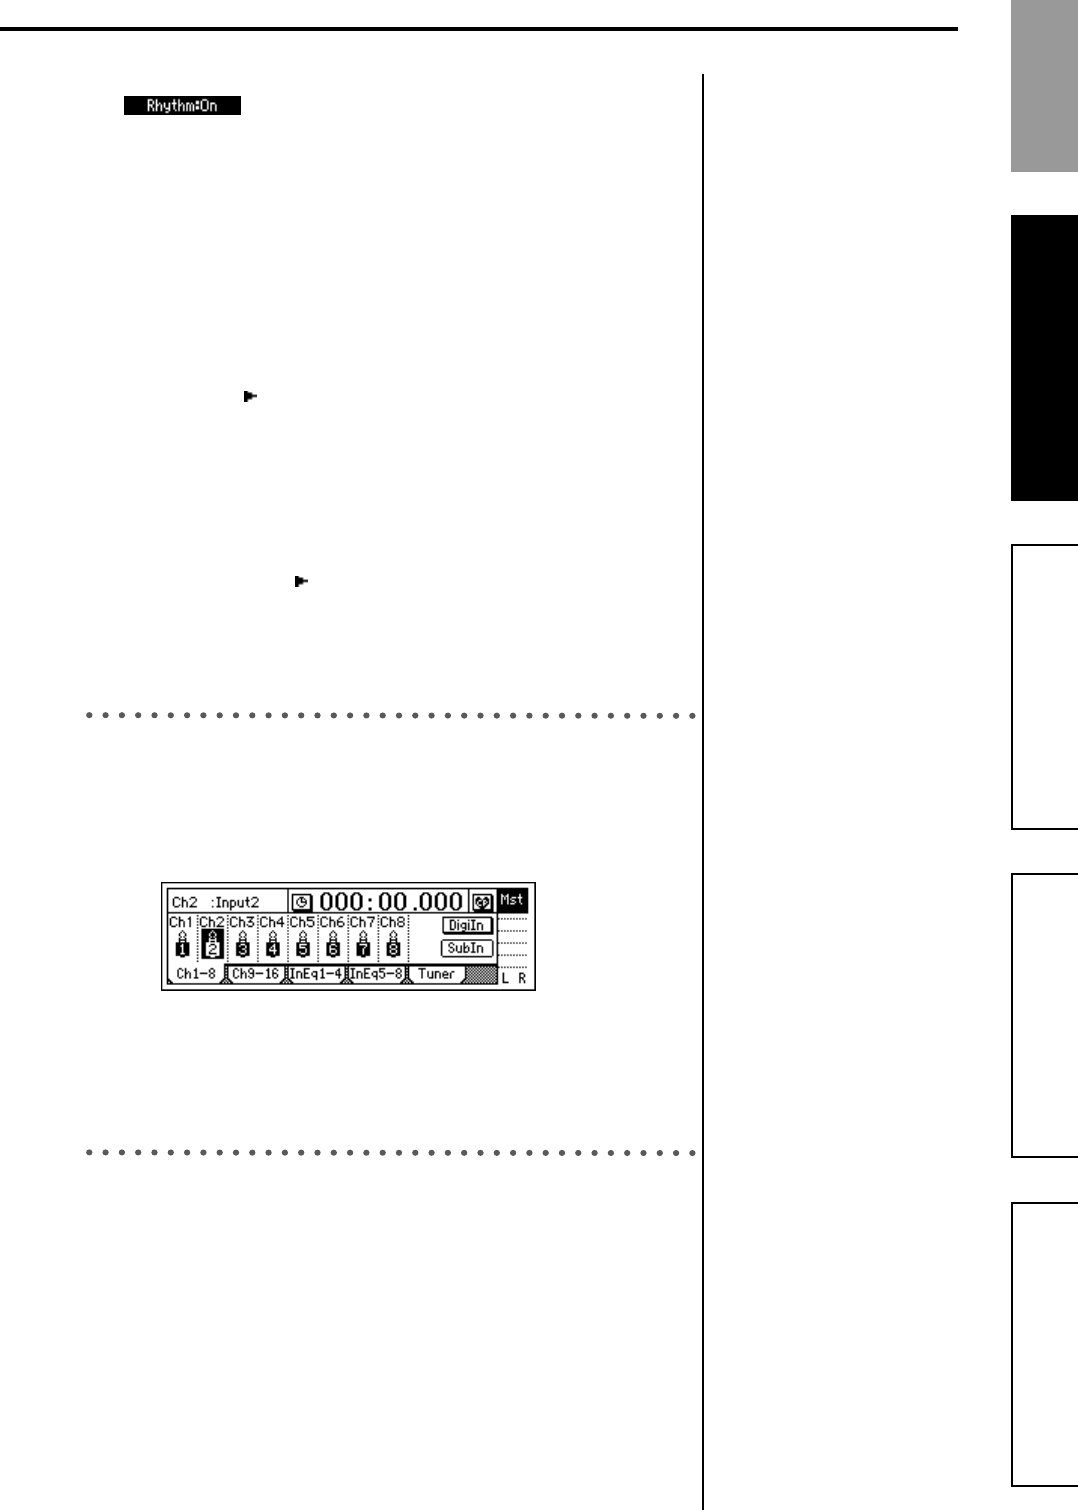
5. Assign the input to a mixer channel
Assign the input to a mixer channel
1. Press the [INPUT/TUNER] key to access the [INPUT/TUNER]
“Ch1–8” tab page.
2. Select the “Ch 8” icon, and turn the [VALUE] dial to select “INPUT
8.”
Since the front panel [GUITAR IN] jack is “INPUT 8,” the input from
the [GUITAR IN] jack has been assigned to track channel 8.
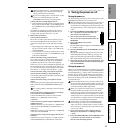
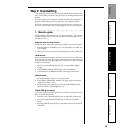
6. Adjust the level
Adjust the level of the input signal while you watch the LCD screen.
[TRACK STATUS] key setting
Set the [TRACK STATUS] key to INPUT for the track you are using.
1. Press the front panel [TRACK STATUS] key of track 8 to select the
INPUT setting (LED lit orange).
If you want the tempo, time sig-
nature, and/or rhythm pattern
to change during the song, cre-
ate a Tempo Map. (→p.72)
Step 1: Quick Recording