


49
Creating/
selecting a song
Assign audio inputs
to the mixer
Basic
operation
RecordingPlayback
Changing the
time location
Using the
mixer
Using
effects
MixdownTrack
editing
Song
editing
Rhythm/tempo
settings
DataDriveUSBUpdating
the system
MIDI
2. Input an audio signal, and adjust it to an appropri-
ate level.
Refer to “1. Analog inputs” and “1. Adjust the record-
ing level, and record” (→p.36, 39)
Verify that the level meter on the left side of the LCD
screen moves when you hear the sound.
3. For each “InputEQ,” select the gain settings and
mid EQ center frequency, and rotate the [VALUE]
dial to adjust them.
Refer to step 2 and step 3 of “Applying EQ to the
track playback” (→p.48).
4. Record the sound as adjusted by the EQ.
Refer to “1. Adjust the recording level, and record”
(→p.39).
4. Pairing
Adjacent odd and even-numbered channels (1–2, 3–4, 5–
6, 7–8, 9–10, 11–12, 13–14, 15–16) can be paired, so that
changing a value for the odd-numbered channel will
simultaneously change the value for both channels.
It is convenient to use mixer pairing for stereo-recorded
channels.
Pairing is valid for the following settings.
• [TRACK STATUS] keys
• EQ (channel EQ)
• EffSnd 1 + 2 (effect send)
• AuxSend (auxiliary send)
• [PAN] knobs
• [CHANNEL] faders
With the exception of the [TRACK STATUS] keys
and the [CHANNEL] faders, you can select whether
or not pairing will be enabled for a parameter. This
selection is made simultaneously for both Effect
Sends 1 and 2.
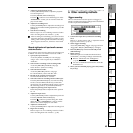
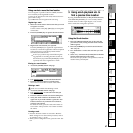
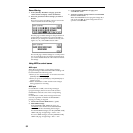
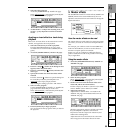
1. Access the “Select Pair” screen.
Press the “ ” (SelChPair) button found in the
[INPUT/TUNER], [EQ/PHASE], or [INSERT
EFFECT] pages to access the “Select ChannelPair”
screen.
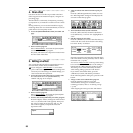
2. Select the channels for which you wish to enable
pairing.
Press a “1 2”–“15 16” button to turn it “On” (high-
lighted as “ ”).
3. Select the functions for which pairing will be
enabled.
Select the functions that will be paired for the chan-
nels you selected in “Select ChannelPair.”
From “
Eq
,” “
Send
,” “
Aux
,” and “
Pan
,” press the
functions that you wish to enable to turn
on
each func-
tion. To finalize the settings, press the “OK” button.
5. Monitor settings
In order to monitor the audio from the D1600mkII, you
will need to connect a set of powered monitor speakers
etc. to the [MONITOR OUT L/R] jacks, or connect head-
phones to the [PHONES] jack.
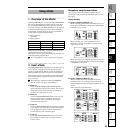
Select the signal for monitoring
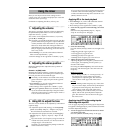
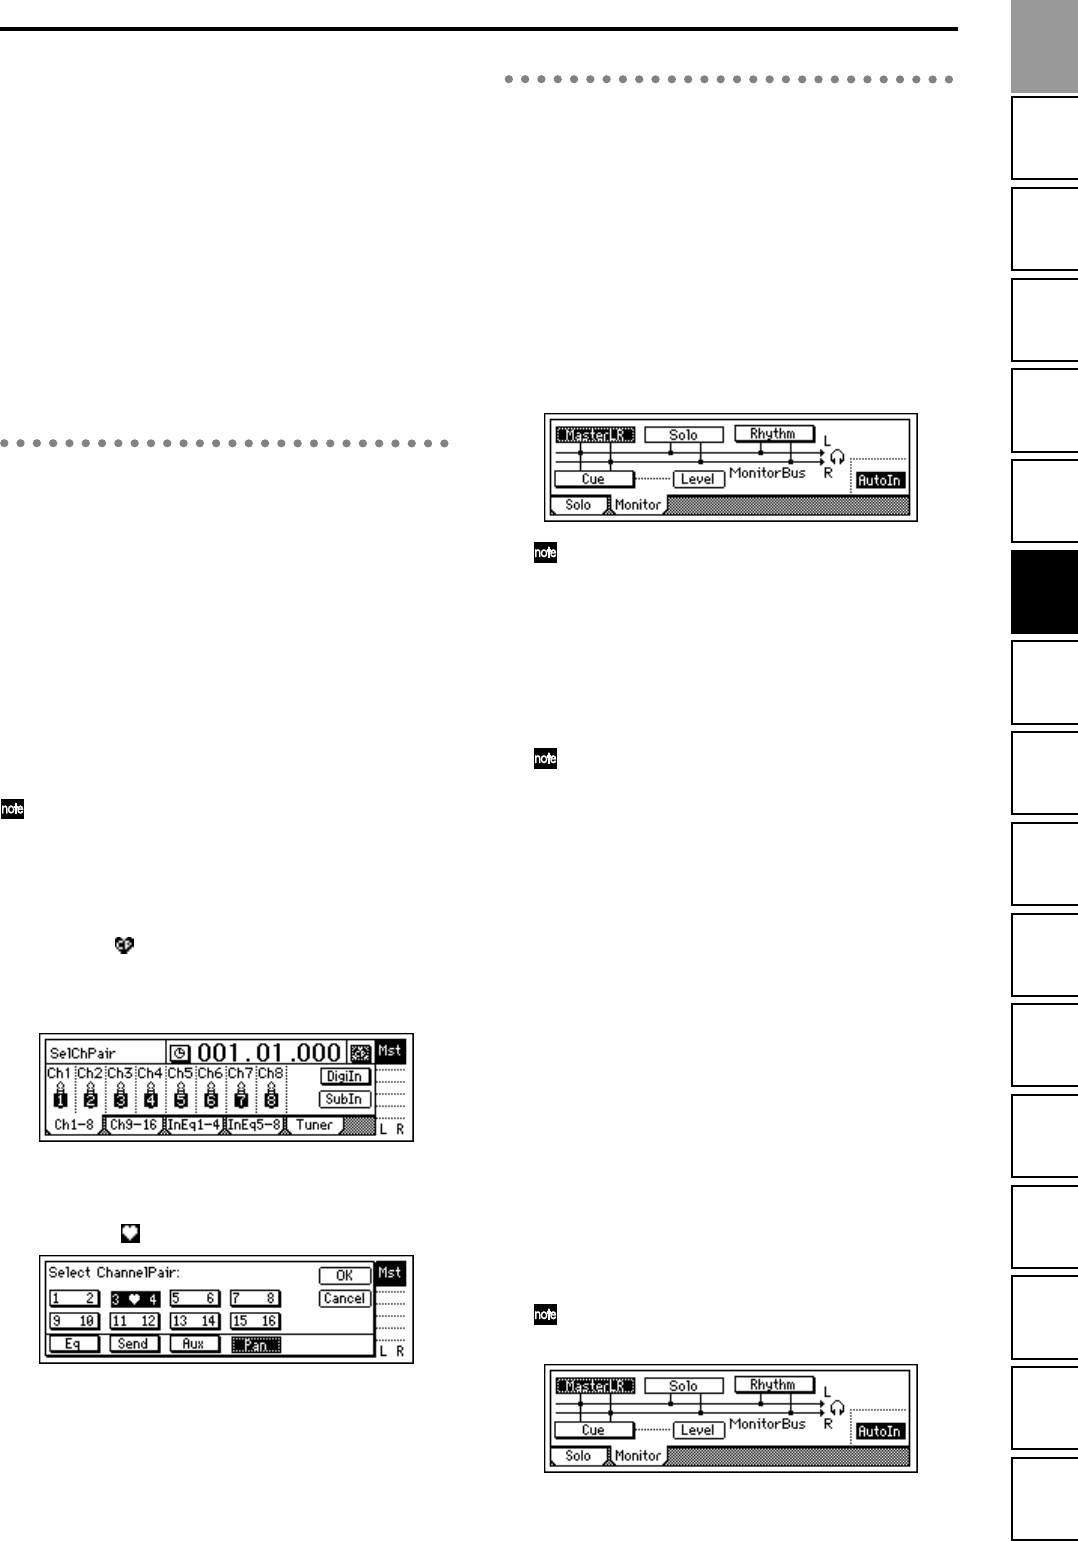
1. Select the signal that you wish to monitor.
Access the [SOLO/MONITOR] “Monitor” tab page.
Normally you will select “MasterLR.”
Press the “MasterLR” button to turn it “On” (high-
lighted).
If “Solo” is selected, the solo function will take
priority. Defeat “Solo” before you make your
selection.
2. Select input monitoring.
During playback you will hear the playback tracks of
mixer channels whose [TRACK STATUS] is set to
PLAY (LED lit green). For mixer channels whose
[TRACK STATUS] is REC (LED lit red), you will hear
the external input sound.
If you press the “AutoIn” button to turn it “On”,
mixer channels whose [TRACK STATUS] is REC
will monitor the track playback during playback,
and will automatically switch to monitoring the
external input sound when recording (and
rehearsing) and when stopped.
3. Adjust the monitor volume.
Use the [MONITOR OUT LEVEL] knob to adjust the
monitor volume of the [MONITOR OUT L/R] jacks,
and use the [PHONES LEVEL] knob to adjust the
monitor volume of the [PHONES] jack.
Adjusting the cue level
Since the [CHANNEL] faders of the D1600mkII adjust
both the recording level of the tracks and the volume
level of each channel, the recording level and the
monitoring level will be the same.
For this reason, a Cue Level function is provided so that
you can adjust the monitoring volume and pan for your
convenience while you record, independently of the mas-
ter LR volume.
1. Select cue as the monitoring source.
In the [SOLO/MONITOR] “Monitor” tab page, turn
“On” the “Cue” button.
If “Solo” is selected, solo will be given priority.
Defeat “Solo” before you make your selection.
Using the
mixer