


88
5. Operate your external MIDI sequencer.
When you perform stop/play/fast-forward/rewind/
record/locate operations on your MIDI sequencer,
the D1600mkII will be controlled accordingly. (For
details refer to the owner’s manual for your MIDI
sequencer.)
At this time, you can also make the D1600mkII
transmit MTC (MIDI Time Code) or MIDI Clock
messages to synchronize the MIDI sequencer, so
that the two devices will be synchronized as the
sequencer controls stop/play/fast-forward/
rewind/record/locate operations on the
D1600mkII.
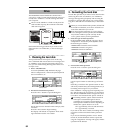
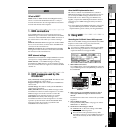
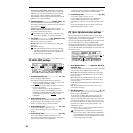
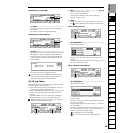
Synchronizing two D1600mkII units
Here’s how you can synchronize two D1600mkII units.
One D1600mkII will be the master, and the other will be
the slave. Make connections as follows.
1. Make settings on the master D1600mkII.
In the [SYSTEM/USB] “Sync” tab page, set “Select
MIDI SyncMode” to “MTC Mstr.” In the [SYSTEM/
USB] “MMC” tab page, set “Select MMC Mode” to
“Transmit.”
For this example, set “MMCDevID” to “10.”
2. Make settings on the slave D1600mkII.
In the [SYSTEM/USB] “Sync” tab page, set “Select
MIDI SyncMode” to “MTC Slave.” In the [SYSTEM/
USB] “MMC” tab page, set “Select MMC Mode” to
“Receive.” For this example, set “MMCDevID” to
“10” (the same as the master).
If you do not want to receive mixer control data,
you can either turn the [SYSTEM/USB] “MIDI”
tab page “Control Change: Trans” parameter
“Off” on the master D1600mkII, or turn the
[SYSTEM/USB] “MIDI” tab page “Control
Change: “Recv” parameter “Off” on the slave
D1600mkII.
3. Press the [PLAY] key on the master D1600mkII.
When the slave D1600mkII receives time code and
establishes synchronization with the time code of the
master unit, the slave D1600mkII will begin playback.
Several seconds may be required in order for
synchronization to be established.
Using MIDI for mixer control
In the [SYSTEM/USB] “MIDI” tab page you can turn the
“Control Change: Trans” and “Recv” parameters “ON”
so that D1600mkII mixer parameters can be transmitted
and received.
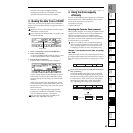
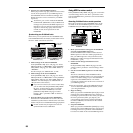
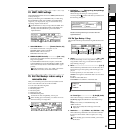
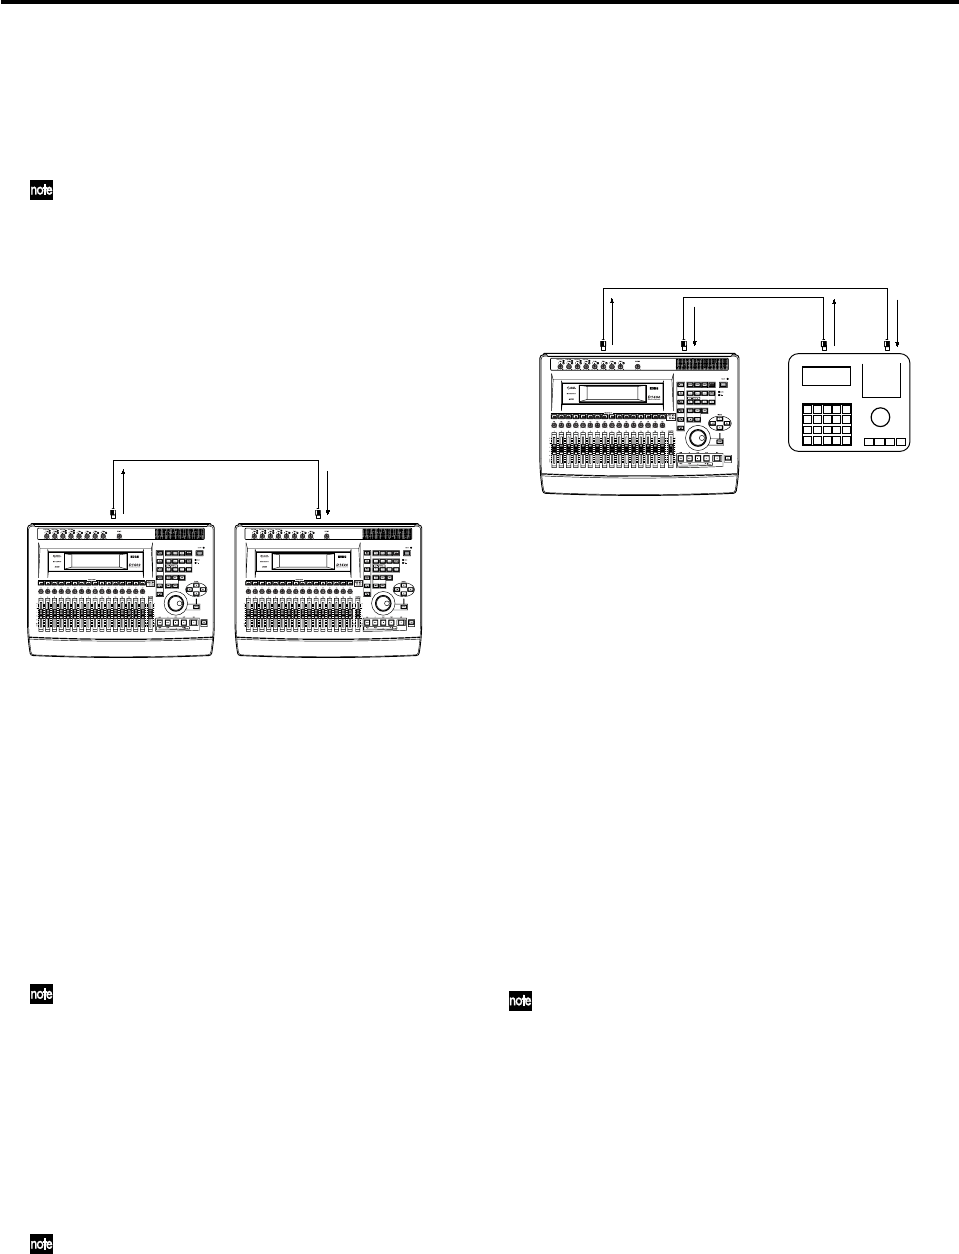
Recording D1600mkII mixer control operations
Here’s how operations of the D1600mkII mixer can be
recorded on an external MIDI sequencer. Connect the
D1600mkII and your MIDI sequencer as follows.
1. Make synchronization settings for the D1600mkII
and your external MIDI sequencer.
Set the D1600mkII as the master and the external
MIDI sequencer as the slave. Make preparations so
that your MIDI sequencer will synchronize to the
MIDI Clock or MTC messages transmitted from the
D1600mkII. (→p.92)
2. Enable control change transmission on the
D1600mkII.
In the [SYSTEM/USB] “MIDI” tab page, turn the
“Mixer Control” parameter “Control Change: Trans”
to “ON.”
3. Put the external MIDI sequencer in record-ready
mode.
The mixer control data of the D1600mkII will be
transmitted on MIDI channels 1–16 corresponding to
tracks 1–16. Make settings on your external MIDI
sequencer so that MIDI channels 1–16 will be
recorded. (For details refer to the owner’s manual of
your MIDI sequencer.)
For the parameters, refer to the MIDI implementa-
tion. To obtain the MIDI implementation, contact
your Korg distributor.
4. Begin recording.
When you press the D1600mkII’s [PLAY] key to start
playback, the external MIDI sequencer will begin
recording in synchronization. Now when you operate
the mixer parameters (fader, pan, EQ etc.), the
corresponding control change will be transmitted
from the D1600mkII, and recorded on the external
MIDI sequencer.
5. Stop the D1600mkII.
When you press the D1600mkII’s [STOP] key to stop
playback, the external MIDI sequencer will also stop
recording. The mixer operations of the D1600mkII
have been recorded on the external MIDI sequencer.
MIDI
OUT
MMC “Transmit”
MMC “Receive”
MTC “MTC Mstr”
MTC “MTC Slave”
MIDI
IN
D1600mkII (Master) D1600mkII (Slave)
MIDI
OUT
MIDI
IN
MIDI
IN
MIDI
OUT
D1600mkII
MIDI Sequencer