


17
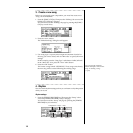
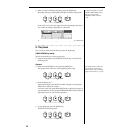
Step 2: OverdubbingStep 3: Mixdown
Step 4: Mastering
Step 1: Quick Recording Quick Start
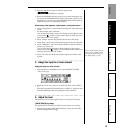
Check the record mode
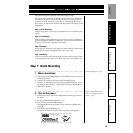
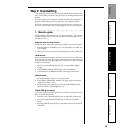
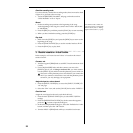
2. Press the [RECORD] key to access the [RECORD] “RecMode” tab
page. Verify that “Select RecMode” is set to “Input.”
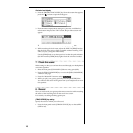
Track View settings
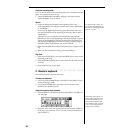
3. Press the [METER/TRACK VIEW] key.
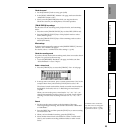
4. Press the “ ” button to open the “Select DisplayMode” dialog box.
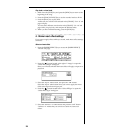
5. Press the “TrkView1–16” radio button, and then press the “OK” but-
ton to display the track view screen.
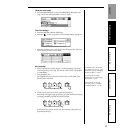
Start recording
6. Make sure that the counter display is at the beginning of the song.
At the beginning of the song, the counter value will be “001.01.000”
or “000:00.000”.
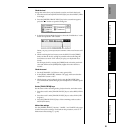
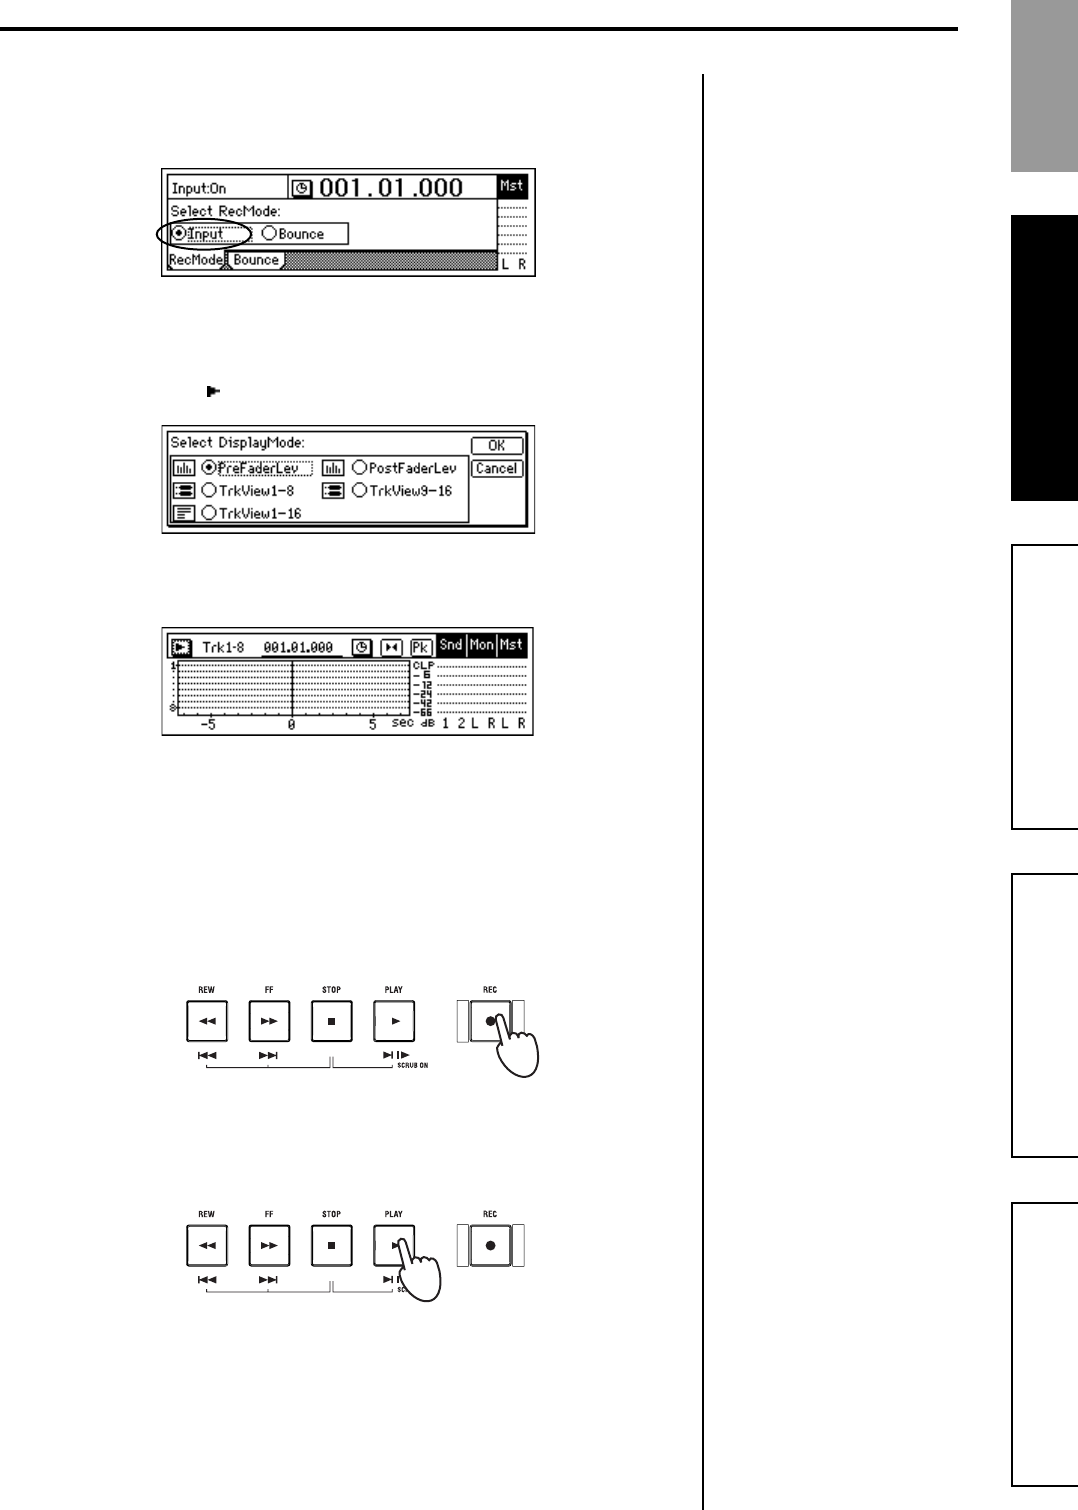
7. Press the [REC] key.
The D1600mkII will be in record-ready mode, and the [REC] and
[PLAY] LEDs will blink.
8. When you are ready to perform, press the [PLAY] key.
Recording will begin; begin performing on your instrument. During
recording, the [REC] and [PLAY] LEDs will light.
In the track view screen, the bar will start moving at the point you
press the [PLAY] key.
For details on the counter dis-
play and how to move to a dif-
ferent time, refer to “Changing
the time location” (→p.46).
If you want to record the
rhythm, refer to “3. Recording
the rhythm” (→p.72).
If you want to use Trigger
Recording, refer to “6. Other
recording methods” (→p.43).
Step 1: Quick Recording