


31
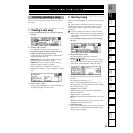
Step 2: OverdubbingStep 3: Mixdown
Step 4: Mastering
Step 1: Quick Recording Quick Start
2. Create the master track
When you create an audio CD, the data of track 1 and track 2 is
what will be written to the CD.
You will create the master track by combining the song data into tracks 1
and 2.
If your song consists of only one or two tracks, copy or swap the track
data into tracks 1 and 2.
If your song consists of multiple tracks, bounce the track data to combine
it into tracks 1 and 2. “Bounce” refers to the process of combining multi-
ple tracks of data into a smaller number of tracks.
Here we will explain how to create the master track by bouncing the com-
pleted song to tracks 1 and 2.
For details on how to copy a track, refer to “Track editing” (→p.61).
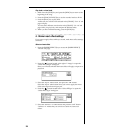
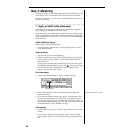
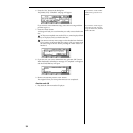
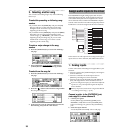
[TRACK STATUS] key settings
Specify the status of the recording tracks, playback tracks, and the re-
maining tracks.
1. Press the track 1 and 2 [TRACK STATUS] keys to select REC (LED lit
red).
2. Press the [TRACK STATUS] keys of the playback tracks to select
PLAY (LED lit green).
3. Press the [TRACK STATUS] keys of the remaining tracks to select
MUTE (LED dark).
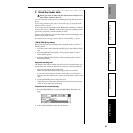
Adjust the recording level
The master track will be created with the level and volume balance you
specify here; this will be the data that is written to create the audio CD.
1. Play back the song from the beginning.
Make sure that all the tracks in the song sound as you intend.
If you used virtual tracks to record several takes, you will need to
select the virtual track that you want to use in the final version of the
song.
2. Use the [MASTER] fader to adjust the level.
Adjust the level so that the master LR level meter does not indicate
“CLP” at any point in the entire song.
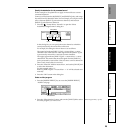
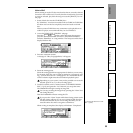
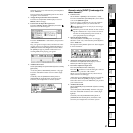
Preparations for bounce-recording
1. Press the [RECORD] key to access the [RECORD] “RecMode” tab
page.
2. In the “Select RecMode” field, choose “Bounce.”
Step 4: Mastering