


61
Creating/
selecting a song
Assign audio inputs
to the mixer
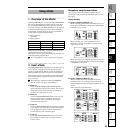
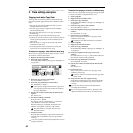
Basic
operation
RecordingPlayback
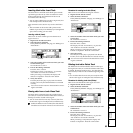
Changing the
time location
Using the
mixer
Using
effects
MixdownTrack
editing
Song
editing
Rhythm/tempo
settings
DataDriveUSBUpdating
the system
MIDI
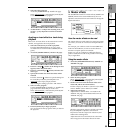
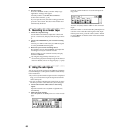
1. Track editing functions
The following functions are provided for track editing.
• Copy Track: copy a track
• Insert Track: insert a blank space
• Erase Track: erase a track
• Delete Track: delete a track
• Reverse Track: reverse track audio end-to-end
• Optimize Track: optimize track data
• Swap Track: exchange tracks
• Expansion/Compression Track: expand or compress a
track
• Copy Whole Track: copy an entire track
• Swap Whole Track: exchange entire tracks
• Fade Track: fade-in/fade-out
• Normalize Track: optimize the level
In some cases, track editing functions may not be
usable if you have insufficient hard disk space. You
must allocate sufficient free space (equivalent to the
IN–OUT or TO–END time) for the track editing
operation.
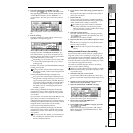
Basic track editing procedure
1. Specify the region (time) that will be edited.
In order to edit a track, you must first specify the
region (area of time) that will be edited.
Move to the location that you wish to register.
Press the [STORE] key, and then press one of the
following keys to register the corresponding location.
[IN/LOC1] key: IN time
[OUT/LOC2] key: OUT time
[TO/LOC3] key: TO time
[END/LOC4] key: END time
For details, refer to “Using the locate keys to move”
(→p.46).
The IN, OUT, TO, and END times are used as follows
by each editing command.
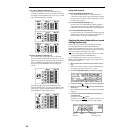
How the editing commands use the IN, OUT, TO, and END times
Depending on the “EditType,” the “Wave” button
may appear, allowing you to view the waveform as
you specify the location more precisely. (→p.101)
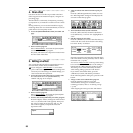
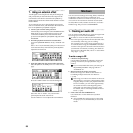
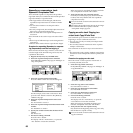
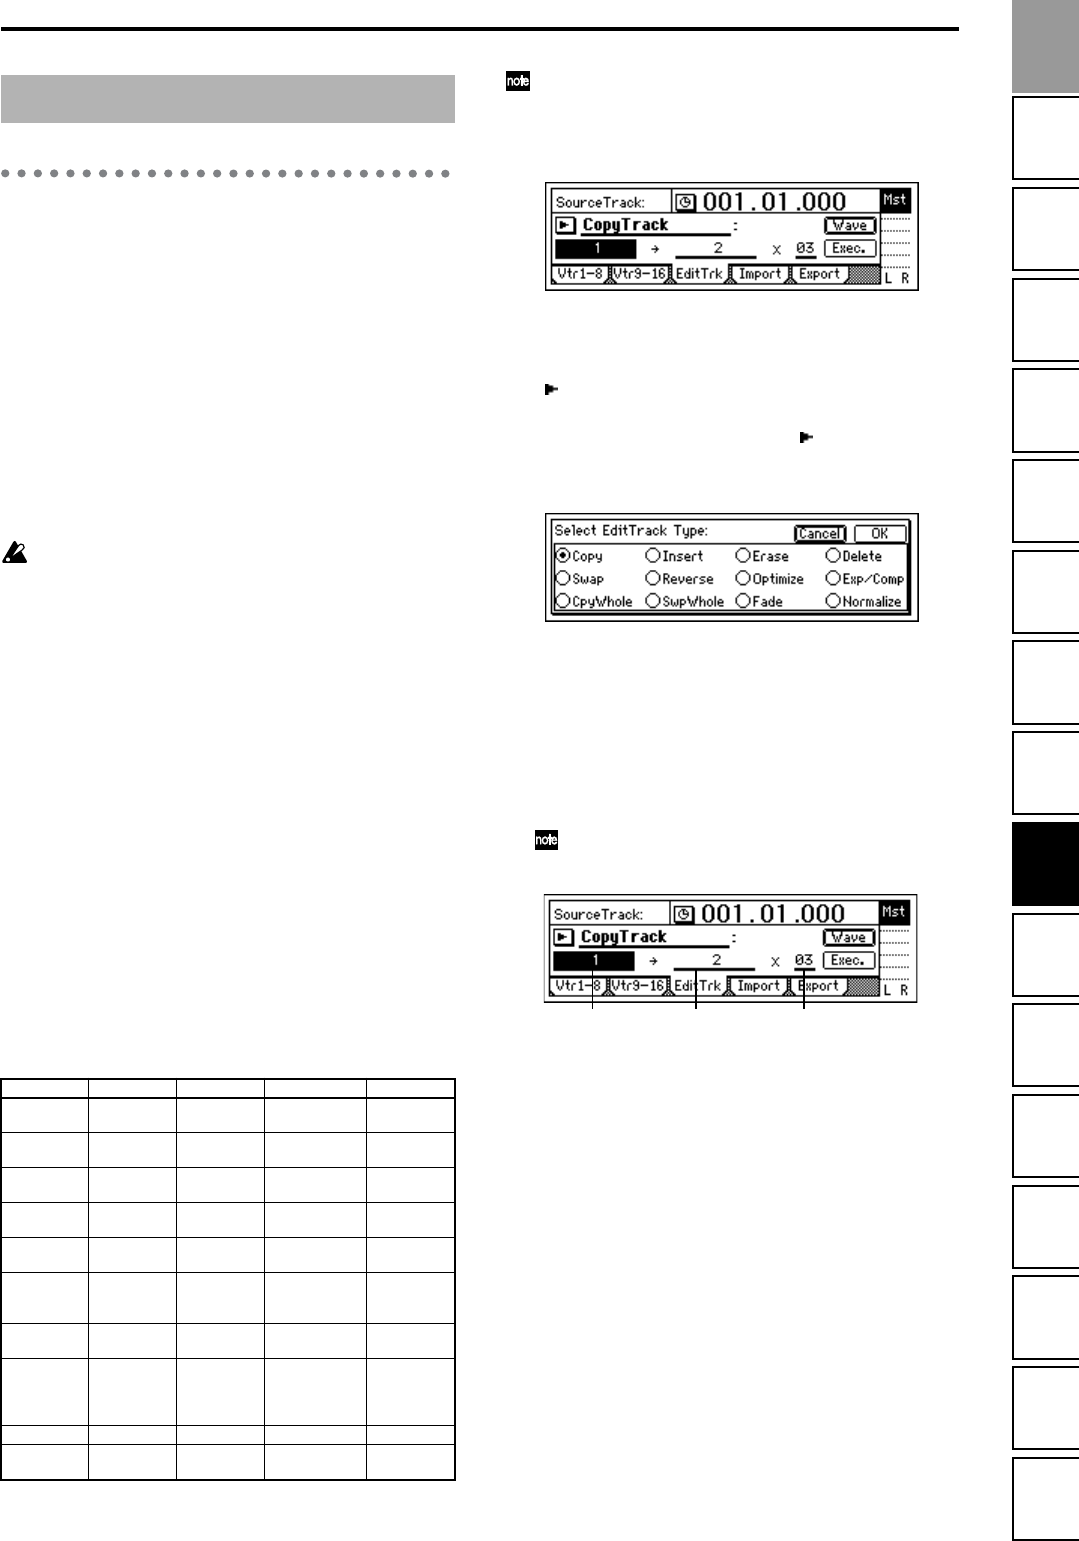
2. Access the [TRACK] “EditTrk” tab page.
3. Select the type of operation that you wish to execute
(copy, insert blank, etc.).
Select “EditType.” Select the area to the right of the
“” button, and rotate the [VALUE] dial to select the
desired editing operation.
Alternatively, you can press the “ ” button to dis-
play “Select EditTrack Type,” and select the type of
editing.
4. Select the track(s) that you wish to edit.
The LCD screen will differ depending on the “Edit-
Type.” The screen shown in step 2 is when “Edit-
Type” is set to “CopyTrack.”
For “CopyTrack,” use “SourceTrack” to specify the
copy source track, “DestTrack” to specify the copy
destination track, and “Times” to specify the number
of copies.
You can use “Wave” to view the waveform as
you specify the editing region.
5. Execute the selected track editing command.
Press the “Exec.” button to execute the selected track
editing command.
In the example shown in step 4, the data in the IN–
OUT region of track 1 will be copied three times start-
ing at the TO location of track 2.
IN OUT TO END
Copy Track
Copy source
start time
Copy source
end time
Copy destina-
tion start time
– – –
Insert Track
Blank insert
start time
Blank insert
end time
– – – – – –
Erase Track
Erase start
time
Erase end
time
– – – – – –
Delete Track
Delete start
time
Delete end
time
– – – – – –
Swap Track
Swap start
time
Swap end
time
– – – – – –
Reverse
Tra ck
Reverse start
time
Reverse end
time
Reversed copy
destination
start time
– – –
Optimize
Tra ck
Optimize
start time
Optimize end
time
– – – – – –
Expansion/
Compres-
sion Track
Expand/com-
press start
time
Expand/com-
press end
time
Expand/com-
press result
copy destina-
tion start time
Expand/com-
press desti-
nation end
time
Fade Track
Fade start time Fade end time
– – – – – –
Normalize
Tra ck
Normalize
start time
Normalize
end time
– – – – – –
Track editing
DestTrack TimesSourceTrack
Track
editing