


45
ZOOM B9.1ut
MIDI Usage Examples
Press the [STORE/SWAP] key to
5.
save the changes.
The setting is accepted, and the unit returns to
manual mode or play mode.
By pressing the [EXIT] key, you can abort the
changes and return to play mode without saving.
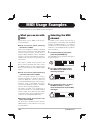
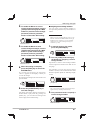
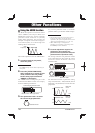
To send and receive program
6.
change (+ bank select) messages,
connect the B9.1ut and the other
MIDI device as follows.
[Example for sending program change
(+ bank select) messages]
(2) Program change (+ bank select)
message is sent
(1) When a patch at the B9.1ut is switched...
MIDI OUT
connector
MIDI IN
connector
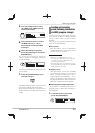
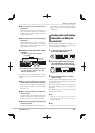
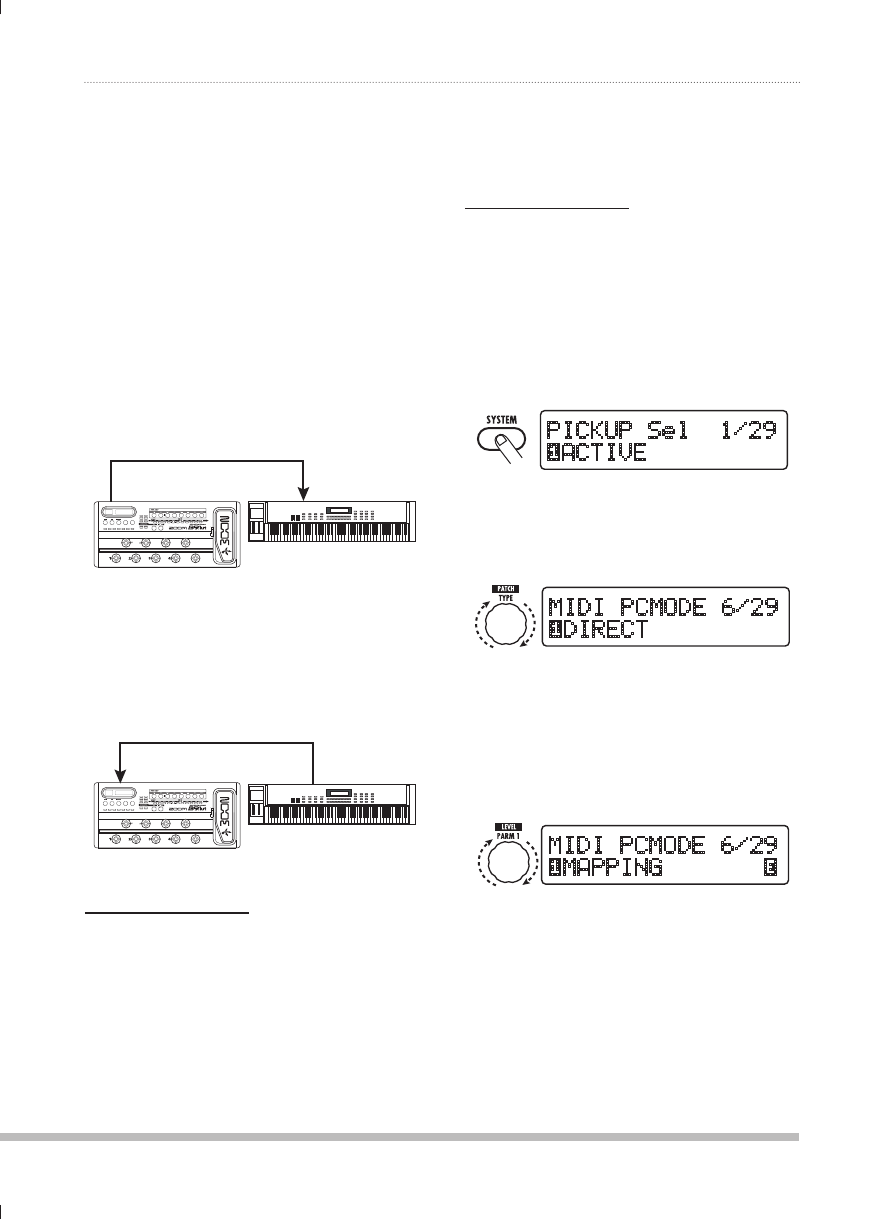
[Example for receiving program change
(+ bank select) messages]
(1) When a program change
(+ bank select) message is
received...
(2) Patch at the B9.1ut is switched.
MIDI OUT
connector
MIDI IN
connector
NOTE
When the external MIDI device sends only a
bank select message to the B9.1ut, no change
occurs. The next time the B9.1ut receives a
program change, the most recent bank select
instruction will be used.
■ Using mapping mode
In this mode, a program change map is used to
assign patches, allowing patches to be specifi ed
by using program change messages only.
NOTE
Before carrying out the following steps, verify
that the send/receive MIDI channel setting of
the B9.1ut is as required (→ p. 42), and that
send/receive of program change messages is
enabled (→ p. 43).
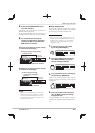
In manual mode or play mode,
1.
press the [SYSTEM] key.
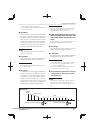
70*2<7:LS
(*;0=,
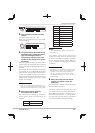
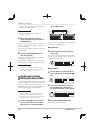
Turn the [TYPE] knob to bring up
2.
the "MIDI PCMODE" (program
change mode) parameter.
40+07*46+,
+09,*;
[TYPE] knob
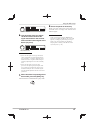
Turn parameter knob 1 to bring up
3.
the indication "MAPPING".
Patches can now be specified using program
change messages according to the program
change map.
40+07*46+,
4(7705.l
Parameter knob 1
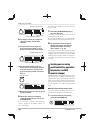
Turn the [TYPE] knob to bring up
4.
the "PC MAP" (program change
map) parameter.
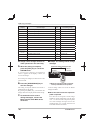
Using this display, you can assign any patch of
the B9.1ut to a program change number from 0 –
127.