


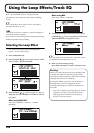

116
Fixing the Pitch of Vocals (Pitch Correction)
5. Turn the TIME/VALUE dial to select the patch number
to which to write the new patch.
6. After you’ve selected the destination, press [ENTER].
After the save has been completed, you are returned to
the Pitch Correction patch selection screen.
* During updating, “Keep power on!” appears in the upper line
of the display, while the lower line shows what is being
processed.
Making Detailed Settings for Pitch
Correction (Correction Event Map)
In the procedures described thus far, what has been
explained is how to correct the overall pitch for the entire
song, from start to finish, in semitone increments.
In actual practice, however, there may be situations where
you want to correct only a certain section or adjust the pitch
differently. In such instances, use the following procedure.
1. Start by switching to BOUNCE mode and selecting the
patch to which pitch correction is to be applied.
2. Use [CURSOR] to move the cursor to “P.MAP” in the
Pitch Correction patch selection screen and press
[ENTER].
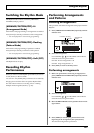
The Correction Event Map screen appears.
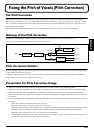
fig.03-366d
In the Correction Event Map screen, you can input the
time at which you want the pitch correction to start as
well as the pitch.
Taken together, this timing and pitch data is referred to
as a “correction event.”
fig.03-367
You can make corrections freely at the desired points in
the song by arranging correction events in the sequence
they occur.
The sequence of correction events with the information
they contain is called a “correction event map.”
Initially, only one correction event, “AUTO,” is input at
the beginning of the correction event map.
AUTO:
After the specified point in the song, all pitches are
corrected in semitone increments.
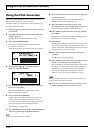
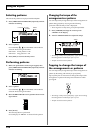
3. Use [CURSOR] to move the cursor to “INSERT” and
press [ENTER].
A new correction event is inserted.
4. Use [CURSOR] to move the cursor to “Time” and
specify the time at which you want the correction to
start with the TIME/VALUE dial.
fig.03-368d
You cannot change the time of the correction event at the
start of the song.
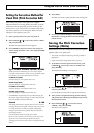
5. Use [CURSOR] to move the cursor to “Note” and specify
the pitch you want to correct with the TIME/VALUE dial.
Note:
OFF
No correction is made after the specified point in the
song. The song is played using the original pitch.
AUTO
After the specified point in the song, all pitches are
corrected in semitone increments.
C, C#, –A#, B
The performance after the specified point in the song is
adjusted to the specified pitch.
The reference pitch for NOTE is determined by the tuner's reference
pitch. See “Setting the Reference Pitch of the Tuner” (p. 189).
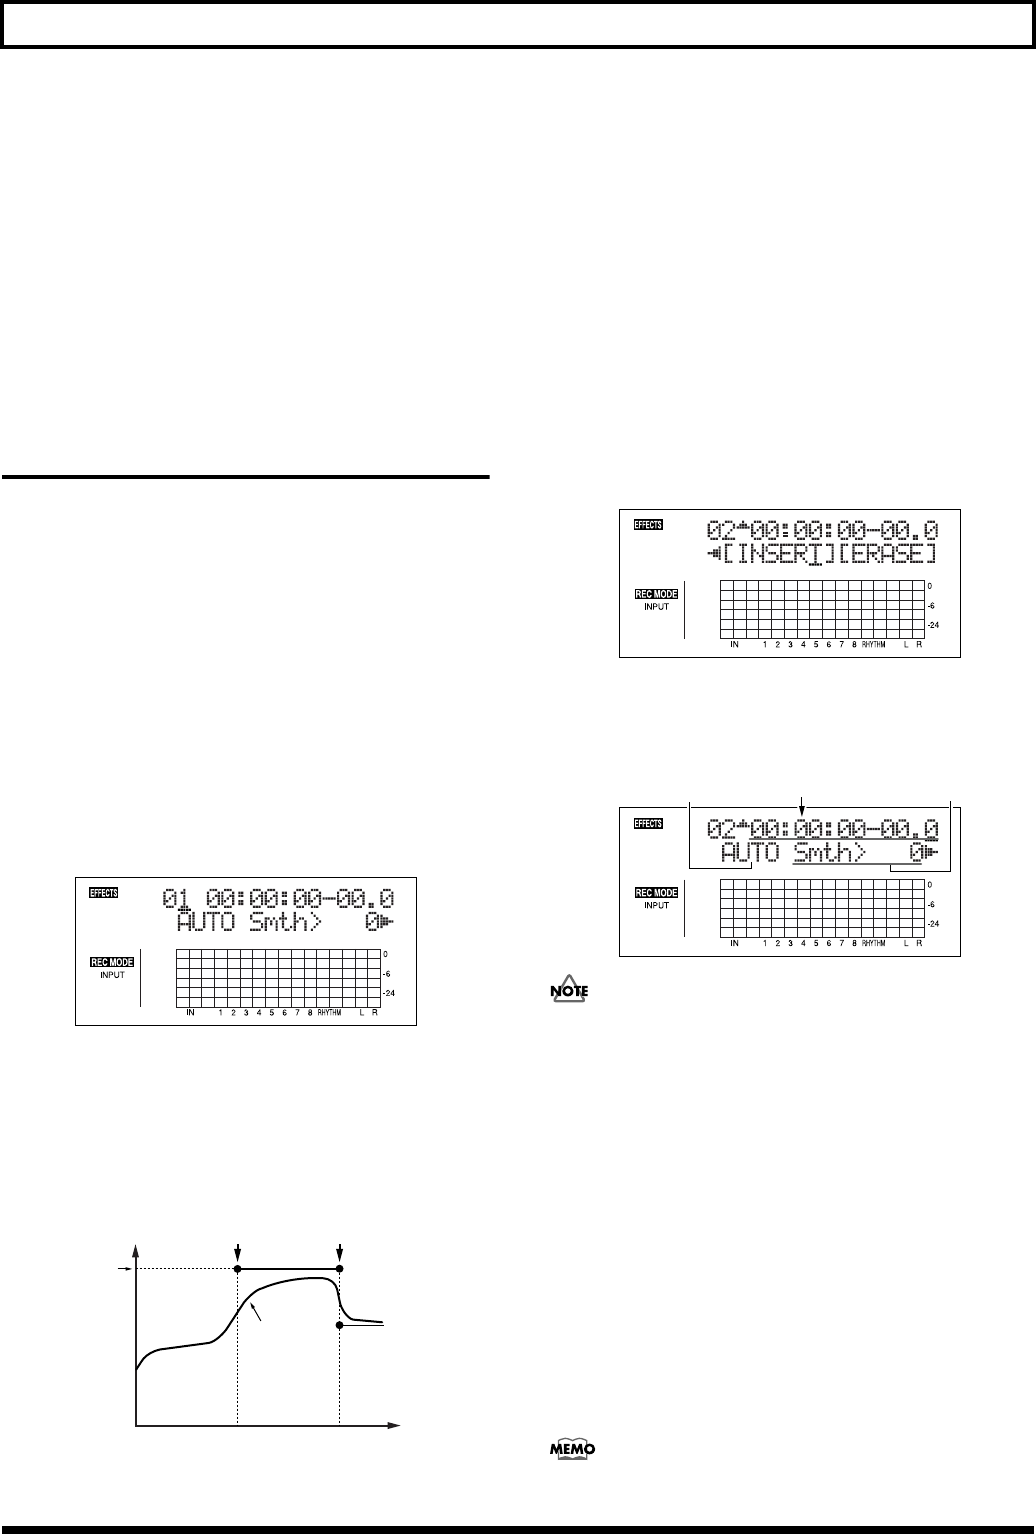
Time
Pitch
Correction
start point
Next event
start point
Vocal pitch
Correction
pitch
Time
Smth
(Correction Speed)
Note