


34
Recording/Playing Back a Song
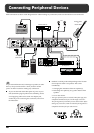
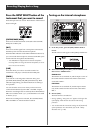
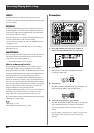
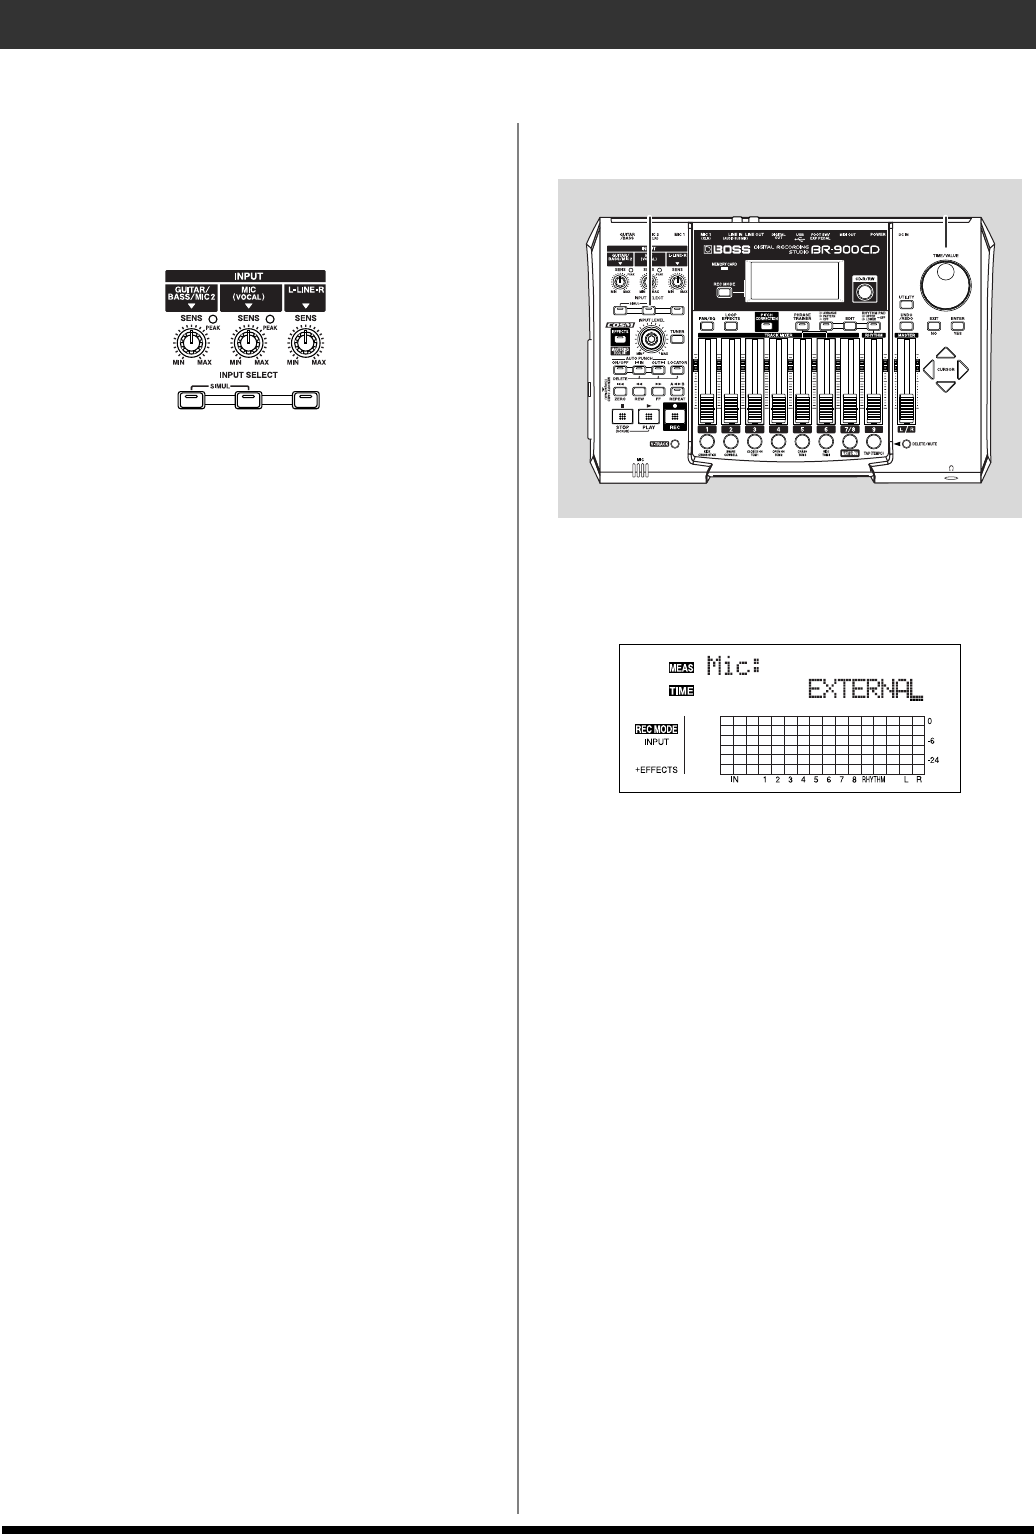
Press the INPUT SELECT button of the
instrument that you want to record
Select the input source to record. The indicator of the selected
button will light.
fig.00-409
[GUITAR/BASS/MIC2]
Select to record the instrument connected to the GUITAR/
BASS jack or MIC 2 jack.
[MIC]
Select to record the signal from a microphone connected to
the MIC1 jack or from the internal microphone.
When the MIC indicator for the INPUT SELECT button is lit,
you can use both the microphone connected to the MIC1 jack
and the internal microphone simultaneously.
* Your BR-900CD is shipped with its internal microphone
turned off. When not using the internal microphone, be sure to
turn it on (see next section).
[LINE]
Select this when you wish to record the sound of an
instrument or CD player connected to the LINE jacks.
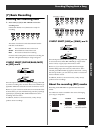
[SIMUL]
To record the vocal and guitar at the same time, press
[GUITAR/BASS/MIC2] and [MIC] simultaneously. Both
indicators light, telling you that simultaneous recording is
now possible.
You can select the source even when you have two mics
connected simultaneously to the MIC 1 and MIC 2 inputs.
When two recording tracks are selected, the GUITAR/BASS/
MIC2 is recorded to Track 1, 3, 5, 7, and the MIC1 is recorded
to Track 2, 4, 6, 8.
When one recording track is selected, the GUITAR/BASS/
MIC2 and MIC1 are mixed and then recorded.
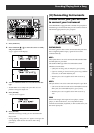
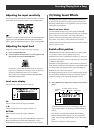
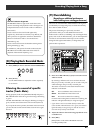
Turning on the internal microphone
fig.00-410
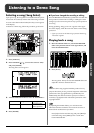
1. In the Play screen, press the [MIC] INPUT SELECT
button.
The Mic Select screen appears while [MIC] is held down.
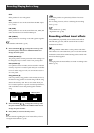
fig.00-411d
2. While still holding down [MIC], use the TIME/VALUE
dial to select “ONBRD+EXT.”
ONBRD+EXT:
The built-in mic is switched on, and the input is a mix of
the sounds from the internal mic and the external mic
connected to MIC 1.
EXTERNAL:
The built-in mic is switched off, and the input consists
only of the sounds from the external mic connected to
MIC 1.
3. Release [MIC].
The internal mic is switched on.
* During updating, “Keep power on!” appears in the upper line
of the display, while the lower line shows what is being
processed.
* You can also make the internal mic settings in the [UTILITY]
system parameters. For more details, refer to the “Utility
Parameter List” (p. 198).
1–3 2