69
Editing the Performance on a Track (Track Editing)
Section 2
fig.02-319d
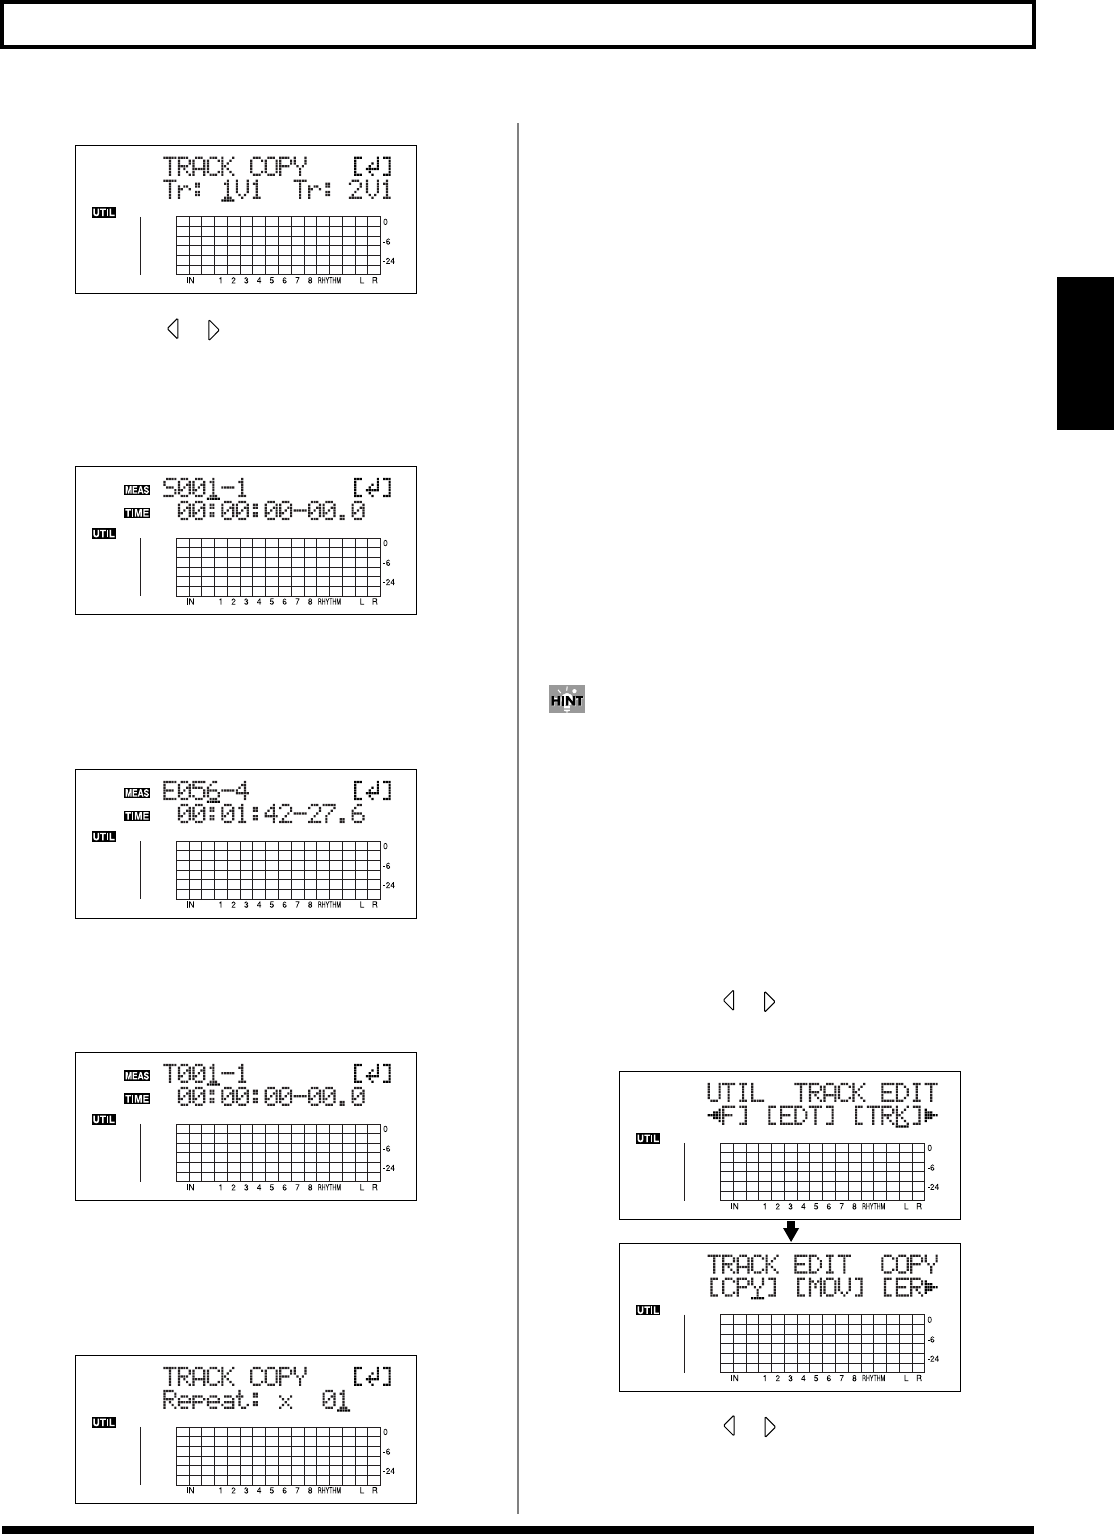
5. Use CURSOR [ ] [ ] and the TIME/VALUE dial to
select the track/V-Track to copy from, and track/V-
Track to copy to.
6. Press [ENTER].
fig.02-314d
7. Use [CURSOR] and the TIME/VALUE dial to specify
the beginning of the portion “S” (Start) of data you
want to copy.
8. Press [ENTER].
fig.02-315d
9. Use [CURSOR] and the TIME/VALUE dial to specify the
ending of the portion “E” (End) of data you want to copy.
10. Press [ENTER].
fig.02-316d
11. Use [CURSOR] and the TIME/VALUE dial to specify
the time of the beginning of the location “T” (To)
where you want the copied data to be placed.
12. Press [ENTER].
fig.02-317d
13. Turn the TIME/VALUE dial to select the number of
copies you want to be placed.
14. When you are ready to execute the copy, press
[ENTER].
The display will ask “Are you sure?,” so that you can
confirm the operation.
15. Press [ENTER].
The copy is executed.
16. Press [UTILITY] (or press [EXIT] repeatedly) to return
to the Play screen.
* During updating, “Keep power on!” appears in the upper line
of the display, while the lower line shows what is being
processed.
* After specifying the time in the procedure above, a “+” may
appear to show that there is a discrepancy between the actual
current position and the position displayed. If you specify the
locations using measures, specify the locations at each screen
using the TIME/VALUE dial to eliminate the discrepancy.
You can also enter the time using [LOCATOR], [ZERO],
[STOP] + [REW], [STOP] + [FF], and AUTO PUNCH [IN/
OUT].
Copying a complete track (ALL)
Perform the procedure given below to copy the complete
recorded data from one track to another.
1. Press [UTILITY].
2. Press CURSOR [ ] [ ] to move the cursor to “TRK,”
and press [ENTER].
fig.02-318d
3. Press CURSOR [ ] [ ] to move the cursor to “CPY,”
and press [ENTER].


