136
Using the Drum Kits
5. Use [CURSOR] and the TIME/VALUE dial to specify
the range (start and end points) of drum sounds to be
loaded in terms of measures or time locations.
* You cannot specify an interval between the start and end
points or a length of time in less than 100 ms or excess of 13
seconds.
* When specifying measures, the result is reflected in the time
display, and vice versa.
Start Point (“S”)
Specify the measure or location to be used as the start
point for loading the drum sounds.
fig.03-508d
End Point (“E”)
Specify the measure or location to be used as the end
point for loading the drum sounds.
From the screen for setting the start point, press
CURSOR [ ] repeatedly to display the screen for
setting the end point.
fig.03-509d
• You can press [ENTER] to switch between the start point
and end point settings screens.
• You can preview the drum sounds in the specified range
by moving the cursor to “PVW” and pressing [ENTER].
Determine the sounds to load while setting the start and
end points and the length, and repeating the preview.
You can press [PLAY] to preview the sounds, and press
[STOP] to stop the sounds.
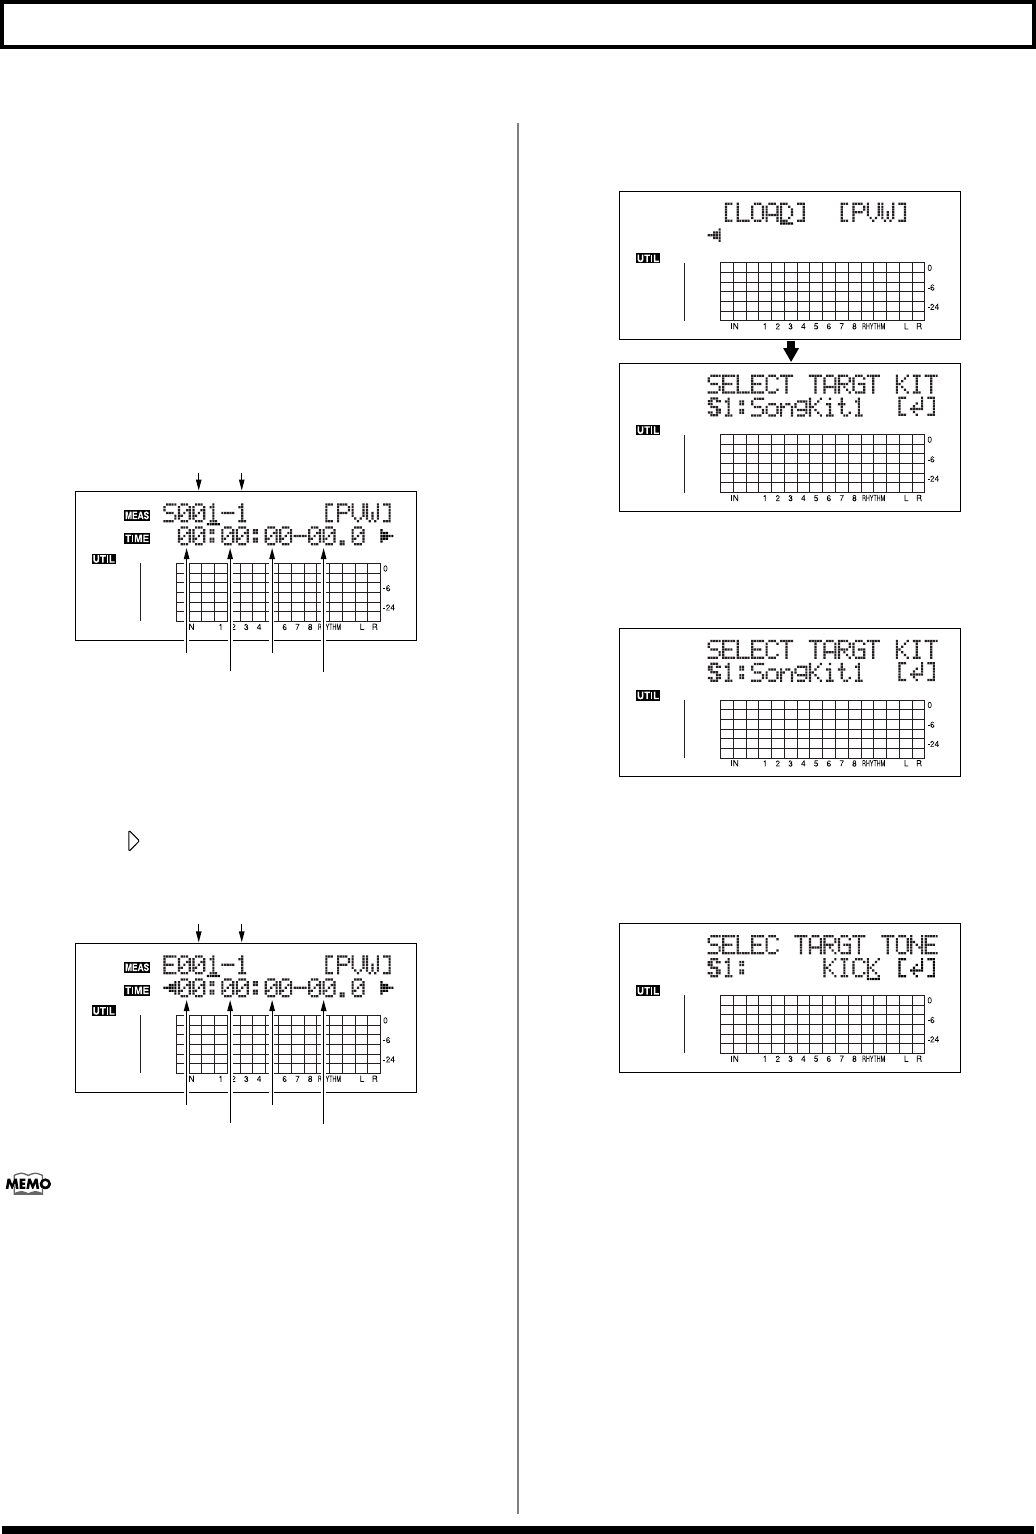
6. When you have finished setting the start and end
points, move the cursor to “LOAD” and press [ENTER].
fig.03-510d
7. Specify the load-destination song drum kit with the
TIME/VALUE dial, then press [ENTER].
S1–5: Song Drum Kit 1–5
fig.03-511d
8. Specify the load-destination drum sound with the
TIME/VALUE dial, then press [ENTER].
Loading is executed.
To cancel, press [EXIT].
fig.03-512d
BeatMeasure
Frame
Hours
Minutes
Seconds
BeatMeasure
Frame
Hours
Minutes
Seconds


