


111
Save/Load of Song data
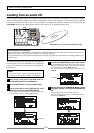
•Showing the title and "-****MB":
Even if the specified file is deleted, the space for
creating a new WAV file on the disk is ****MB short.
Pressing the [ENTER/YES] key shows "Disk Full!",
followed by "Delete All WAV?".
Pressing the [ENTER/YES] key again deletes all the WAV
file on the disk and advances to the next step (for
editing the file name).
After completing the save operation, only the new WAV
file will remain on the disk.
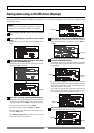
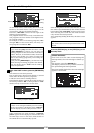
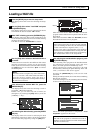
After selecting a file, press the [ENTER/YES] key.
The display shows the screen for editing the WAV file.
By rotating the [JOG] dial, you can set the desired
numeric, symbolic or alphabetical character to the
blinking point. You can move the blinking point by
using the [CURSOR] keys.
See the following table for the available characters.
Upper-case alphabetical characters (A to Z)
Numerals (0 to 9)
Symbols (! # $ % & ' ( ) @ ^ _ -)
<Note>
You can use up to 6 characters for a file name.
Some characters entered are converted as shown
below.
• Upper-case alphabetical characters (A to Z): not
converted
• Lower-case alphabetical characters (a to z):
converted to the corresponding upper-case
• Numerals (0 to 9): not converted
• Symbols (! # $ % & ' ( ) @ ^ _ -): not converted
• Other symbols: converted to "_".
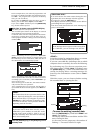
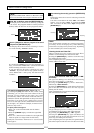
After entering the file name, press the [ENTER/YES]
key.
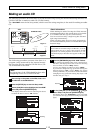
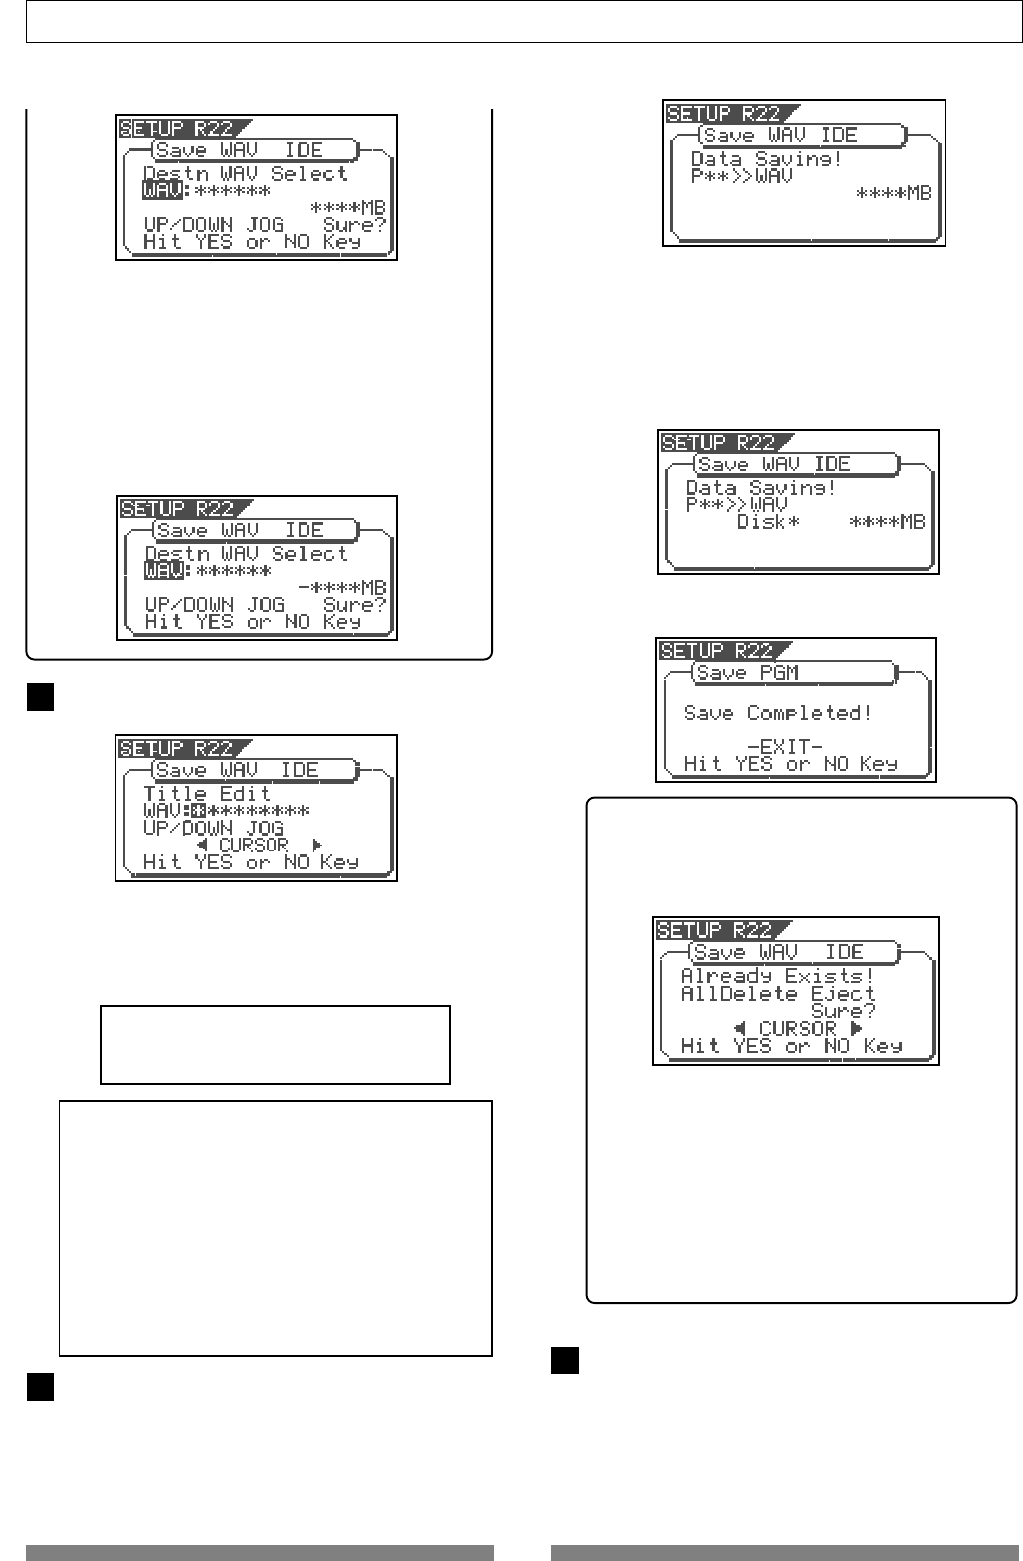
The save operation is executed and the display shows
something like the one as below. As the file save goes
on, the remaining data size shown on the screen counts
down.
9
8
10
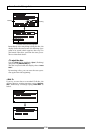
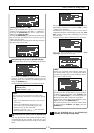
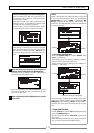
When saving data onto more than one disk, the current
disk number is shown on the screen as "Disk *" (where
* indicates the number).
Immediately after the data save to each disk is
completed, the disk is automatically ejected, and "Insert
Disk *" blinks on the screen, prompting you to insert
the next disk.
Inserting the next disk resumes the save operation.
After the save operation is completed, "Save
Completed!" appears on the screen.
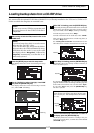
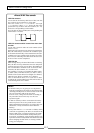
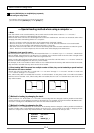
<Hint>
In the save operation which requires more than
one backup disk, if you use a backup disk which
contains any program(s) saved, the display shows
the screen as shown below.
This screen is asking you weather to delete all
existing WAV files on the disk or to eject the disk.
To delete all the existing files, select "All Delete" and
press the [ENTER/YES] key. All existing files are
deleted and the disk is ready for saving data.
If you do not want to delete the existing files, select
"Eject" and press the [ENTER/YES] key.
The disk is ejected so you can insert another disk.
To select between "All Delete" and "Eject", press the
[CURSOR] key.
Press the [EXIT/NO] key (or the [STOP] key)
repeatedly until exiting the setup mode.