


Reference [Rhythm]
ZOOM MRS-1266
112
range is 000 - 722. For a list of numbers and corresponding
sound names, refer to the appendix at the end of this manual
(→ p. 181).
•PITCH
Adjusts the pitch of the drum/percussion sound for the pad.
The setting range is -7.9 - 0 (reference pitch) - 7.9, in steps
of 0.1 (1/10 of a semitone).
• LEVEL
Adjusts the output level for the pad. The setting range is 1 -
15.
•PAN (Panning)
Adjusts the left/right stereo position (panning) for the pad.
The maximum setting range is L63 (far left) - 0 (center) -
R63 (far right). The actual range will vary, depending on the
type of instrument selected.
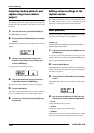
• GROUP (Pad group)
Selects the group to which the pad belongs (0 - 7) and the
type of sound produced when pads are hit in succession (PL/
MN). The setting range is PL0 - PL7 and MN0 - MN7. When
PL is selected, hitting two pads in succession will produce
overlapping sound, i.e. the previous sound continues while
the next one starts. When MN is selected, the previous sound
stops when the next one starts.
The numbers 0 - 7 specify the group to which the pad
belongs (0 = no group, 1 - 7: respective group). Pads in the
same group cannot produce sound at the same time.
For example, if you assign an open hi-hat sound and closed
hi-hat sound to two pads in the same group, the open hi-hat
sound will cease when you play the closed hi-hat sound,
resulting in realistic action.
HINT
Pad group numbers are common for PL and MN. For exam-
ple, pads assigned to PL1 and to MN1 belong to the same
group.
• REV SEND (Reverb send)
Sets the reverb send level for the pad. The setting range is 0
- 127. The setting does not depend on the reverb send level
in the track parameter.
5.
Press the pad for which you want to make a
setting, and turn the dial to select a setting value.
When you press a pad, the current setting for that pad
appears on the display. In this condition, you can use the dial
to change the value.
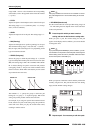
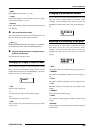
HINT
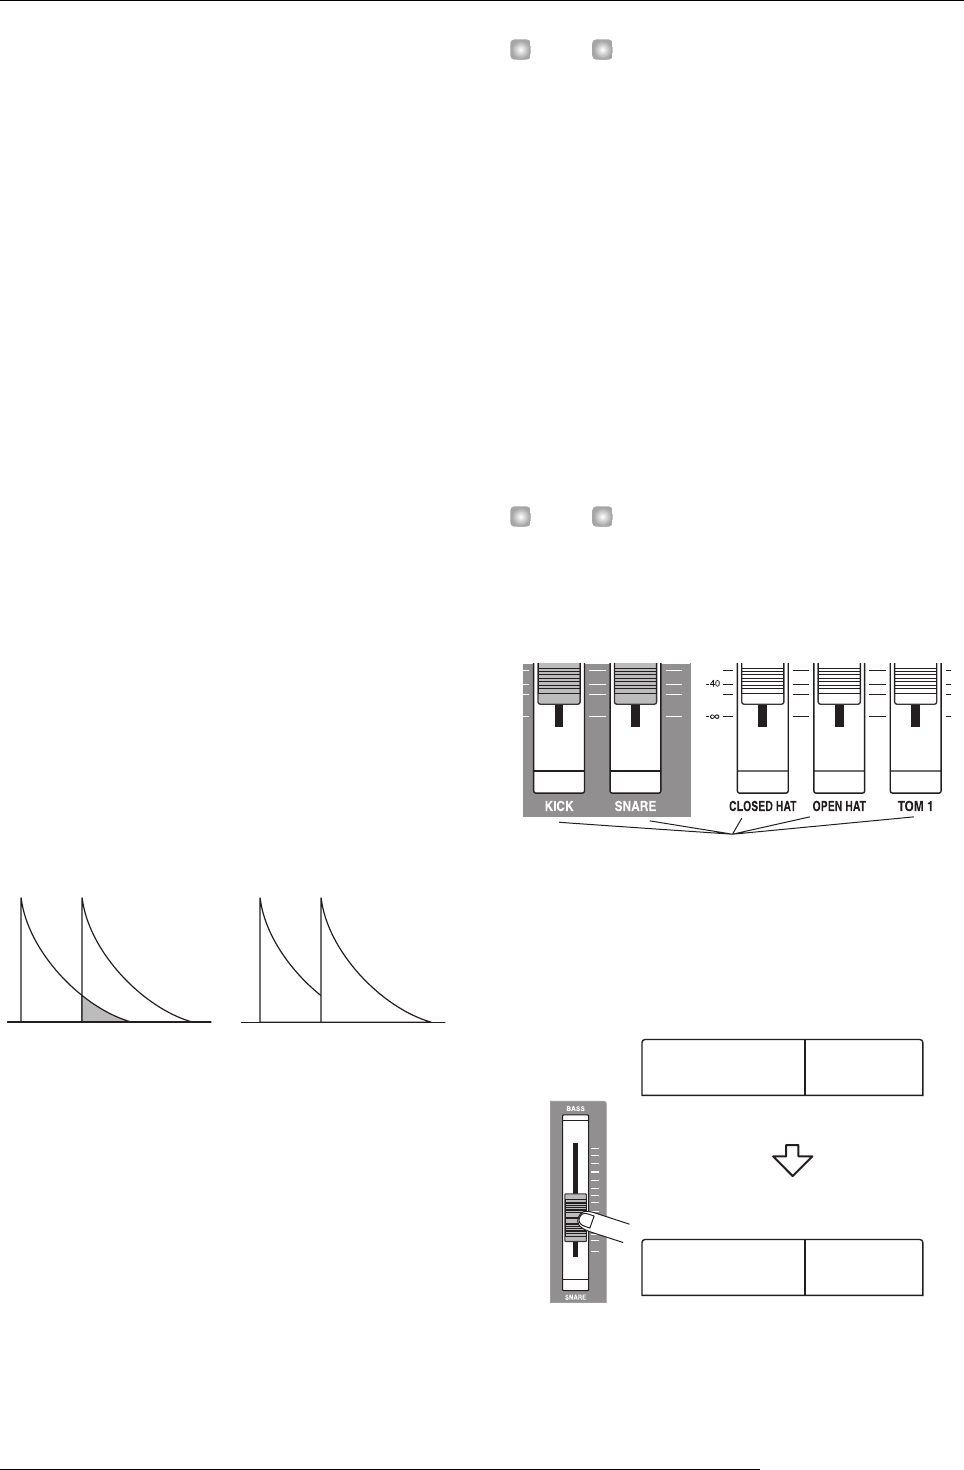
If you press the [DRUM MIXER] key in this condition, you can
use the faders on the panel to select the pad and change the
LEVEL setting at the same time. (The label under each fader
shows which pad is controlled by it.)
When you operate a fader that controls another pad than the
currently assigned one, that pad becomes the new editing
target, and the LEVEL setting changes.
6.
Repeat steps 3 - 5 as necessary to edit other pads.
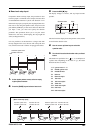
GROUP=PL GROUP=MN
Controlled pad
15
15
Dr Mixer
Dr Mixer
Pad
Pad
=
1-1
1-1
7
7
Dr Mixer
Dr Mixer
Pad
Pad
=
1-2
1-2