Reference [Rhythm]
ZOOM MRS-1266
95
HINT
If you select “ -- “ (no conversion) as the chord type, only the
bass will be transposed, and the phrase will not be convert-
ed. Select this when you want the original phrase to be
played without change.
7.
Move to the location at which you want to input the
next chord data, and input chord data in the same
way as described in steps 4 - 7.
Chord data does not necessarily have to be input at the same
location as the rhythm pattern data. You can also change the
chord in the middle of a rhythm pattern, or in the middle of
a measure. When the display shows “ROOT” or “CHORD”,
you can change the input location in the following ways.
(1) Moving in steps of a measure
Use the cursor left/right keys to move to the beginning of the
preceding or following measure.
(2) Specify the location in beats
Use the REW [T]/FF [Y] keys to move to the beginning of
the preceding or following beat.
(3) Specify the location in 16th note units
Repeatedly press the cursor up key to bring up the indication
“EV→”, and turn the dial to move forward or backward in
12-tick (16th note) units. You can check the position using
the counter display.
When you use methods (1) or (2), a “ ” symbol will be
displayed to the left of “CHORD” or “ROOT” at locations
where no chord data has been input. This indicates that the
preceding chord data will remain in effect.
HINT
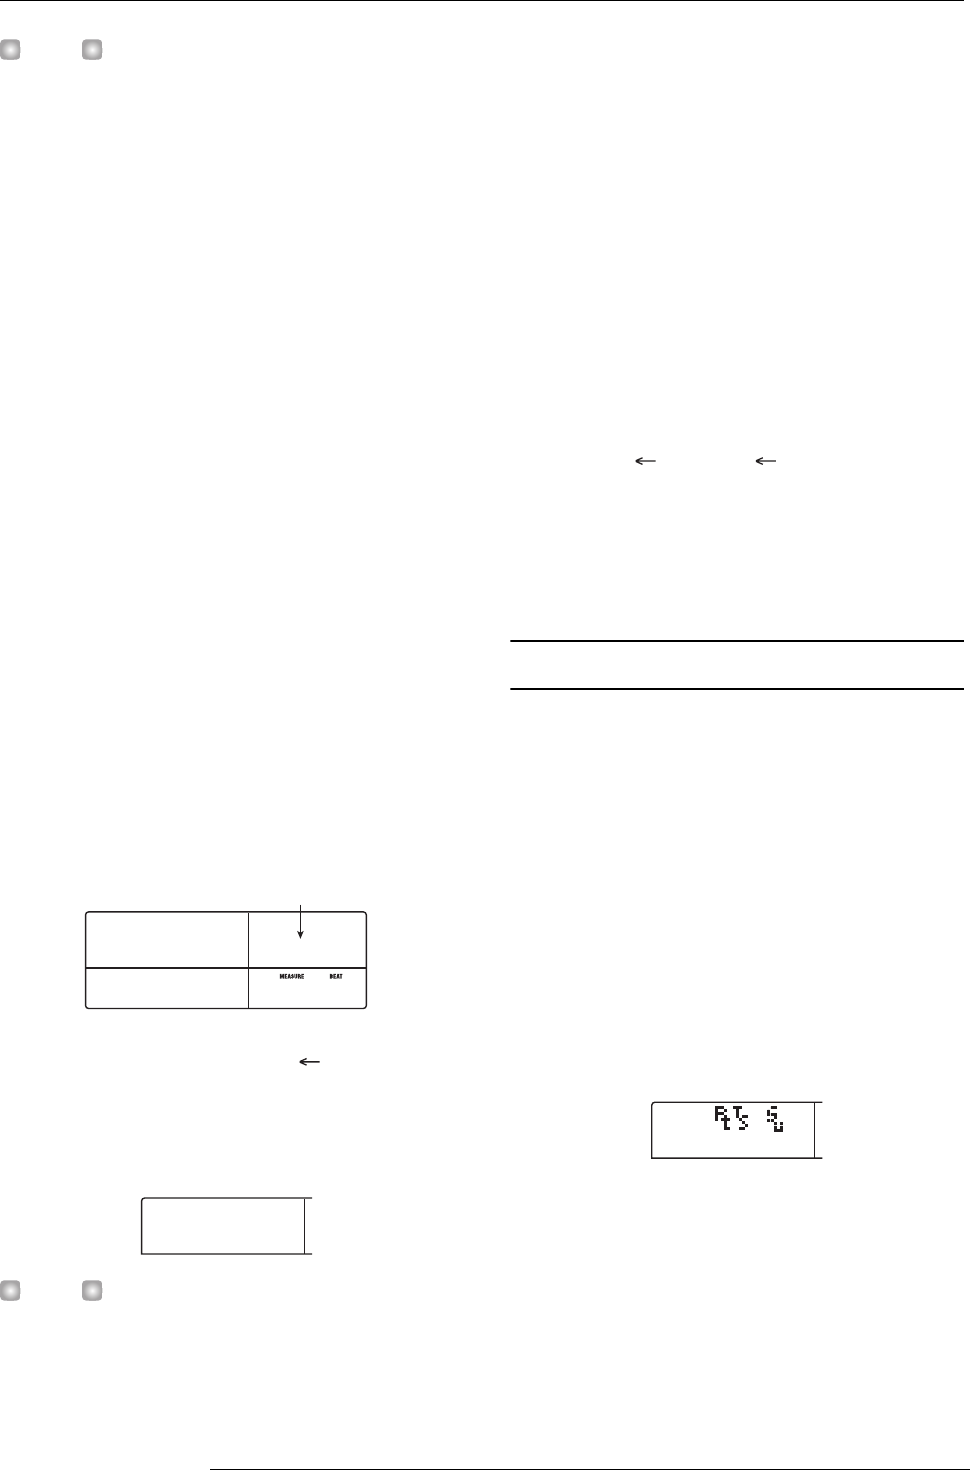
When you use method (3), the symbol such as “Pt” or “TS”
displayed at the right of “EV
→” will indicate the type of data
that is input at the current location. For details, refer to p. 96.
8.
Input the remaining chord data in the same way.
Chord data that you input can be edited in the following
ways.
■
To change the root/chord
Move to the location at which the chord data is input, use the
cursor up/down keys to switch the display to “ROOT” or
“CHORD”, and turn the dial to change the chord.
■
To delete chord data
Move to the location at which the chord data is input, use the
cursor up/down keys to switch the display to “ROOT” or
“CHORD”, and press the [DELETE/ERASE] key. The
chord data (root and chord) will be deleted, and the display
will change to “ ROOT” or “ CHORD”.
9.
When you have finished, press the STOP [
P
] key.
The unit returns to the rhythm song screen. To return to the
main screen, press the [EXIT] key.
Inputting other data
Once rhythm pattern information and chord information has
been input to a rhythm song, you can add various other
information such as tempo and drum/bass track volume.
Such data are called “event” information.
1.
In rhythm song mode, press the [RHYTHM] key.
The [RHYTHM] key lights up.
2.
Press the REC [
O
] key.
3.
Press the cursor up key repeatedly to bring up the
indication “EV
→
” on the display.
This screen lets you check which event information is
entered at the current point. The symbol after “EV→” (such
as “Pt” or “TS”) denotes the type of event. Available events
and their symbols are listed in the table below.
Ticks
EV
EV
å
001- 1
001- 1
24
24
CHORD
CHORD
å
EV
EV
å


